
Warning: You might want to grab some coffee, tea, or water for today’s blog post. Enjoy!
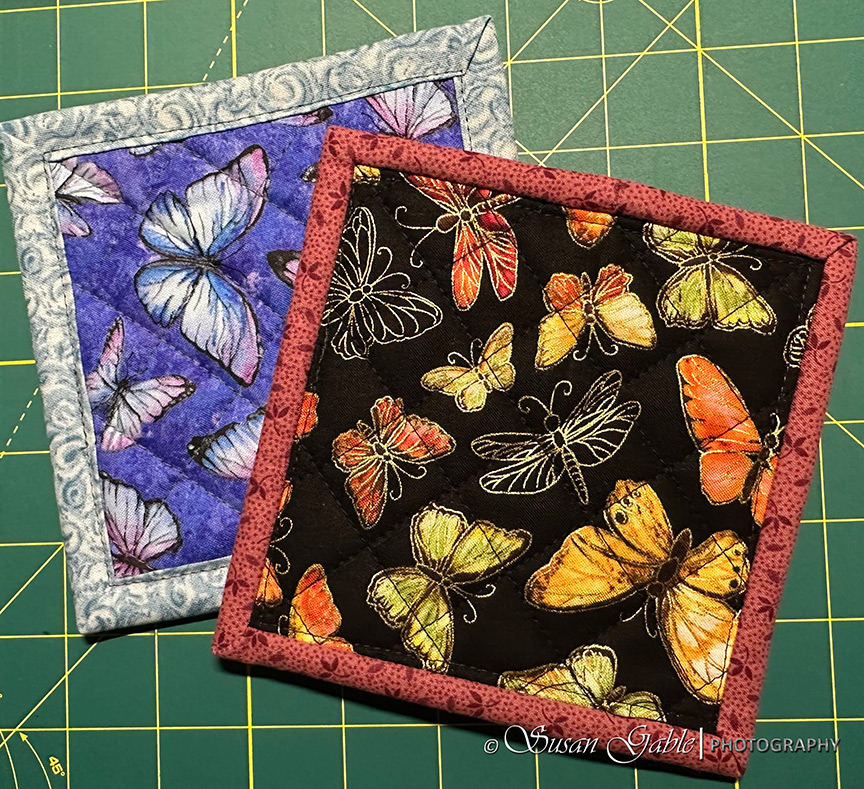
I had an idea to sew another quick project on my vintage Singer sewing machine. I had sewn two mug rugs for my friend and I needed some sort of bag to complete the gift ensemble.
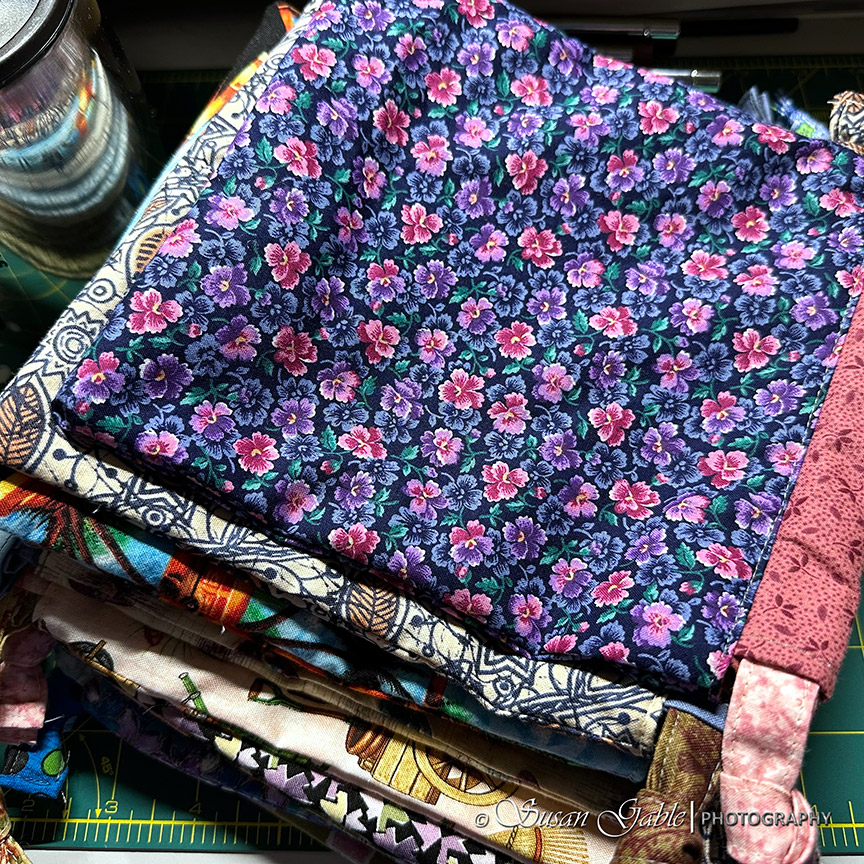
Collecting My Fabric Pieces
I pulled out some pre-cut 8″x8″ squares I had saved. Remember I mentioned creating pre-cut 5-1/2″ squares? Well, I did the same for 8″ squares. I pulled two pieces of the same fabric for the outer part of the main bag and another set for the inside lining.
I also pulled out a ziplock bag of 2-1/2″ fabric scraps that I saved from the bindings I used for sewing my mug rugs. I selected the fabric to create the drawstring casings on the upper part of the bag. I measure and cut each casing to be 8″ in length.
For the drawstrings I have used ribbon or thick yarn, but sometimes I find it hard to match the color in the fabric or the overall look. I’ve also wasted time looking for something pre-made to go with my fabrics. I decided to save time and money and sew my own drawstrings. As I’ve shared before, I already have a fabric stash to shop from.
I pulled out another ziplock bag that contained 2-1/2″ wide strips of binding fabric with a length of 44″. Those can also be used for the two sets of drawstrings. You’ll see later that I was trying to figure out the different lengths of drawstrings to use. I ended up using 12″ and 14″ length drawstrings.
Sewing the Exterior or Main Bag
I prep the short edges of the casing by folding over (short end) 1/4″ and then fold again another 1/4″. I sew down each side to hide the raw edges into the folds of fabric. I fold the casing in half lengthwise with wrong sides together.
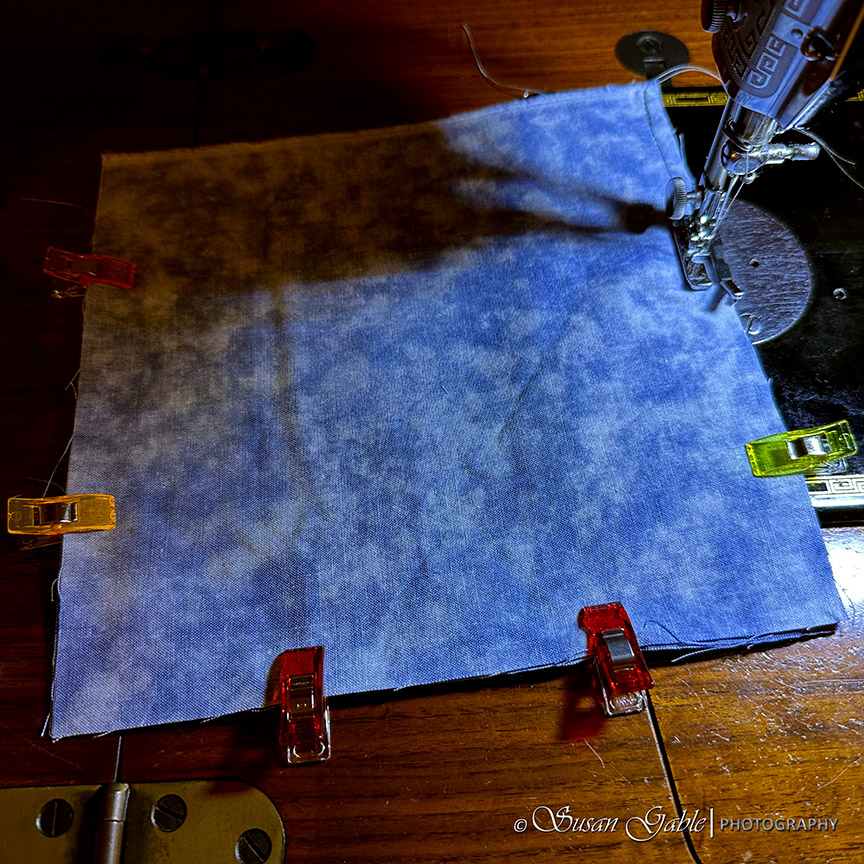
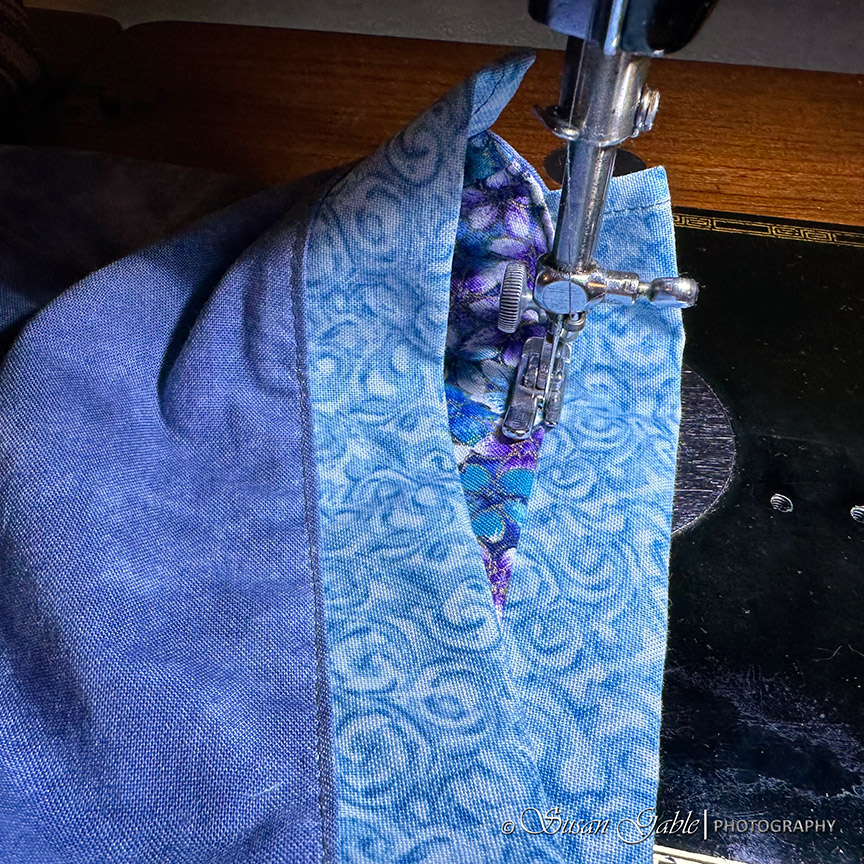
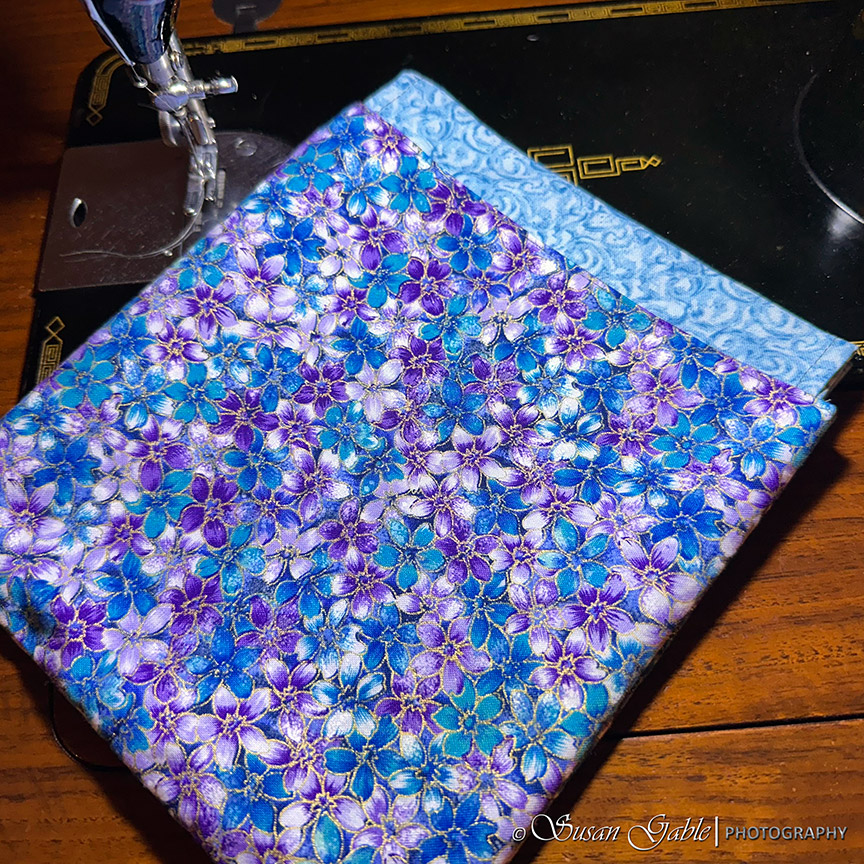
I eyeballed the placement of the casing onto the center of the main fabric. I sewed the casings to the main right side of the fabric. I do this for both main pieces.

I match the main fabrics right sides together and sew the sides together as well as the bottom of the bag. I make sure to leave the top side with the casings open.
For the first few sewing steps, I’m using my 1/4″ foot with the metal guide on the side of the foot. This will give me a nice 1/4″ seam allowance.

Once I finished sewing the three sides, I turn the bag right side out.
The Lining
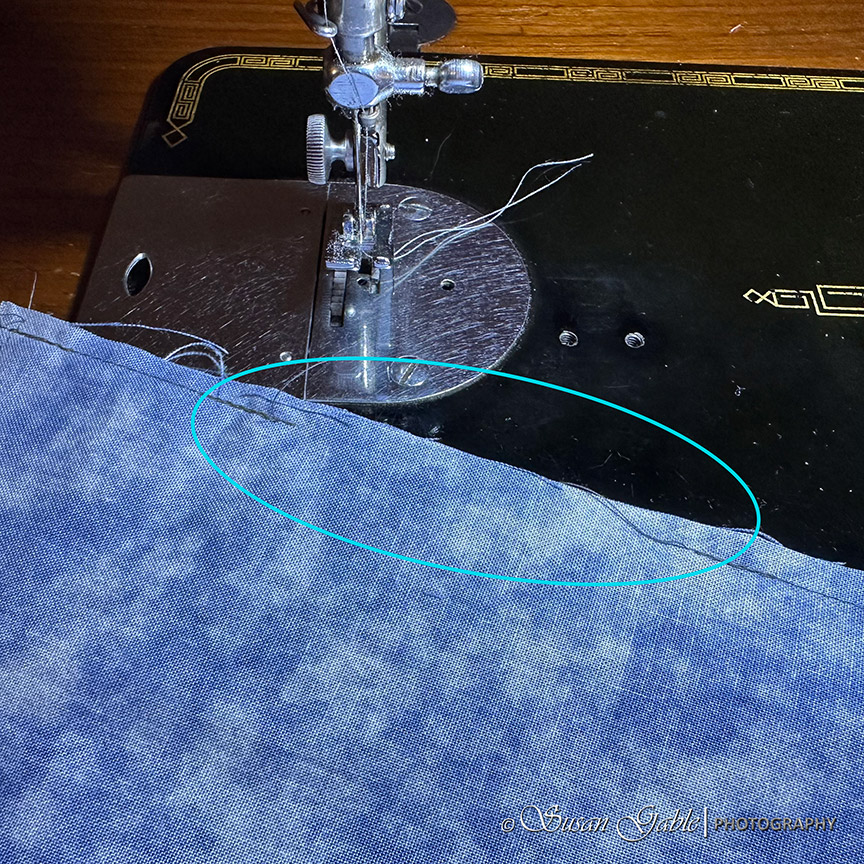
Next, it’s time to work on the lining of the bag. I match the lining fabric right sides together. I place clips around where I will sew the 1/4″ seams.
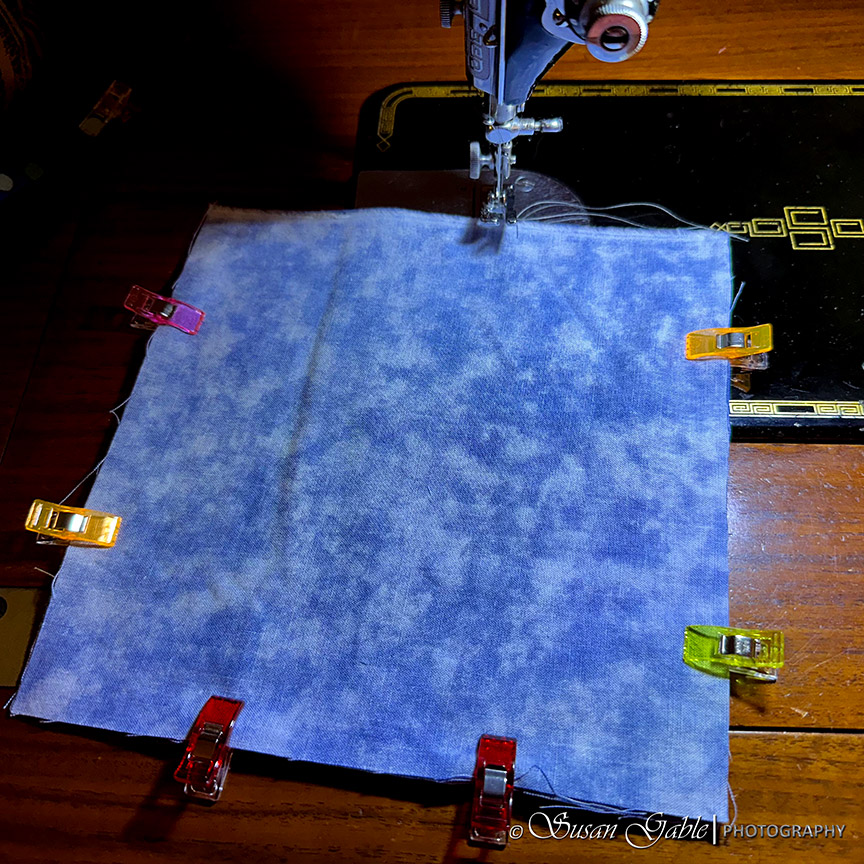
Notice I place two red clips at the bottom of the bag lining. Between the two red clips is a reminder for me not to sew in between the red clips and leave that area open. I do sew from the edge to the red clip and make sure to back stitch.
Here’s what the bottom of the lining looks like. This opening will be used later to pull the bag right side out.
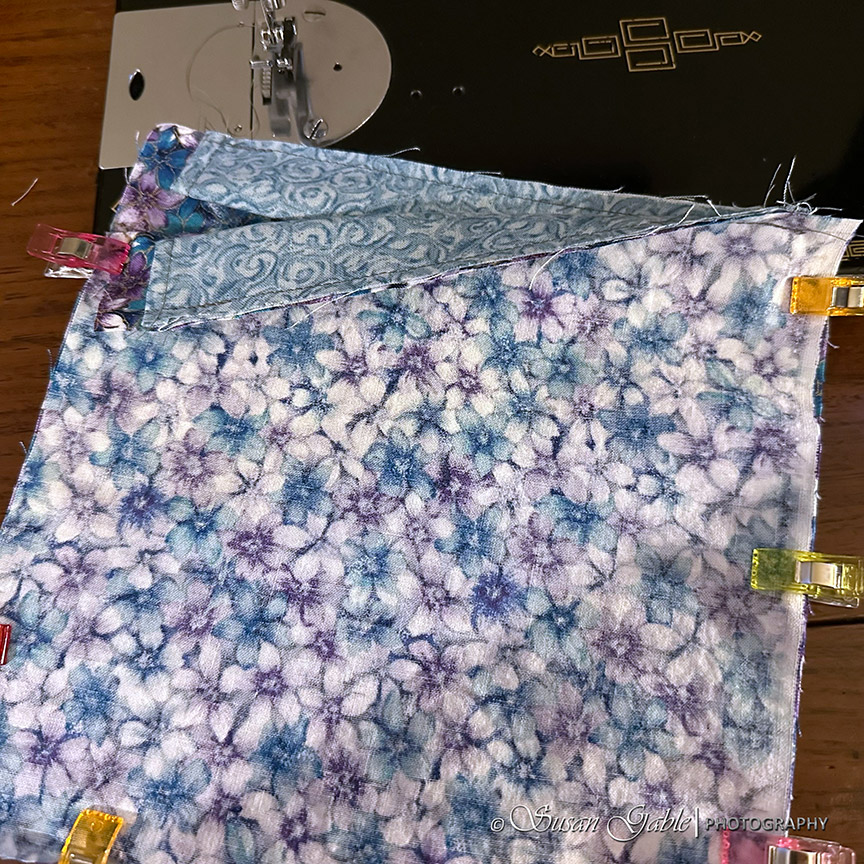
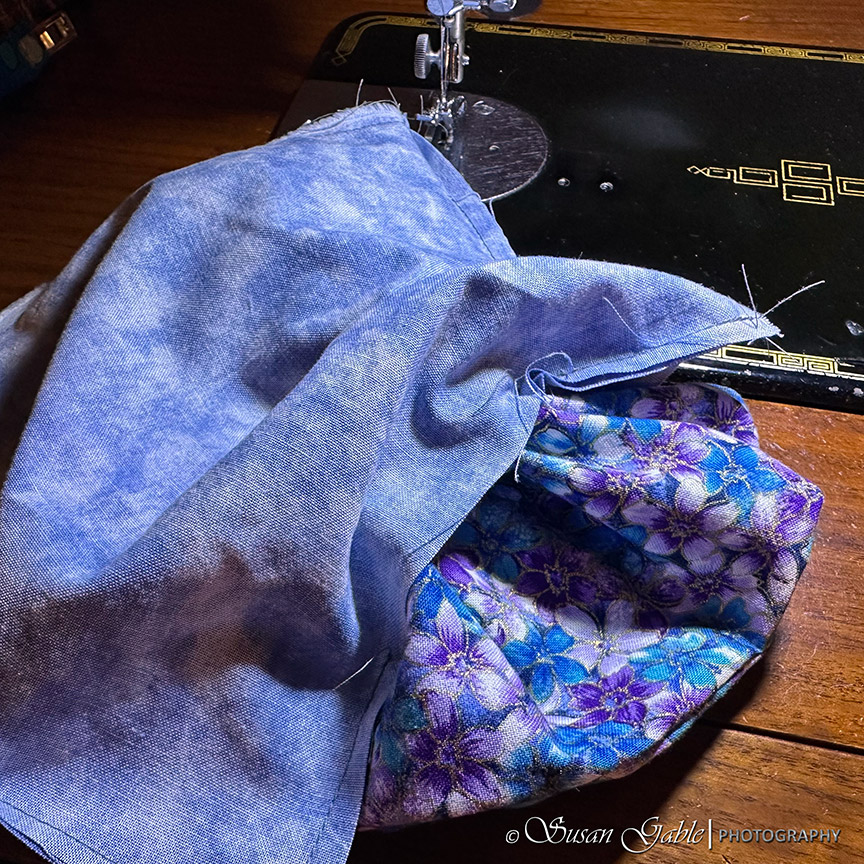
I slide the main fabric into the lining. The right sides of both lining and main fabrics are facing each other. I make sure the casings are tucked inside.
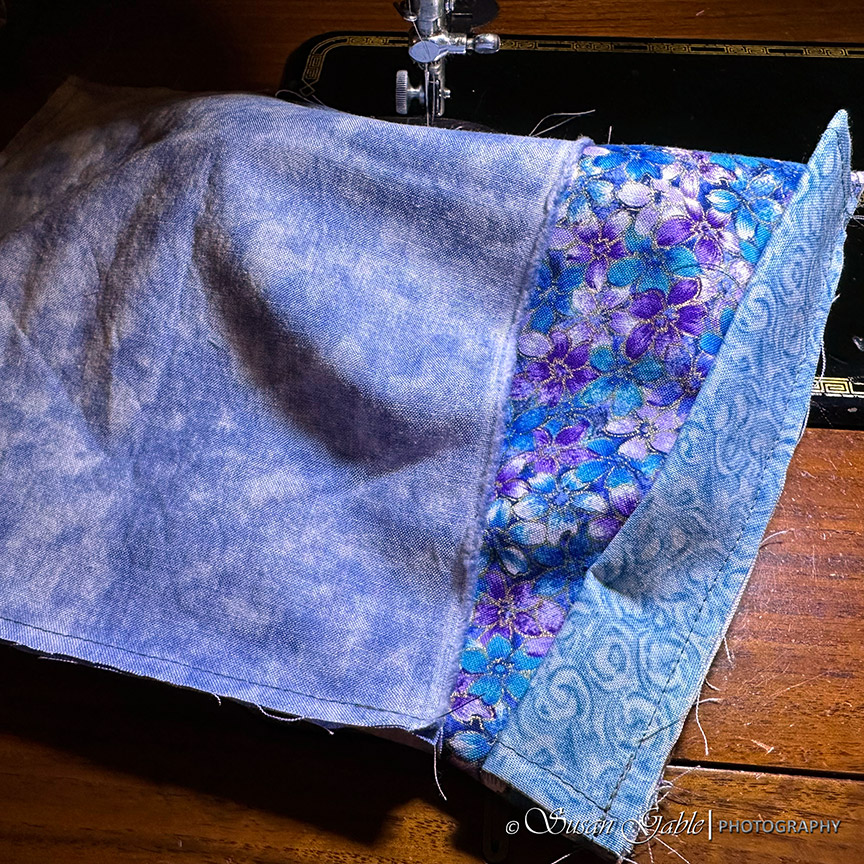
I match the side seams first and place clips around the top edge of both the lining and the main fabrics. I stitch around the top edge of the bag.
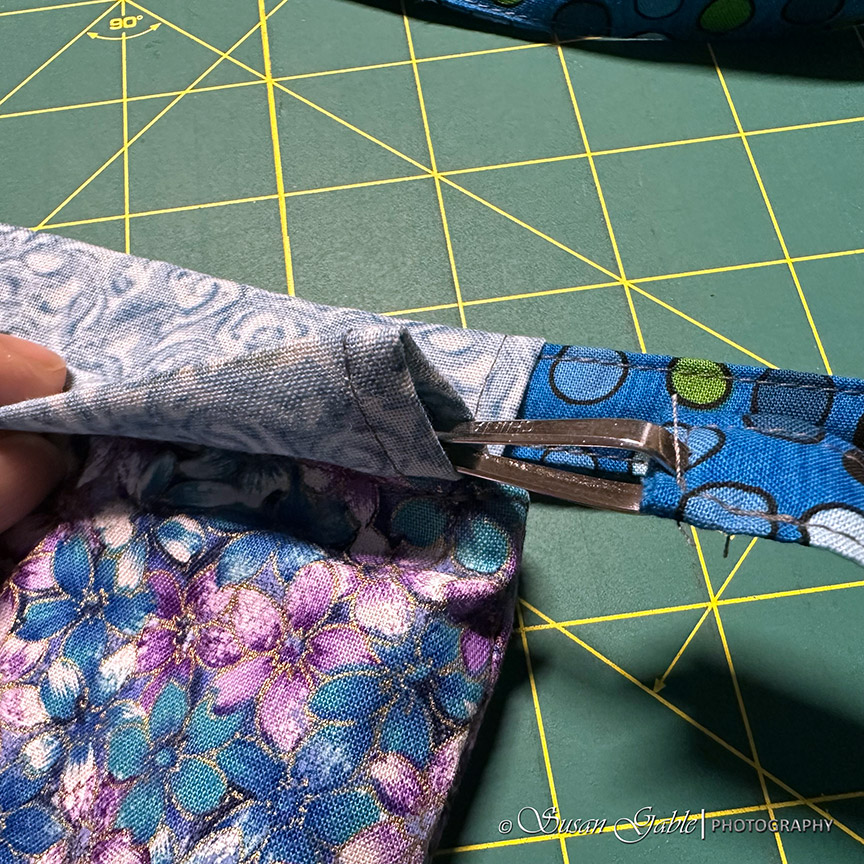
Remember that opening in the bottom of the lining? I grab the main fabric and pull it out of the lining opening.
I keep pulling until the lining is also right side out.
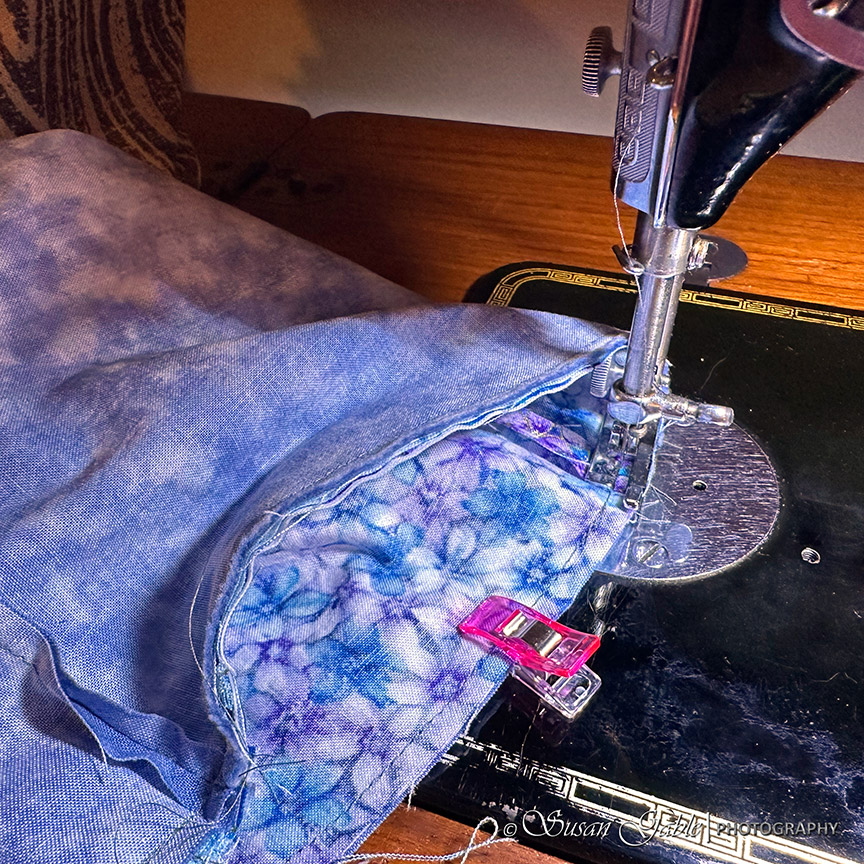
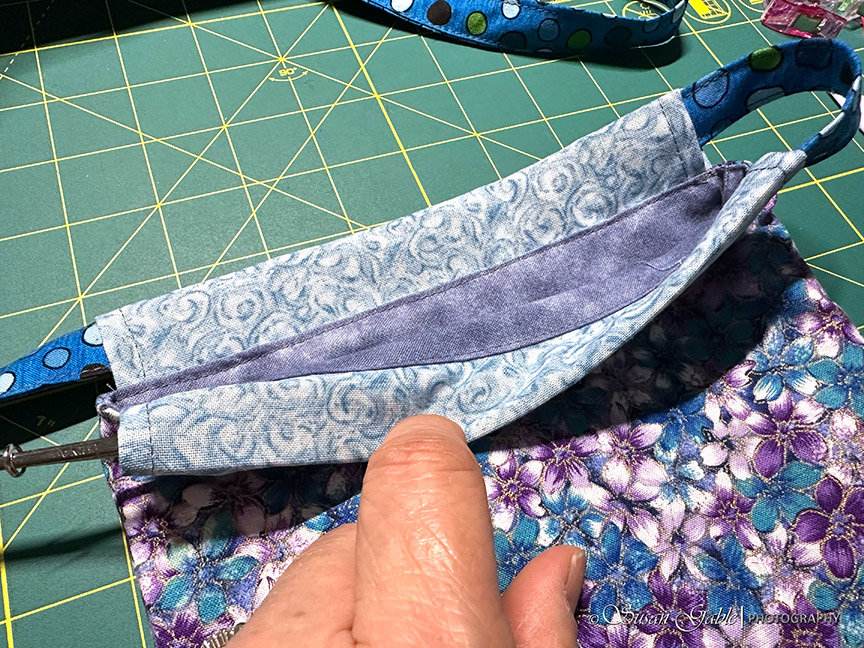
The bottom of the lining is still open.
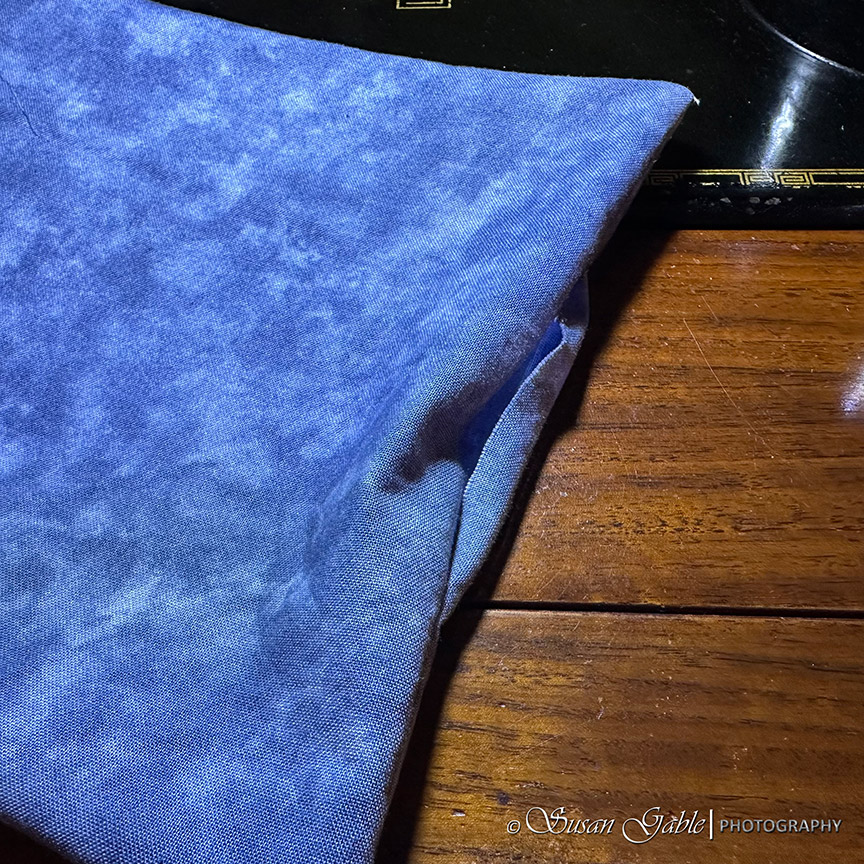
I place my clips along the edge and sew 1/8″ from the edge.

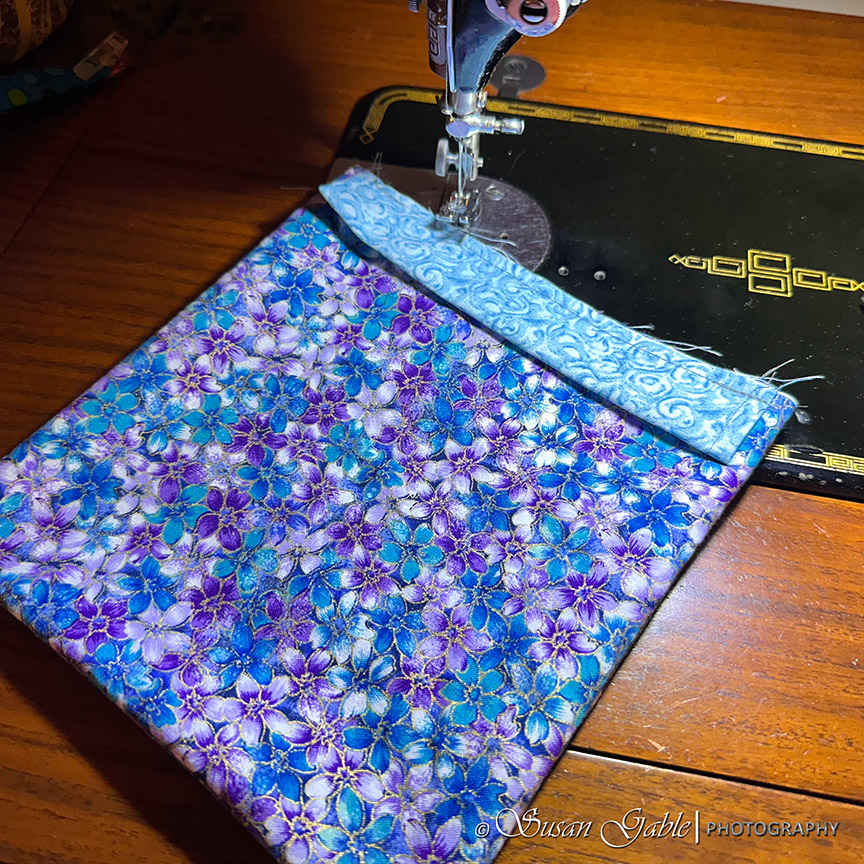
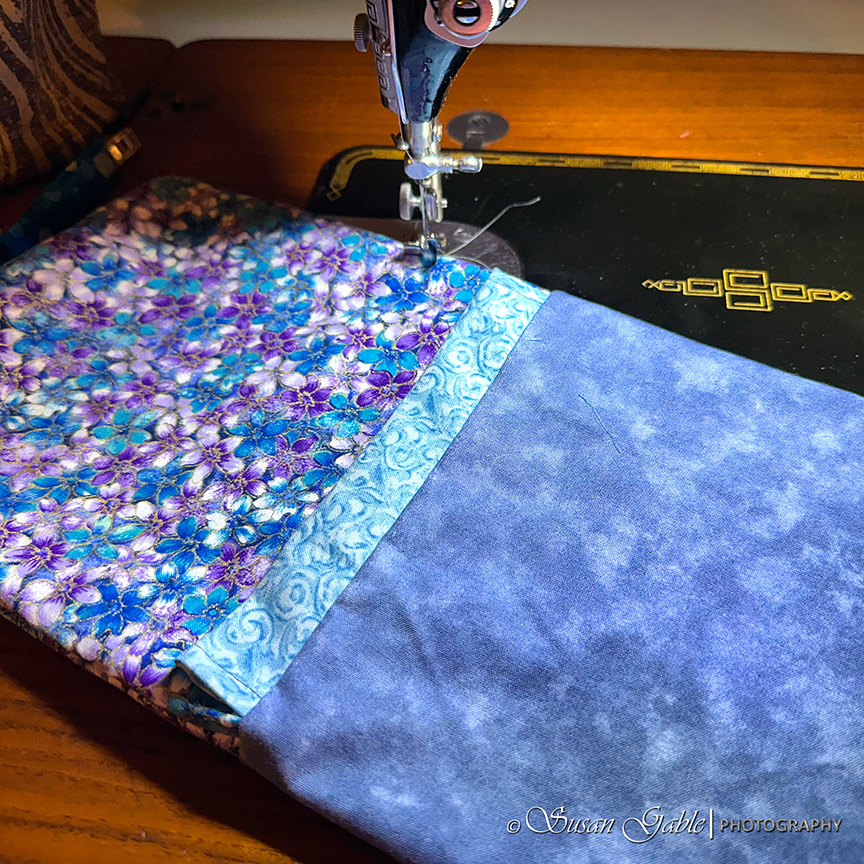
I push the lining into the main bag.
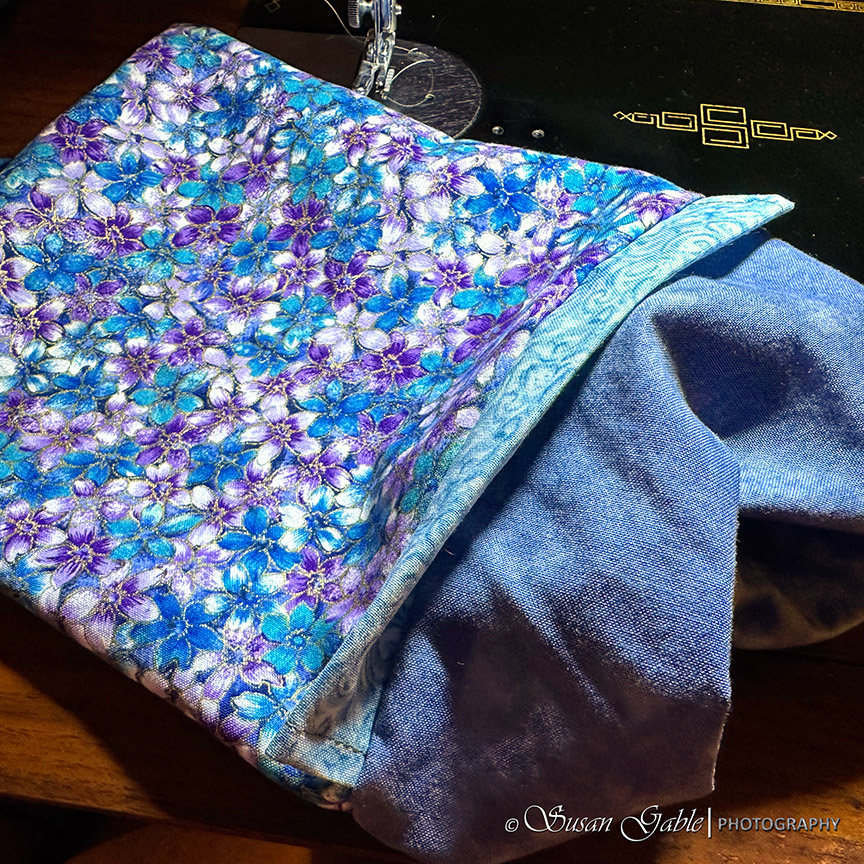
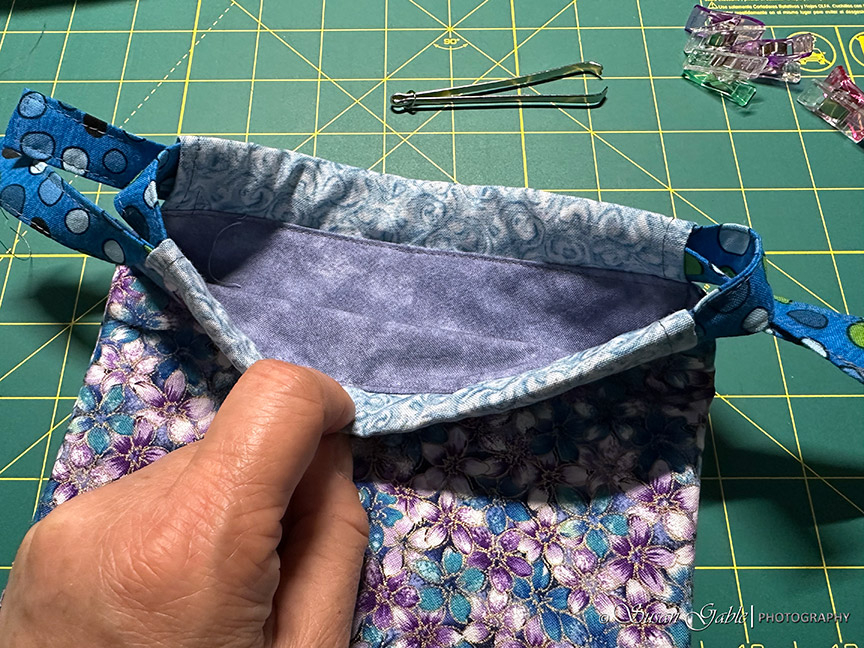
I change out my 1/4″ foot and attach my standard foot that came with my machine. I need to sew a top stitch around the top of the bag, but under the casing. This is to keep the fabrics from shifting and give it a finished lock.
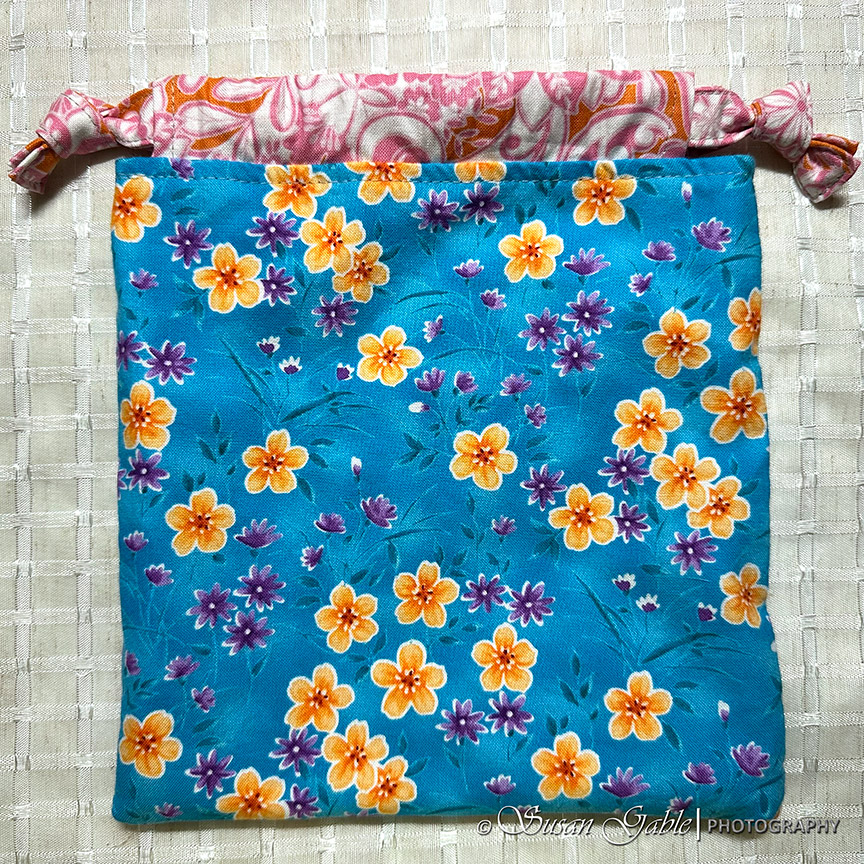
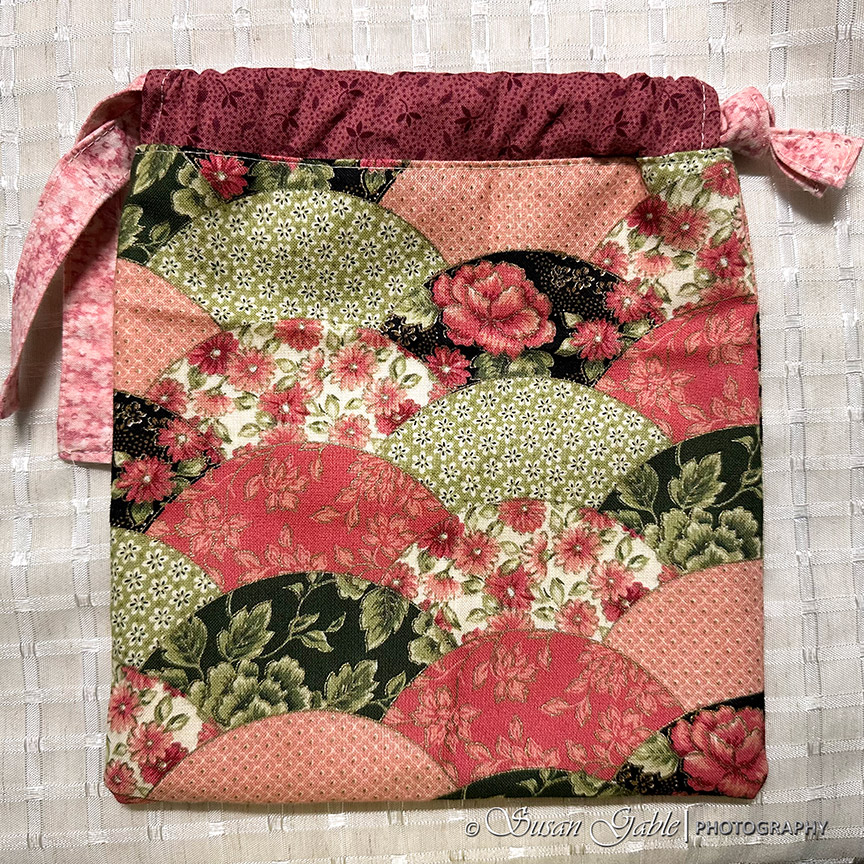
I’m finished sewing my drawstring bag.
Sewing the Drawstrings
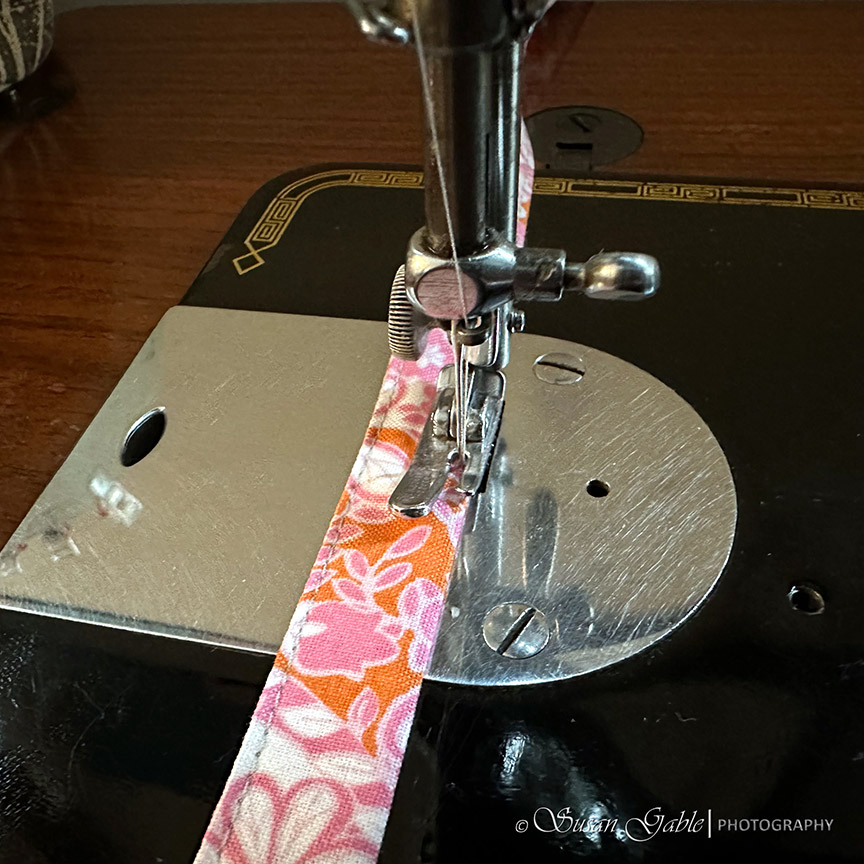
Next I sew the 2-1/2″ strips of fabric into drawstrings. The drawstrings are double folded. I first fold the strips in half lengthwise and press. I take the bottom half and fold up til the raw edge meets the fold line and press. I take the top half and fold down til the raw edge meets the fold line and press. The raw edges now meet in the middle. With the original fold line I fold the lower half over the top half. I’ve now encased the raw edges into the folded fabric. I place clips along the drawstring to hold the folded fabric in place.
Now the only remain thing to do is tuck in the raw edges at the ends of the drawstrings. I unfold one end fold down the raw edge about 1/2″ and then refold the drawstring. Place a clip on the end to hold in place. I do the same at the other end.
I sew around my drawstring 1/8″ from the edge.
My vintage Singer sews a beautiful topstitch 1/8″ from the edge of the fabric while using the regular foot that came with my machine. It does a great job with keeping the fabric in place and moving my fabric along while I sew.
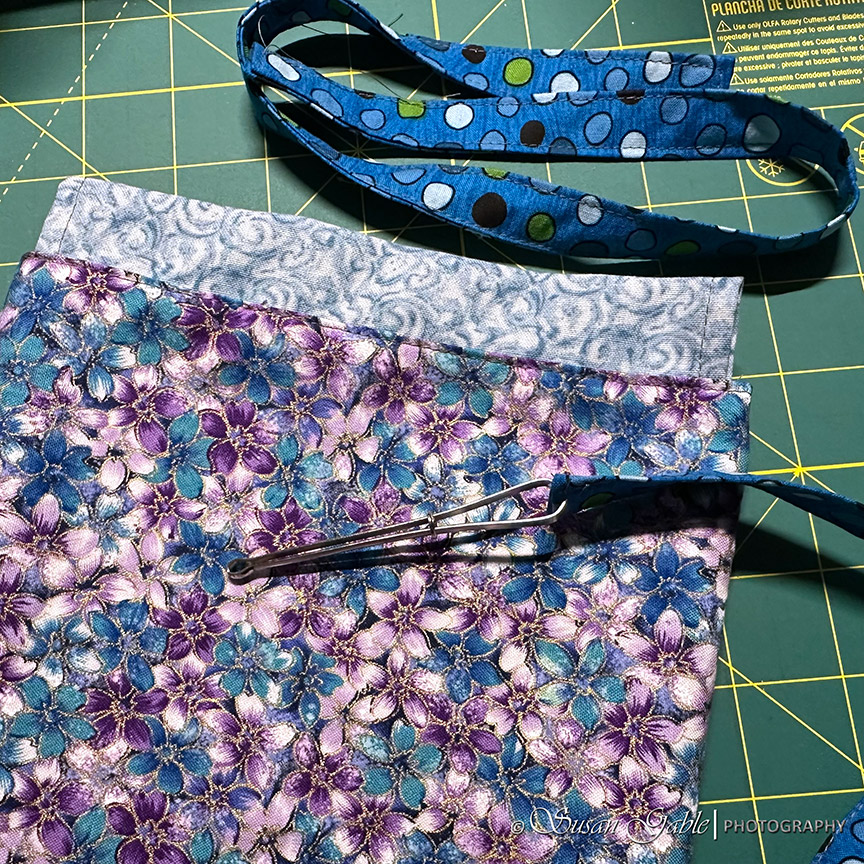
A single piece of drawstring is threaded through both casings so I can tie a knot at the ends.
If a bodkin is not available, a safety pin will work just as well.
I’ve threaded my drawstring through one casing and now I’m getting ready to thread into the next casing.
The first drawstring threading is completed.
The other piece of drawstring is threaded through the opposite end and through both casings and both ends are tied together. You can see the “loop” that’s formed at the ends of each casing.
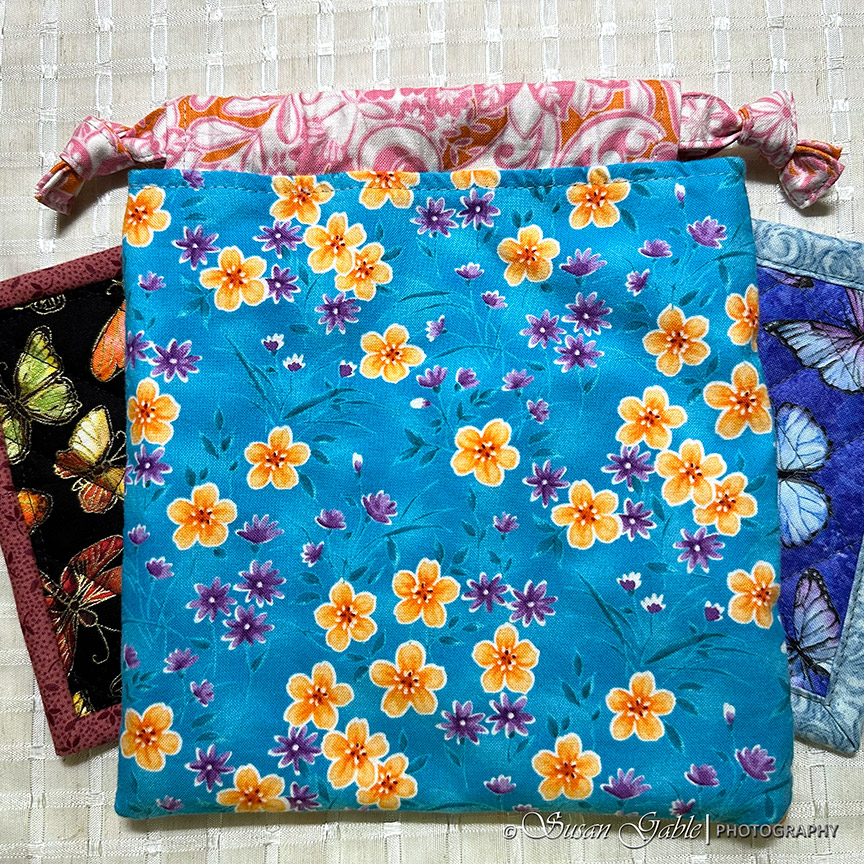
My friend enjoyed her gift and she loved her drawstring bag. That was confirmation that I needed to sew more drawstring gift bags.
The drawstring gift bags are sewn flat with no boxy corners. This is a quick and easy sewing project.
Some of you may have noticed I made the drawstrings short. I was using 2-1/2″x12″ binding strips. When the drawstrings are pulled to close the bag, it’s nice to not have extra lengths of “string” hanging off the side of the bag. That’s just my personal preference.
Since I had varying lengths of binding fabric which I used to create the drawstrings, the first few bags I experimented with the lengths of fabric. The three bags below ranged from 11″ to 12″ in lengths. Clearly anything under 12″ in length will bunch up the casing before it’s pulled closed.
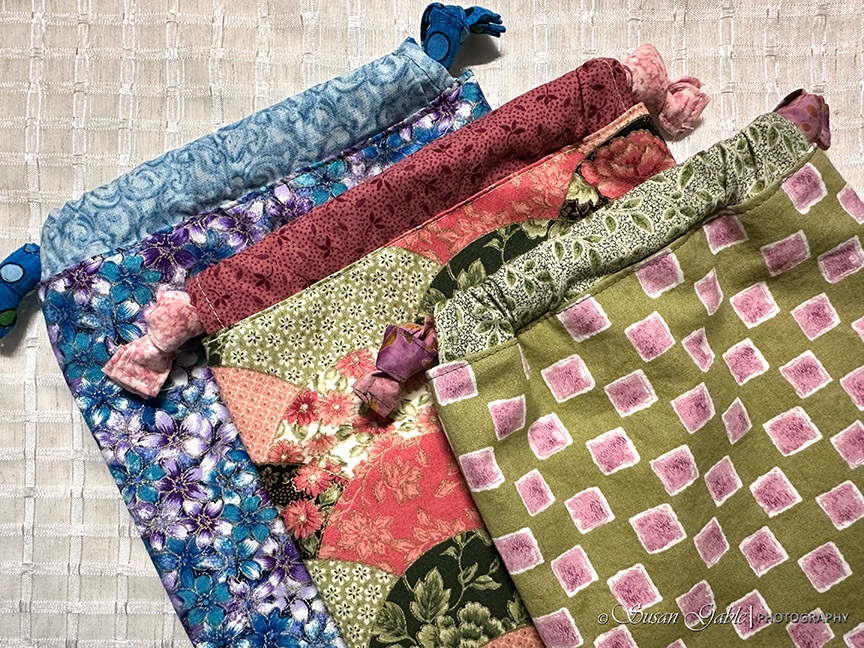
Next I experimented with the 12″ to 14″ drawstring lengths. The 14″ lengths give a bit more breathing room for the drawstrings. When the bag is closed the drawstrings will hang on the sides a bit.
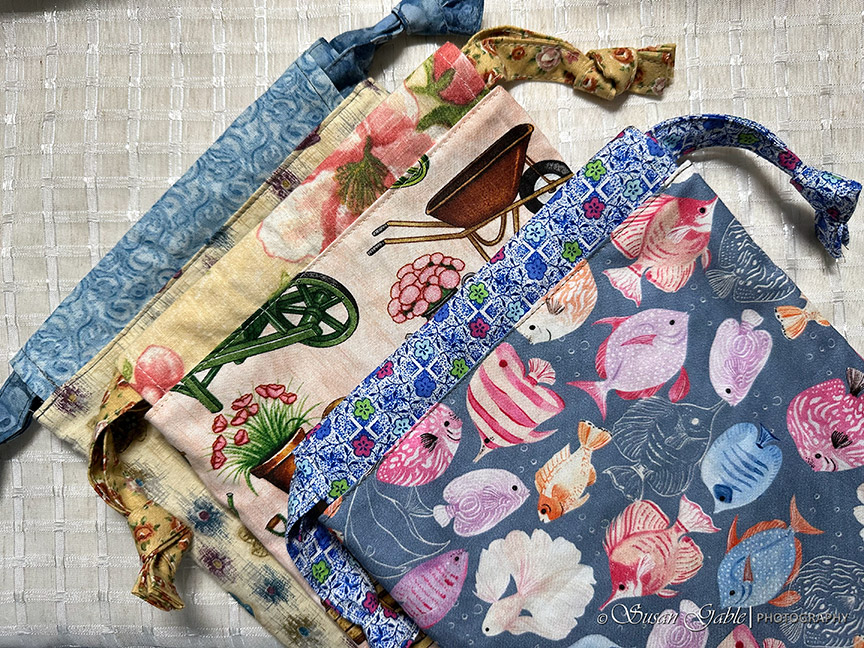
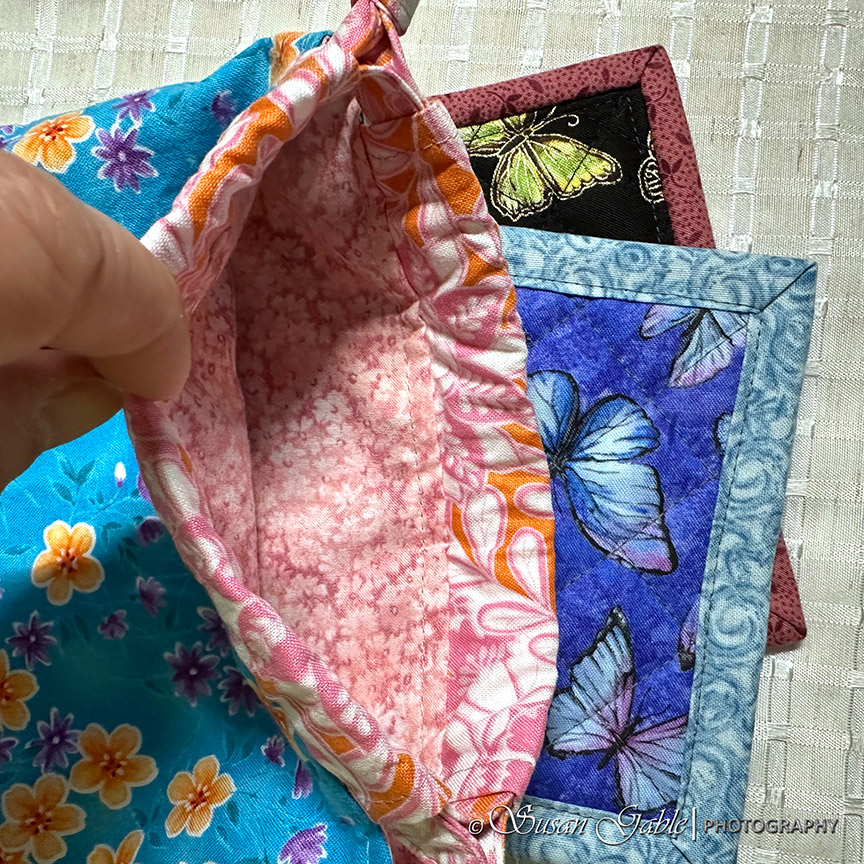
The fun part of this project is putting the fabrics together and see what fabric combinations I come up with. This is a great way to use up my fabric scraps from my stash.
For the last few days, I would spend some time sewing with my vintage Singer sewing machine and sew a drawstring bag each night.
Now I have a collection of drawstring bags. Ready for gifting.

Summary
This is basically my own pattern and instructions and I’m sharing it here on my blog. This is a quick and easy sewing project. This was a great way to use up left over fabrics or fabrics that have fallen from my fave list.
I’ll be back to update this blog post as I might need to elaborate more in my instructions or add additional pictures.
Fabric pieces & other information:
- Main: 2 pieces 8″x8″
- Lining: 2 pieces 8″x8″
- Casings: 2 pieces 2-1/2″x8″
- Drawstrings: 2 pieces 2-1/2″x12″ (short) or 2-1/2″x14″ (long)
- Seam allowances: 1/4″
Foot: Regular sewing foot that came with my machine for the topstitching. Used 1/4″ foot to sew the seams.


Leave a comment