I mentioned a while ago about reducing chaos with the number of tools I have to create my artwork. This also applies to my sewing world. I have found ways to make my sewing time more efficient and create less waste from my sewing projects. I’ve also been removing several sewing notions that I no longer use or have a need for them. As a result I have created a bit more storage space and organized my sewing area to be more functional. A productive space is a happy space.
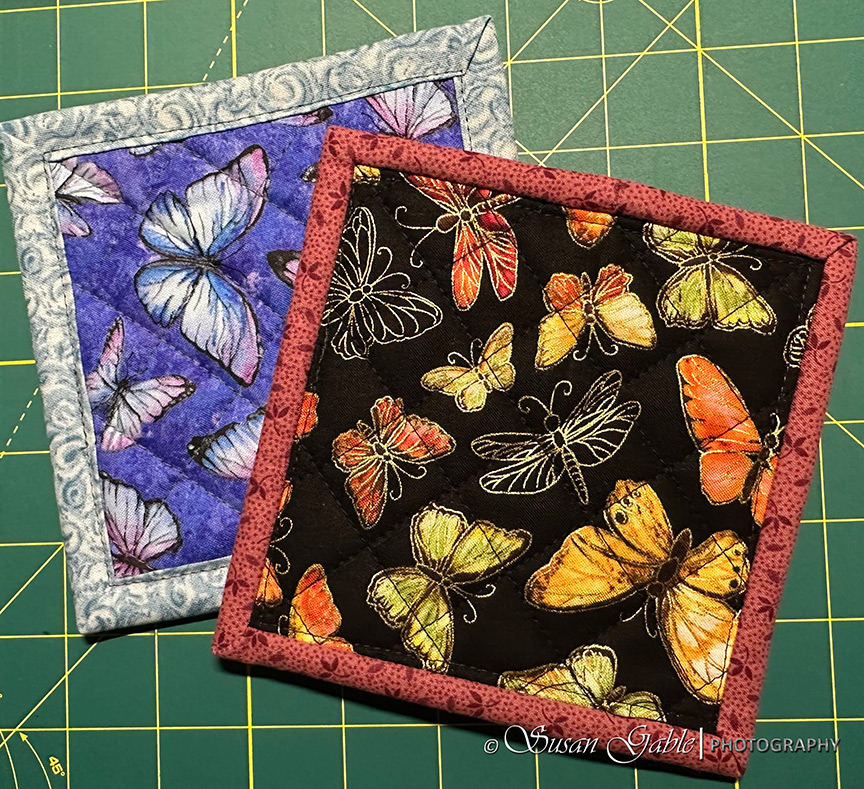
I have a friend who is retiring and I thought I would sew a few mug rugs for her. She loves butterflies and it wasn’t too hard to find the right colorful fabrics to use.
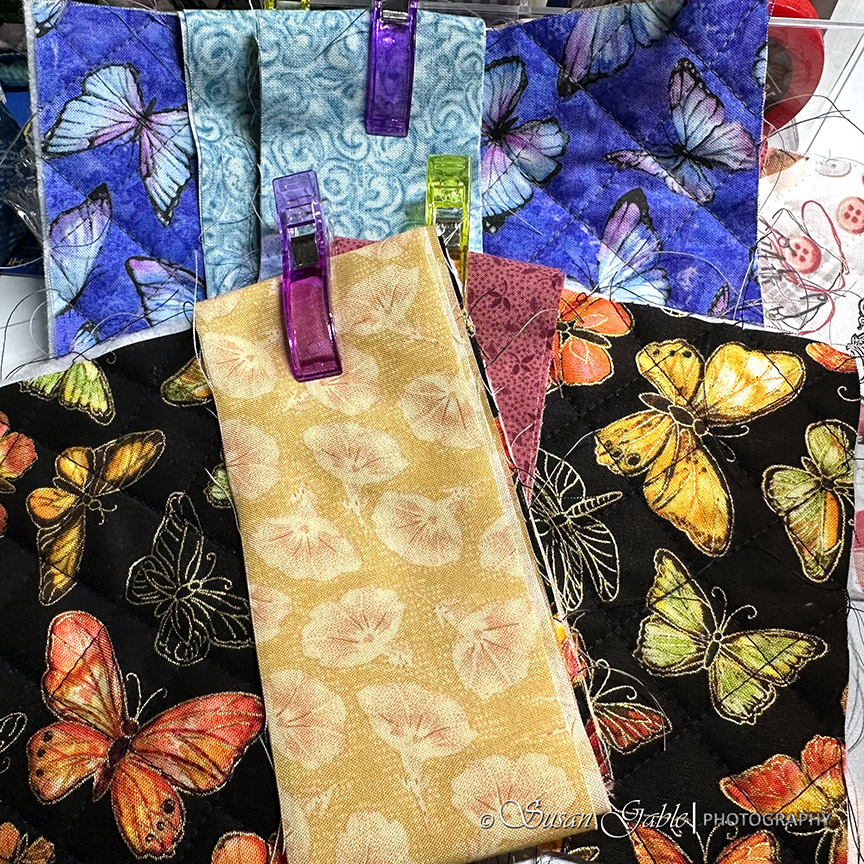
Before I start to think about sewing my mug rugs, I have to figure out which fabrics will be used for the main pieces of the mug rug. I use two different main fabrics per mug rug. That way the person using one could choose which side to use for the day. I also figure out which fabric I will use for the bindings for the finished edges around the mug rug. I trust my gut feeling when I’m selecting fabrics to match. As an artist I’m drawn to the colors I see first and then the design on the fabric. Occasionally, I will have a “what was I thinking” moment.
Tip #1: For the main fabric pieces I will pre-cut 5-1/2″ squares. Stack them and place them in zip lock bags. Then I will pre-cut 2-1/2″ strips of fabric to use for the bindings. The bindings go into a separate zip lock bag. I also do the same for the polyester fleece/batting that I use. I cut out the 5-1/2″ squares and stack them and place them back into the bag they came in. The remaining uncut fabric goes into my fabric bin for future use. This helps me stay organized and helps to reduce my fabric chaos.
When I’m ready to sew, I just pull out the pre-cut fabric pieces I need and start putting together the fabric sandwiches.
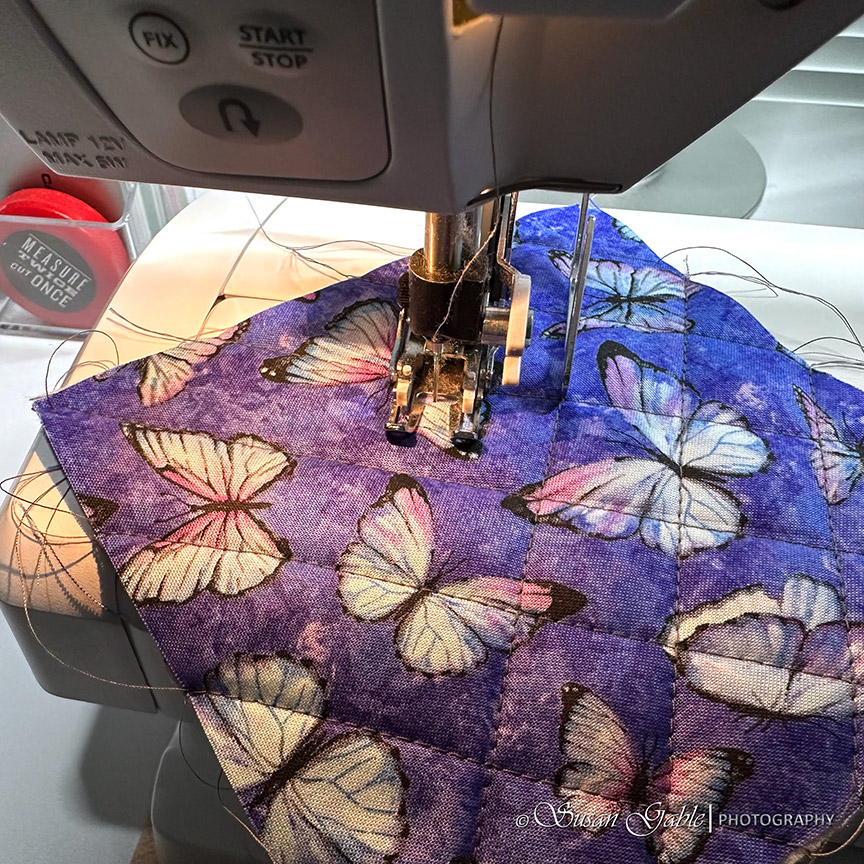
My Viking machine is always ready to sew. I have my machine settings memorized for this project and the walking foot is already attached. I can quickly sew several mug rugs within a small amount of time.
Here I am creating the quilt fabric or fabric sandwich by sewing diagonal lines across the fabric. I’m using the metal extension/arm attached to my walking foot as a guide to sew 1″ distance between the sewing lines.
Here are the final mug rugs that I’m gifting to my friend. I love the fabrics I selected. I will have to make a few for myself.
I wanted to share what I use to keep all my colorful bobbin threads organized. This system has helped me minimize the chaos in my studio.
My Viking model uses green plastic bobbins. Here’s my two color wheels of bobbins that I’ve used for 20+ years. Both wheels contain polyester threads.
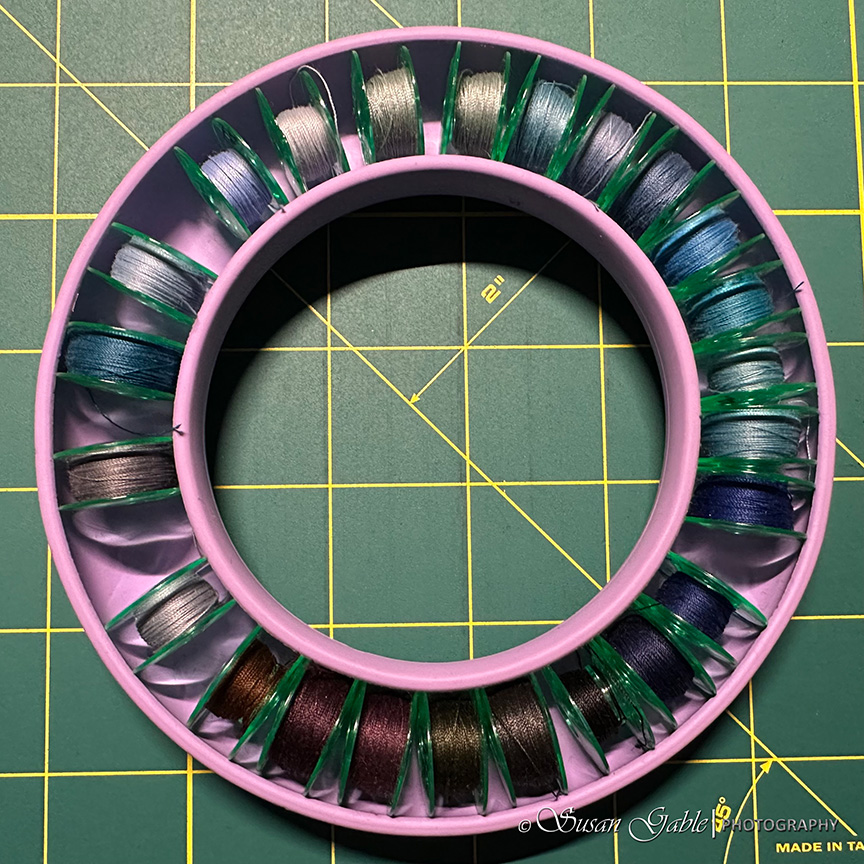
Tip #2: This round bobbin holder/wheel system keeps my bobbins organized as well as keep any loose threads from tangling. What I like about this rubber ring is it holds a huge number of bobbins and I can quickly retrieve the bobbin color I need as well as quickly put it back into the holder.
There are clear plastic containers available that have the soft cushion cutouts for the bobbins. They are great to use if you have a limited number of bobbins filled with thread. I use this type of container for my metal Featherweight bobbins.
I prefer using the round rubber holder as I can hang them on my peg/bulletin board and see the available thread colors easily. Also, it’s a pretty display of colors.
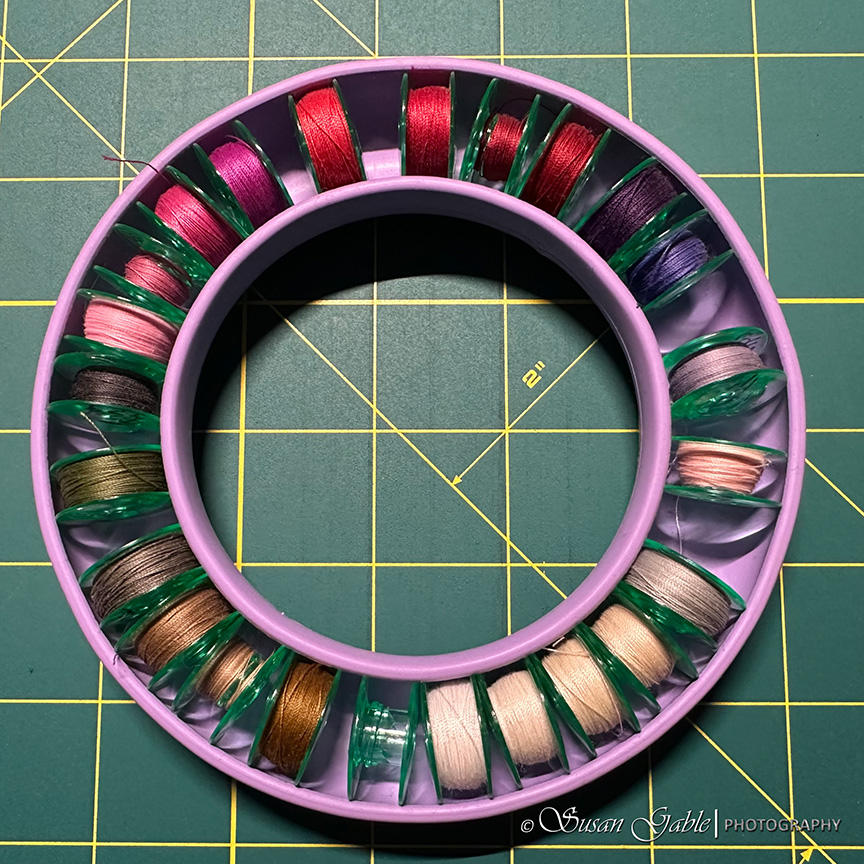
My colorful bobbin collection did not happen overnight. This is from years of sewing garments, bags, and accessories. I collected lots of colorful threads as the garments and accessories I created needed matching thread for topstitching or for creating buttonholes.
I’m currently reducing my Viking bobbin collection by using up the thread colors I have. If you’ve noticed, my colors are mostly neutral and match most of the fabrics I have in my stash.
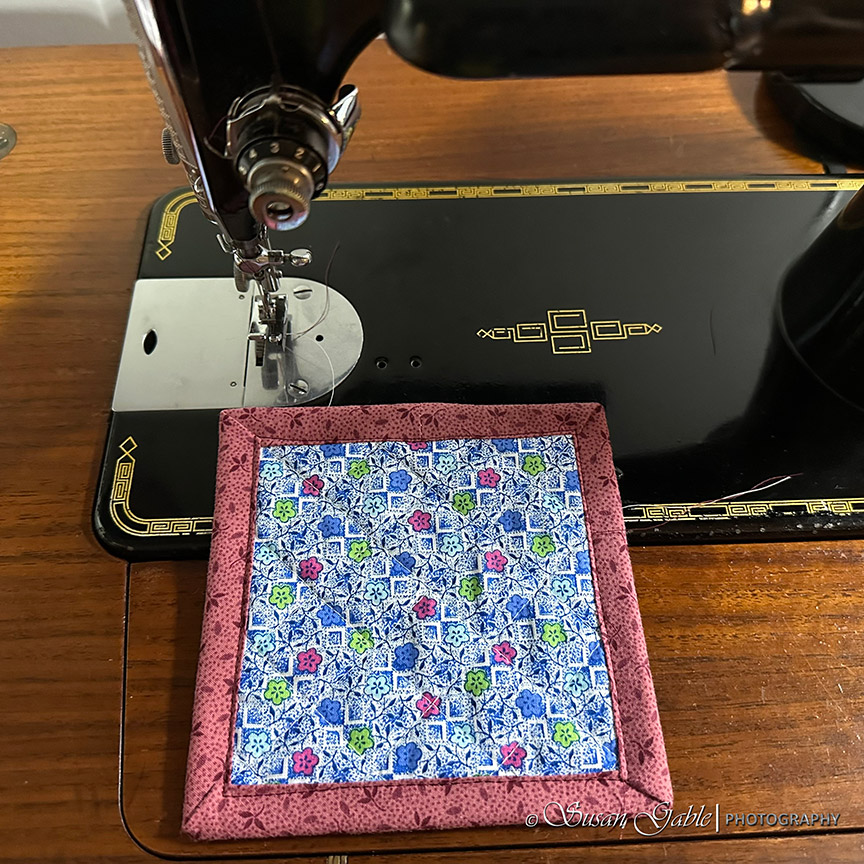
Now that my gift sewing is completed, I thought it would be a great time to sew more mug rugs using my vintage Singer 201 machine. The plate on my machine has no markings for seam lines. The foot that came with my machine was a slim and narrow foot. In my test sewing I had a hard time sewing a 1/4″ seam allowance. I went ahead and purchased a low shank 1/4″ foot to make my sewing life a bit easier.
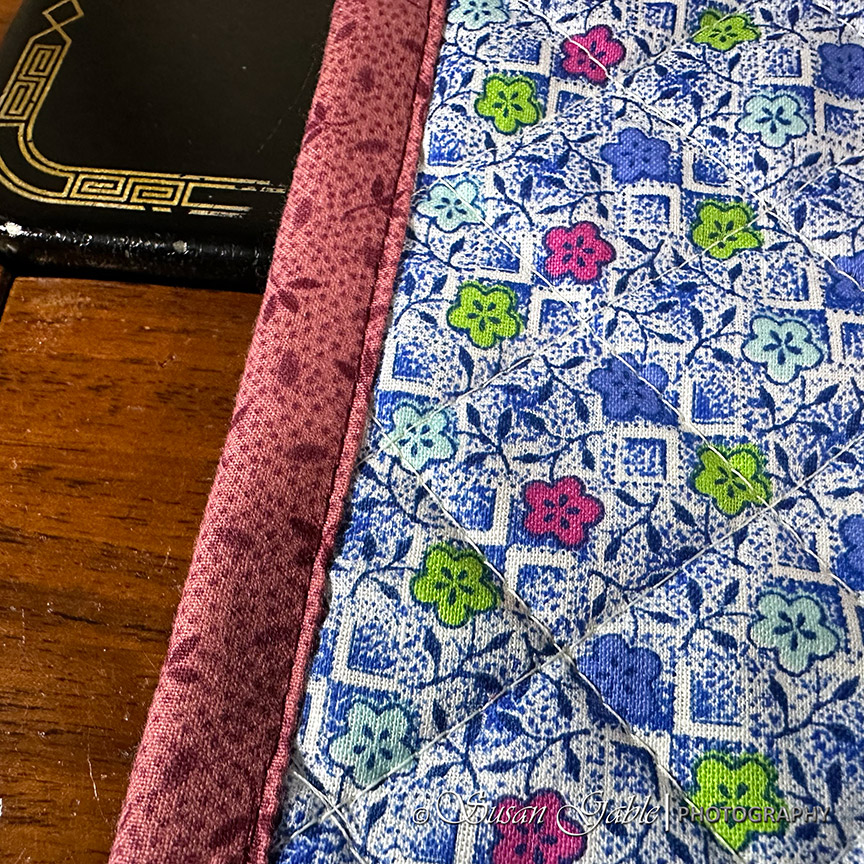
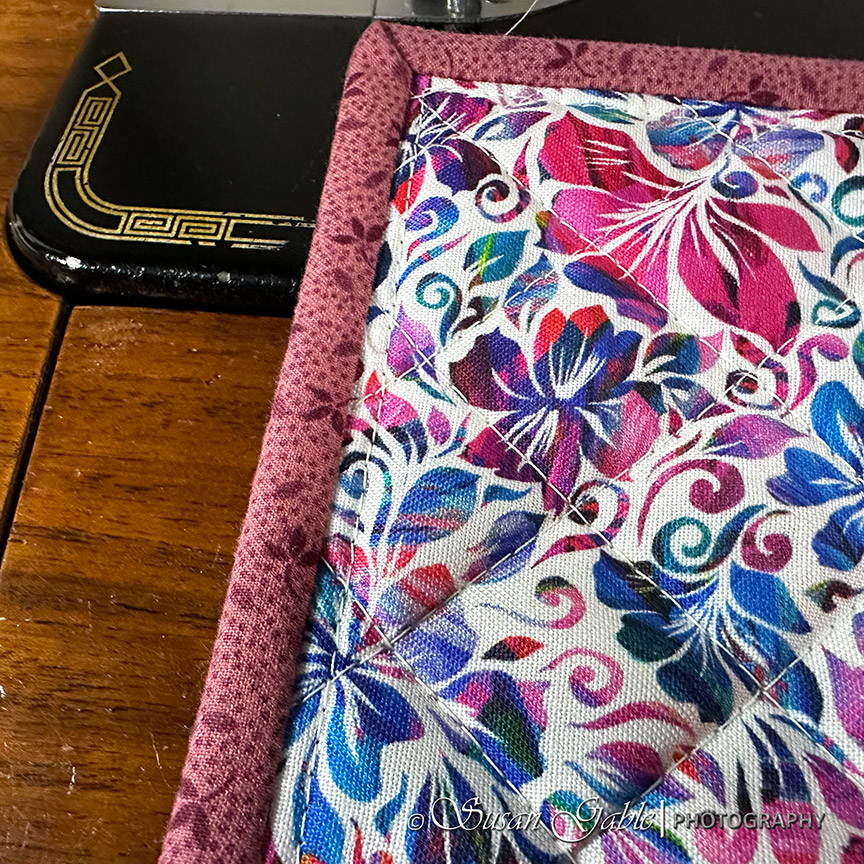
Here is the top side of my mug rug.
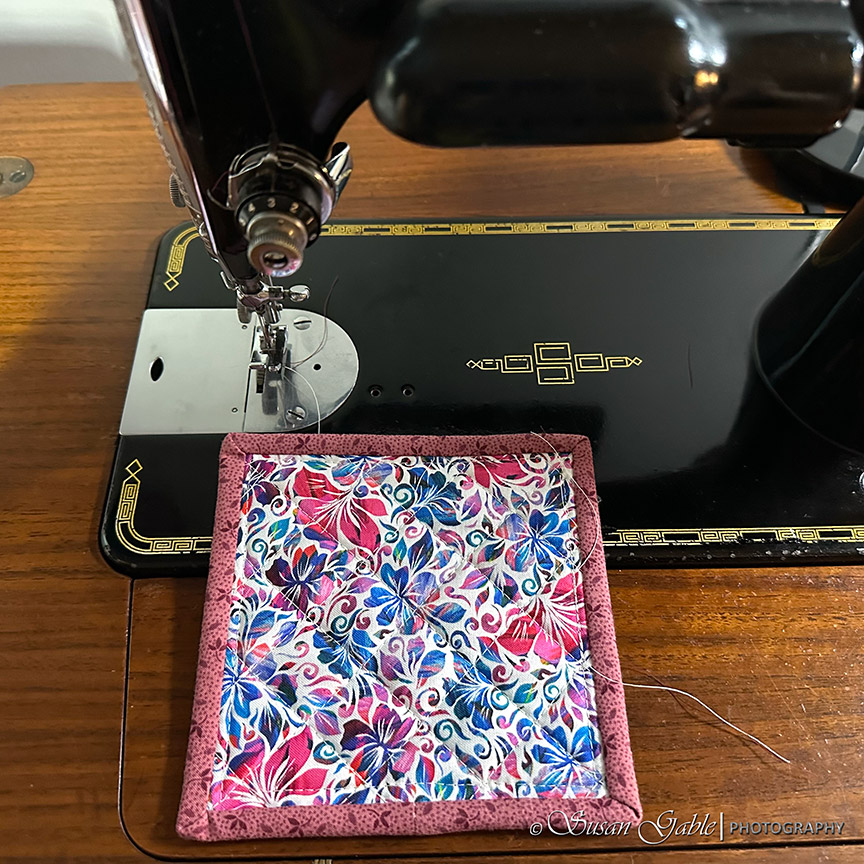
Here’s the other side of my mug rug.
Have you noticed the thread colors (main and bobbin) I’m using on my Singer machine?
My main spool of thread was a rosy pink color and for my bobbin thread I used an off-white color.
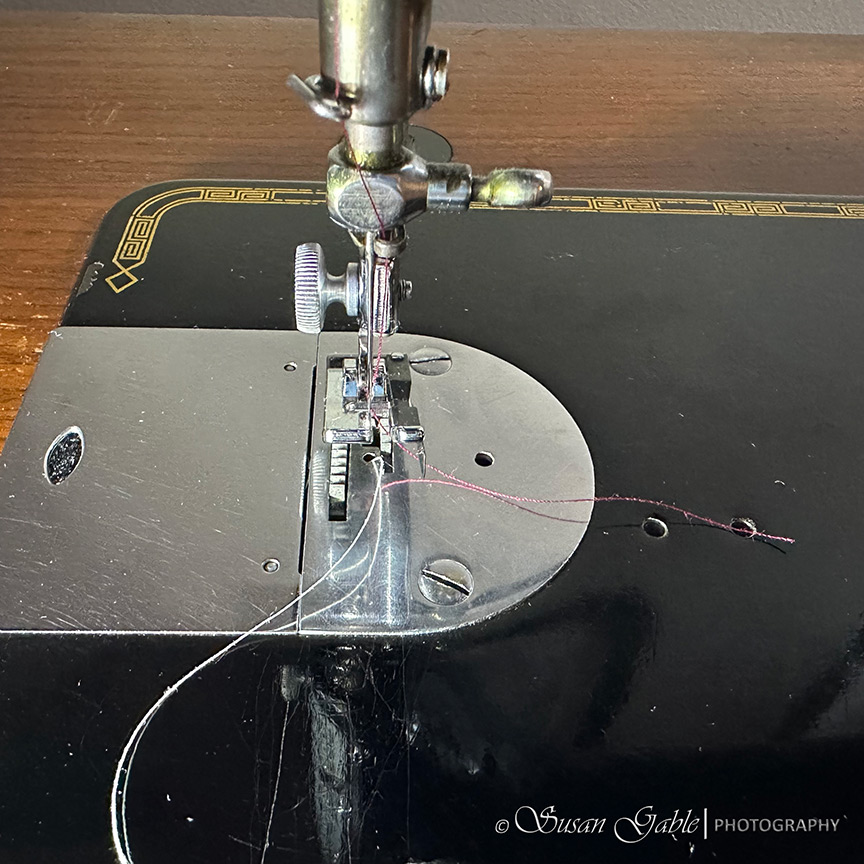
I used this color combination for finishing the binding on my mug rug.
I was looking for the opportunity to wind a bobbin full of thread on my Singer machine. Mostly to see if my hand wheel was behaving itself after I took it apart and cleaned the greasy mess out. I can happily say my bobbin wound beautifully and the needle bar did not move at all.
Tip #3: I tend to sew several mug rugs at a time. If two are for gifting, the remaining will go into my finished project bin. That way I have extras when a last minute gift is needed. No pressure to find some sewing time and no chaos in my sewing world.
Life is very good.




Leave a Reply