Skip to content
SusieG Studio
Search
Category:
Teach/Learn/Instructions
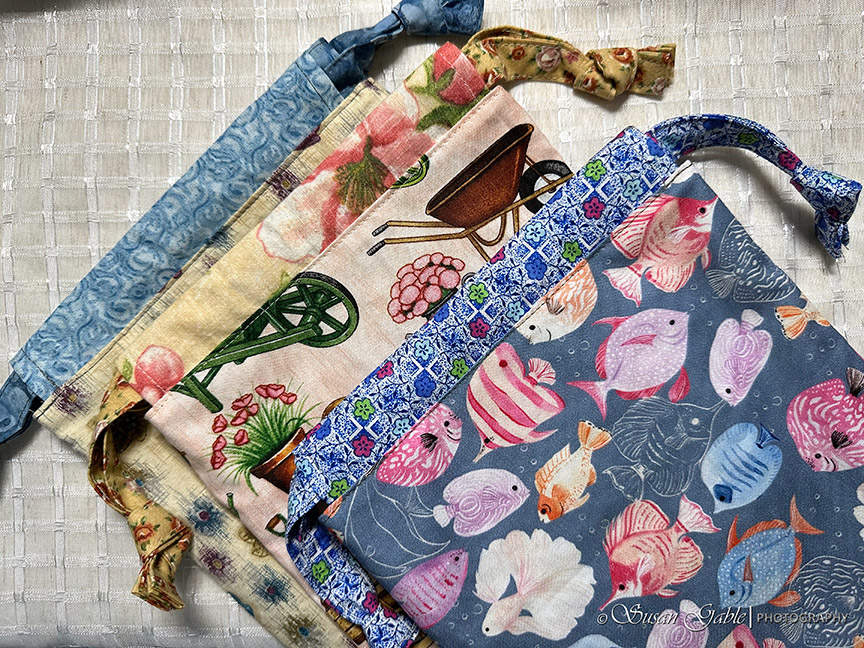
How To Sew: A Quick Drawstring Gift Bag
Holly & Berries #1 and #2 – Pen & Ink Sketches and a Prompt
Merry Christmas! Updates: Sketching in Two Different Mediums and a Prompt
Fall Leaves Pictures (to go with the prompt)
Fall Leaves – Prompt
Getting My Sketching Mojo Back with a Pumpkin and a Prompt
Workshop Prompt – One Fruit & One Dessert
Next Page
Subscribe
Subscribed
SusieG Studio
Join 88 other subscribers
Sign me up
Already have a WordPress.com account?
Log in now.
SusieG Studio
Subscribe
Subscribed
Sign up
Log in
Report this content
View site in Reader
Manage subscriptions
Collapse this bar