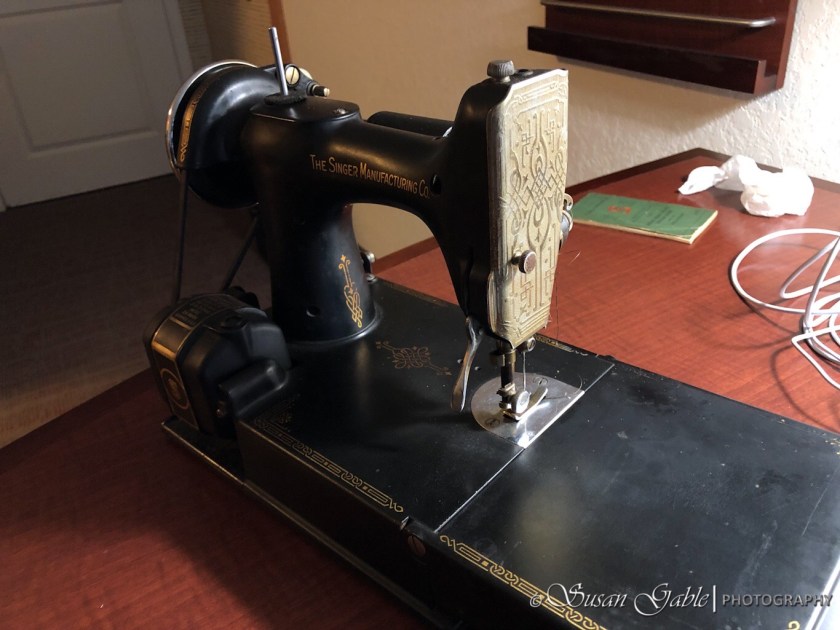
I’m back to talk about the next part of my vintage sewing machine conservation project.
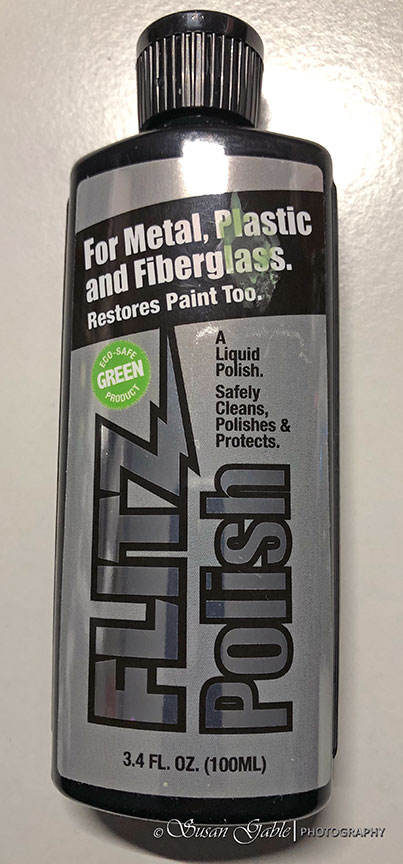
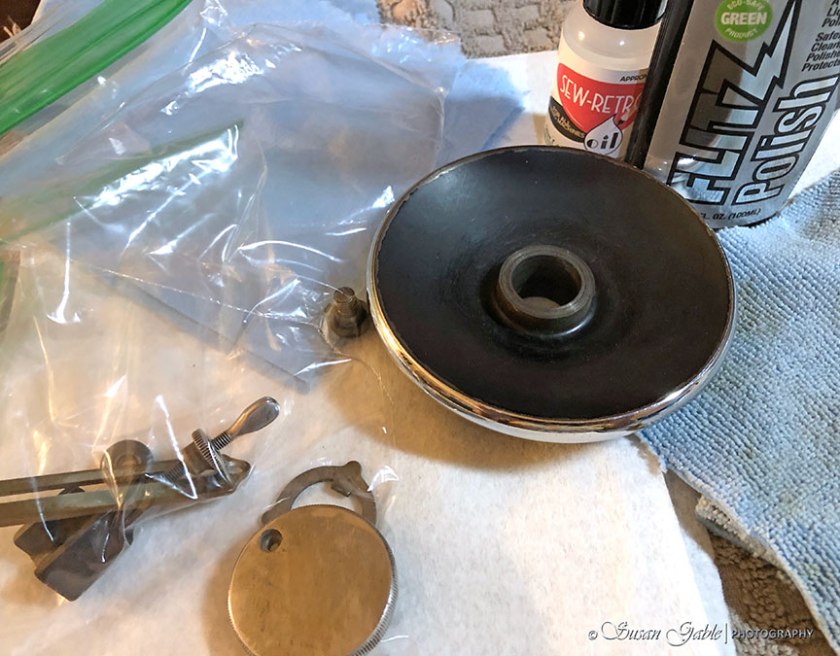
Now that I knew my Featherweight was sewing beautifully, it was now time to start cleaning my machine. I decided to start with the chrome pieces that I had access to. I went to my local mom and pop hardware store and was shown various bottles of chrome polish. I gravitated towards this Flitz branded polish as it was advertised as eco-safe, acid-free, non-toxic, and a non-flammable polish that contains no ammonia or abrasives.
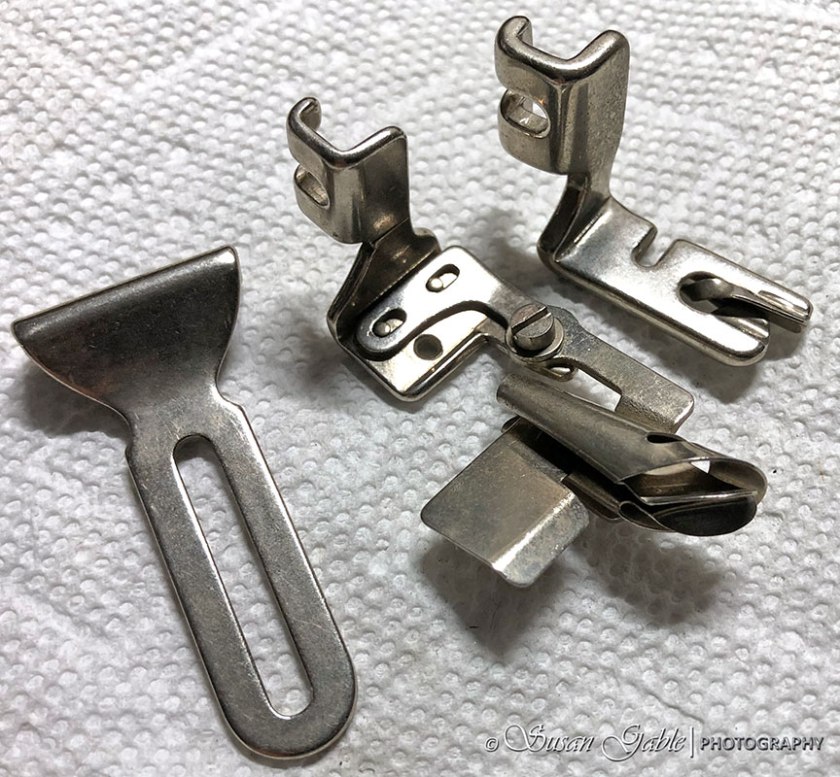
I was able to clean up a few of the vintage feet that came with my machine. I forgot to take a before picture. Trust me when I say the pieces had lots of grime and rust spots.
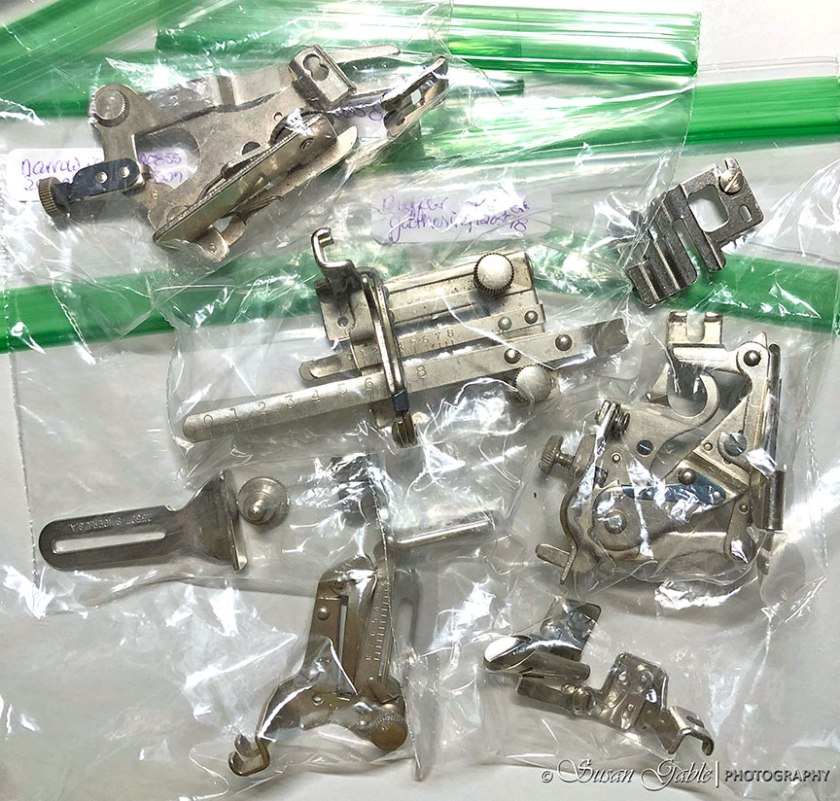
I bagged and labeled each sewing attachment/accessory.
Here’s an original box that was included with my machine.

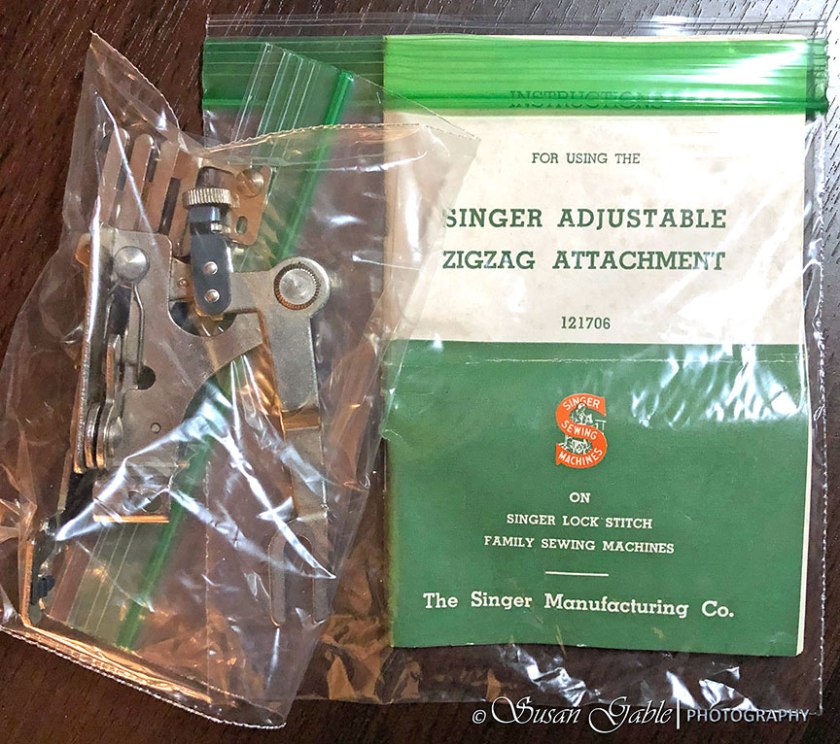
Here’s the original manual for the zigzag attachment. It’s in great condition as it was folded and stored in the original box.
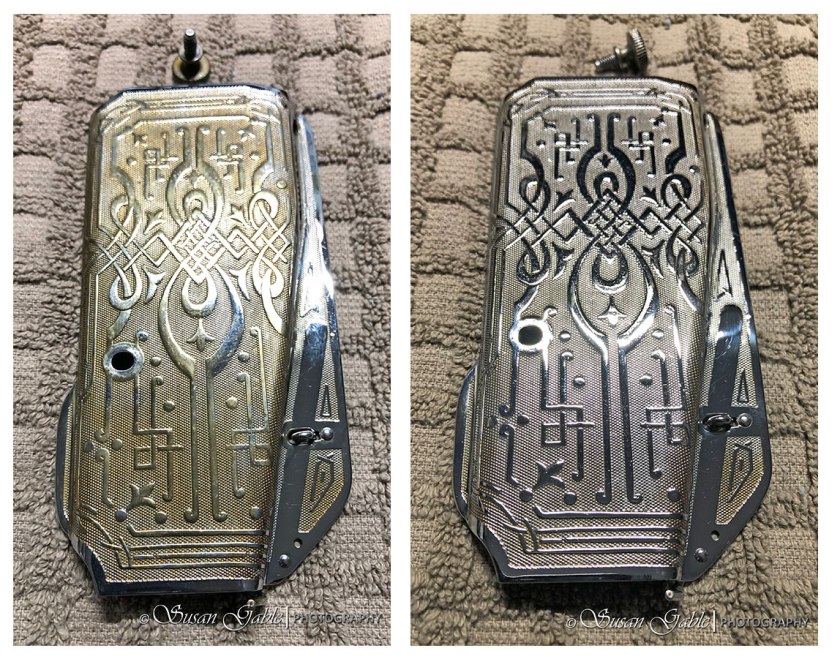
Remember my decorative faceplate covered in grime and who knows what?
I gave it a good scrub using the Flitz polish. On the left is the before picture of my faceplate. On the right is the after picture with the first layer of cleaning.
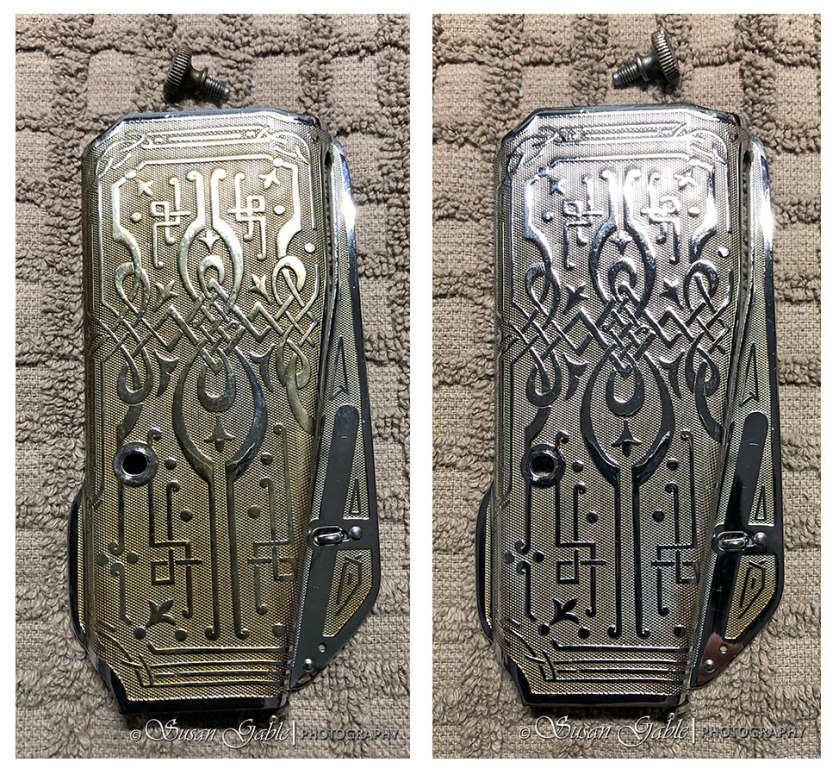
I must have spent an hour cleaning and polishing up the scrollwork on this plate. I’m glad I took a picture as I can still see some yellowish-grime along the lower edge of the plate. Looks like it needs a second round of light scrubbing and polishing.
I decided to clean my machine in sections from left to right. The following picture shows the components to my upper thread tension knob assembly that I took apart. I lined up the pieces and took a picture so I would remember how to put the pieces back together. I had a system where I put all corresponding parts in a small plastic snack size bag. That way screws and bits and bobs did not get mixed up with other components from another area of my machine. This process allowed me to grab the bags of parts and clean them and put them back in their associated bags. Once the left section of my machine was cleaned and waxed, I grabbed my bags and started to install the clean parts and pieces.

I apologize for not having additional pictures of my cleaning process. I’ve been wearing gloves to protect my hands from the grime and the polish and the waxes I’ve been using. I was elbow deep into the cleaning process and I forgot to stop and take pictures.
Locally, I was not able to find a small bottle of kerosene and ended up ordering a 32oz bottle online. I needed the kerosene to clean up the old oil, varnish, rust, and grime from the feed dog and other internal components. The feed dog was caked with rust and dried up unknowns. I will see how far I can get this piece cleaned up.
Once I was done cleaning the components on the left side of my machine, I moved over to the right side and took apart the hand wheel and the stitch length regulator.
When I removed hand wheel and the stitch length regulator, it allowed me access to the internal major arm shaft. Here I made sure to oil the shaft and interconnecting pieces.
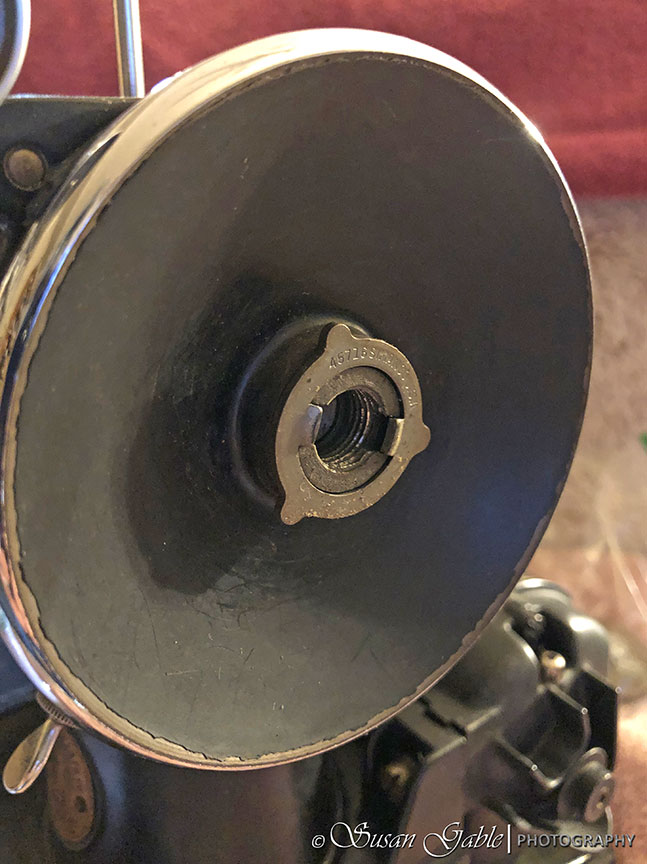
Here’s what I removed from my machine: hand wheel, stop-back motion knob, hand wheel washer, and stitch regulator (bagged) waiting to be cleaned and polished.
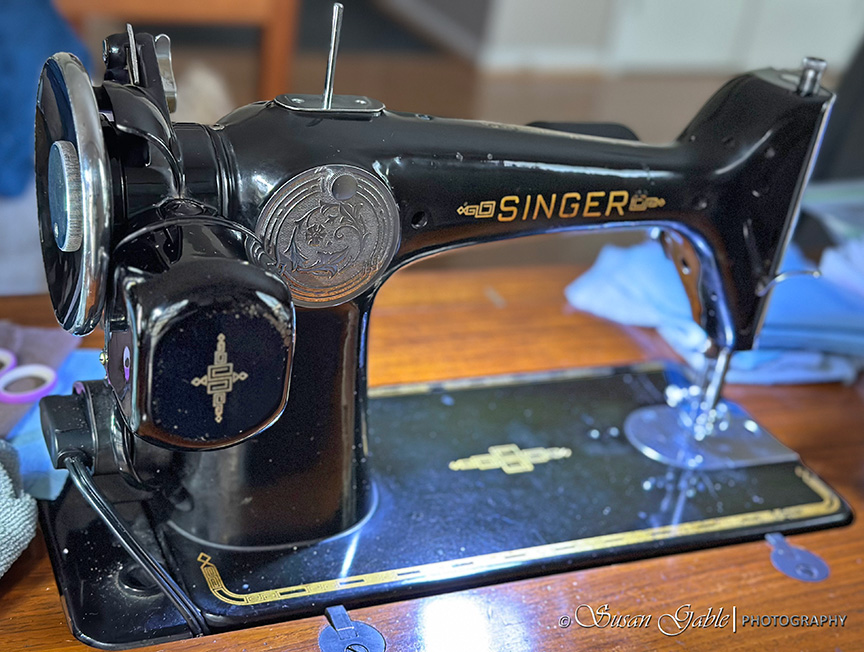
As I was removing external pieces and parts from my machine, it became clear that I needed to clean and wax my machine while the parts were off. I spent some time carefully cleaning and waxing all the black painted areas of my machine including the arm areas. It definitely made it easier.
I used a cleaner and polishing wax from The Featherweight Shop and it did a decent job with cleaning up the grime. I decided to hold off in giving my machine a second layer of wax. I’m still looking for a good polishing wax to use on the painted surfaces.
I’m holding off from cleaning the motor. I will have to unscrew the motor from the machine and lift the motor up so I can clean the remaining grime and I’m sure I’ll find additional bits of spider parts.
Note: I wanted to stop and take some time to reflect on this restoration project I’ve been working on. I found that using the word “restoration” did not fit what I was doing. The words “preserving” and “protecting” kept popping up. That’s what I was doing for my vintage machine.
Cleaning supplies used: Dozens of Q-tips, large microfiber cloth that I cut up into smaller manageable sizes, blue shop towels, old hand towel, small trash bag, disposable gloves, small snack size baggies, and lots of patience.
Waxes/Polishes/Oils: Flitz metal polish used on the nickel, chrome, and brass items. Sew-Retro sewing machine oil used to lubricate the moving parts and in the oil holes of my machine. Sew-Retro grease used on the gears and to fill the grease tubes in the motor. Sew-Retro Clean used to clean the black painted areas. Sew-Retro Shine wax to protect the black painted areas.
Other Tools: Flat head screw drivers in various sizes and lengths. Wera is wonderful brand of slotted screw drivers with good torque for those stubborn screws. A bright LED head lamp that tilts up and down to see into the nooks and crannies. A bright LED flash light.


Leave a comment