I mentioned in another post I had removed the old incandescent light bulb in my machine and replaced it with a new bright LED bulb. The new light would flicker when turned on. I decided to leave it alone and do more research.
When I was sewing my earlier stitch samples and later a sewing machine pad, I ended up using my desk lamp to see what I was sewing. The lamp light was not bright enough. I researched a few LED light fixtures with a magnetic base so I could attach the light to my metal face plate. I decided against spending more money and I wanted to keep the face plate clear so I can quickly fold up the bed when not in use. My machine pad keeps the folding bed from hitting against the thumb screw that holds my face plate in place.
I kept tinkering with the on/off toggle light switch and getting a flickering light. I was hoping that one day it will just turn on and stay lit. It’s kind of like when I gave my machine a good oiling and greasing and left it alone overnight and the next day my machine came alive. I can hope, right?
After a few weeks of playing with the switch, my light fixture came alive and was shining so brightly. I can now see what I’m sewing!
I currently have to jiggle the switch a bit to get the light to turn on. I will eventually have to take apart the light switch, but I’m putting it off for another day. I just want to sew for now.
I uncovered a few pictures I had taken during my conservation project and had forgotten about them until now. I wanted to share the pictures to show that with a bit of elbow grease a vintage machine can show it’s underlying beauty and personality.
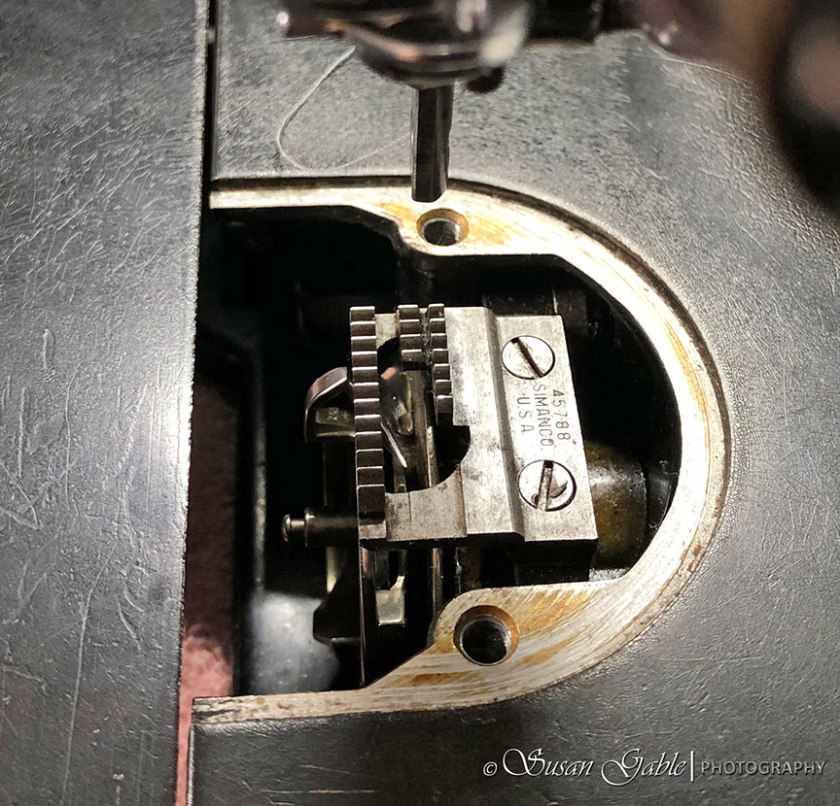
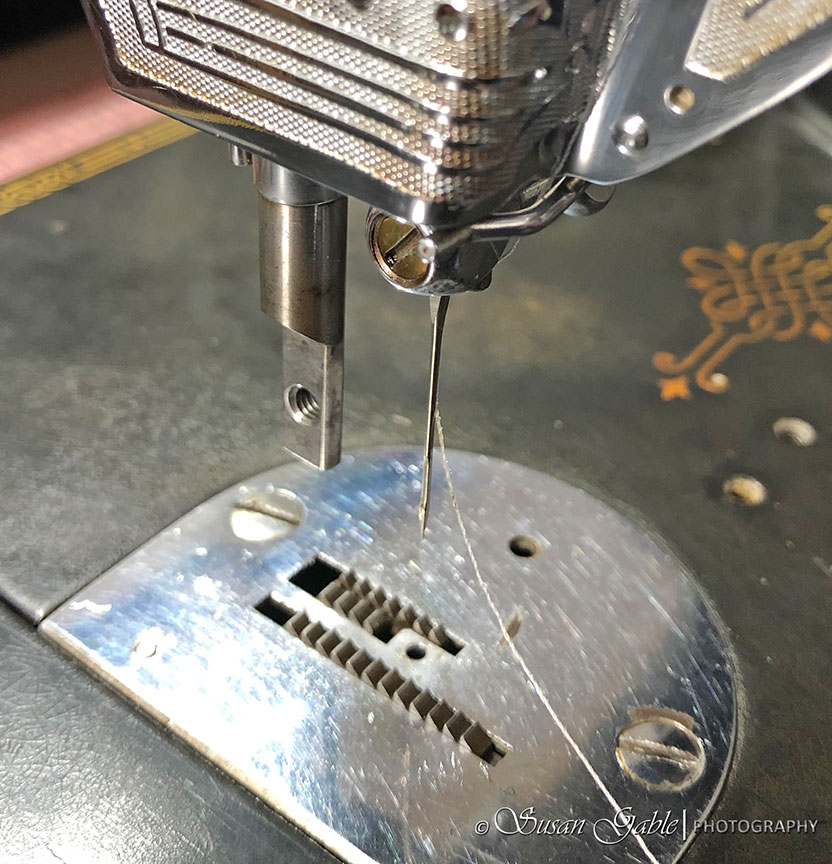
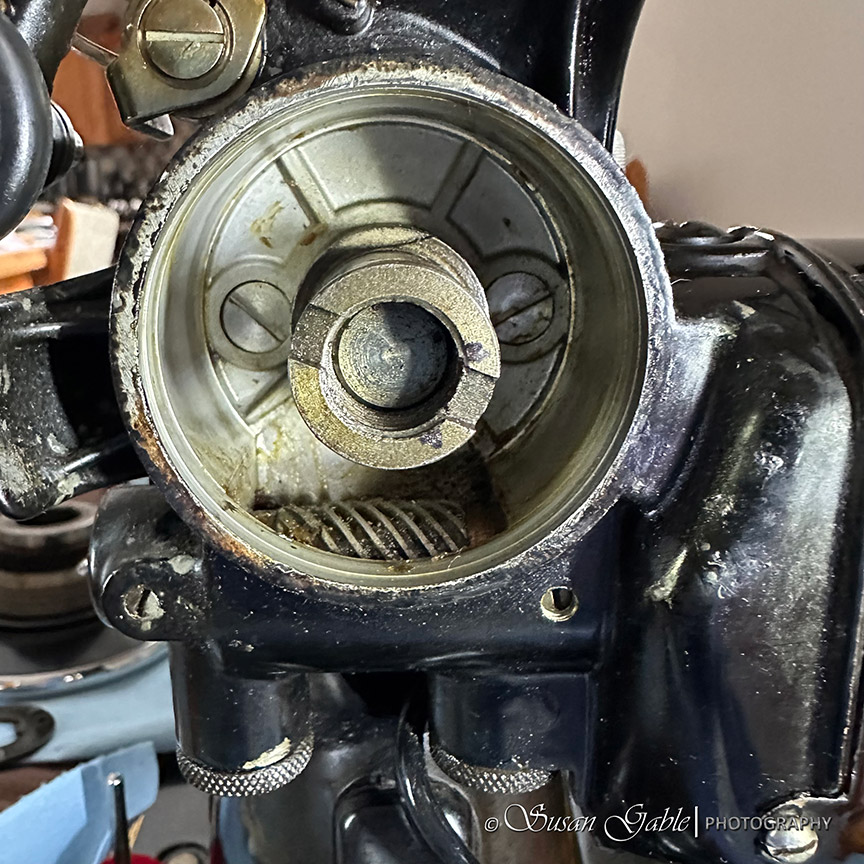
Here’s what my feed dog and screws looked like before.
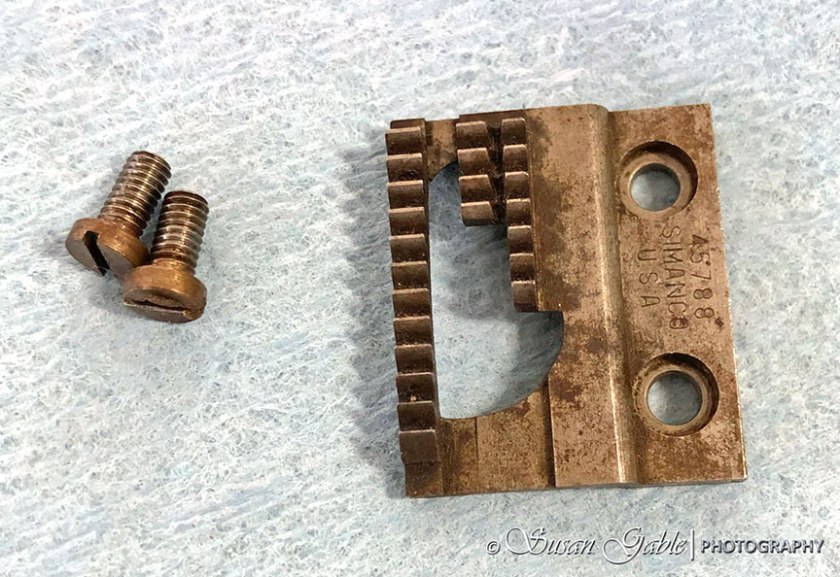
I tried to use my Flitz polish, but that did not work at removing what appears to be rust over real metal. I ended up using my sewing machine oil and just coating the feed dog and screws and let it sit on a towel. I wiped off the oil and installed it back onto my machine. A week later, I removed the feed dog and screws and gave it a good cleaning with my machine oil and now it’s looking quite a bit better.
Here is my tarnished brass logo badge.
Here is what it looks like after cleaning with my Flitz polish. There is still some tarnish along the edges which I will leave for now. It adds a bit of vintage character.
I did remember to take a picture of one of my attachments before cleaning and polishing. Here’s my vintage Tucker or Pintuck attachment with some bits of rust and grime.
Here is what it looks like after giving it a good scrubbing. I feel better about handling my attachments when they have been cleaned and not worry about getting remnants of grime or the bad smell on my hands.
I forgot to clean the presser foot bar. I had not noticed it until the light on my machine started to work and lit up my sewing machine bed. It really does stand out against the areas I already had cleaned and scrubbed.
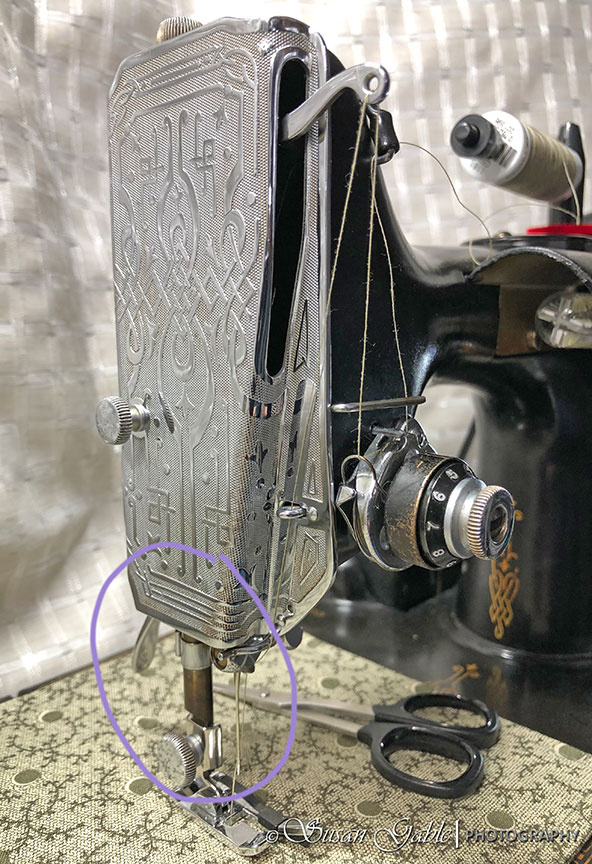
I decided not to remove the pressure foot bar, but just clean and polish what I could see and have access to.
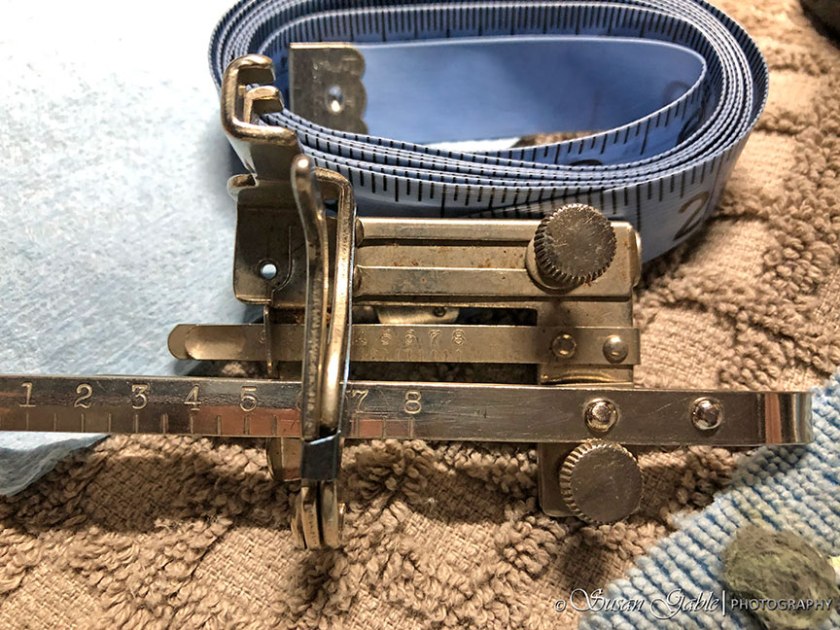
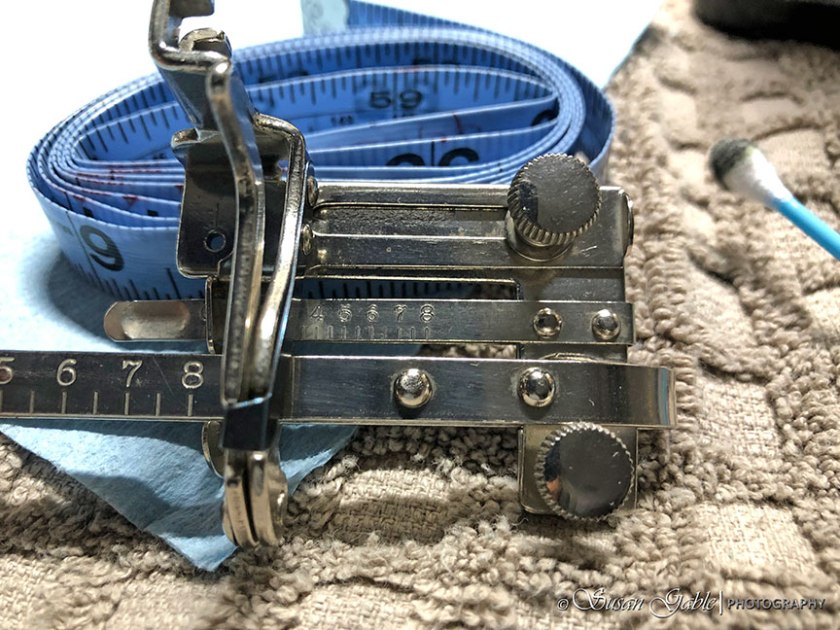
My throat plate does not have the stitching guide lines. I know a few sewing folks would lay down tape and mark 1/4″, 3/8″, or 5/8″ seam lines. I prefer not to damage the machine’s paint any further. I ended up with a seam guide that screws into the machine’s bed.
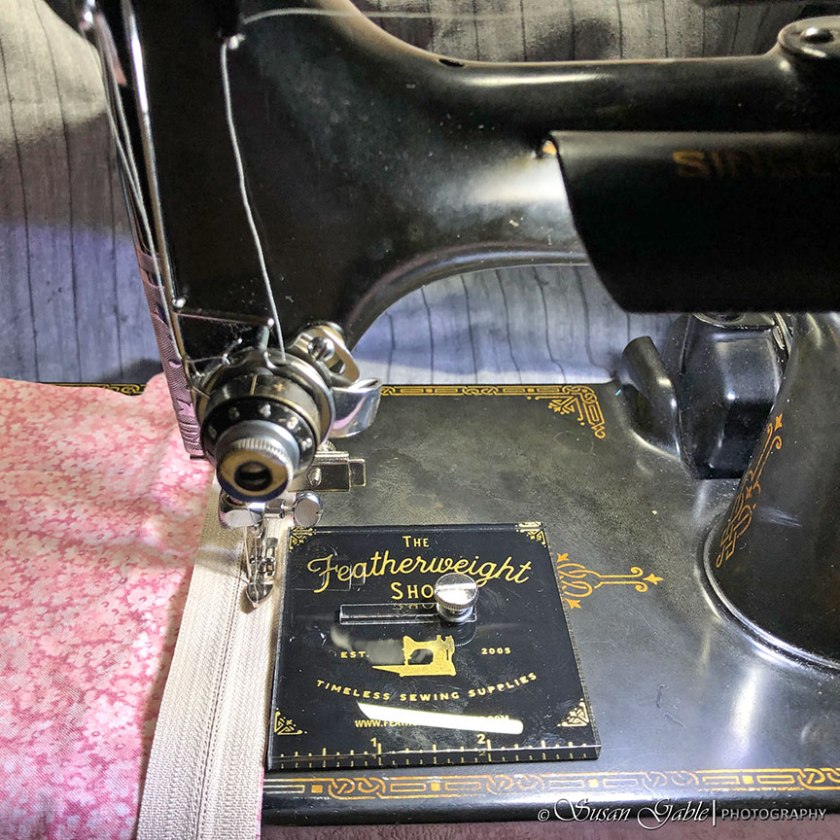
There’s ample room to slide the guide towards the right for larger seam widths. The guide includes the thumbscrew to hold the seam guide in place while sewing.
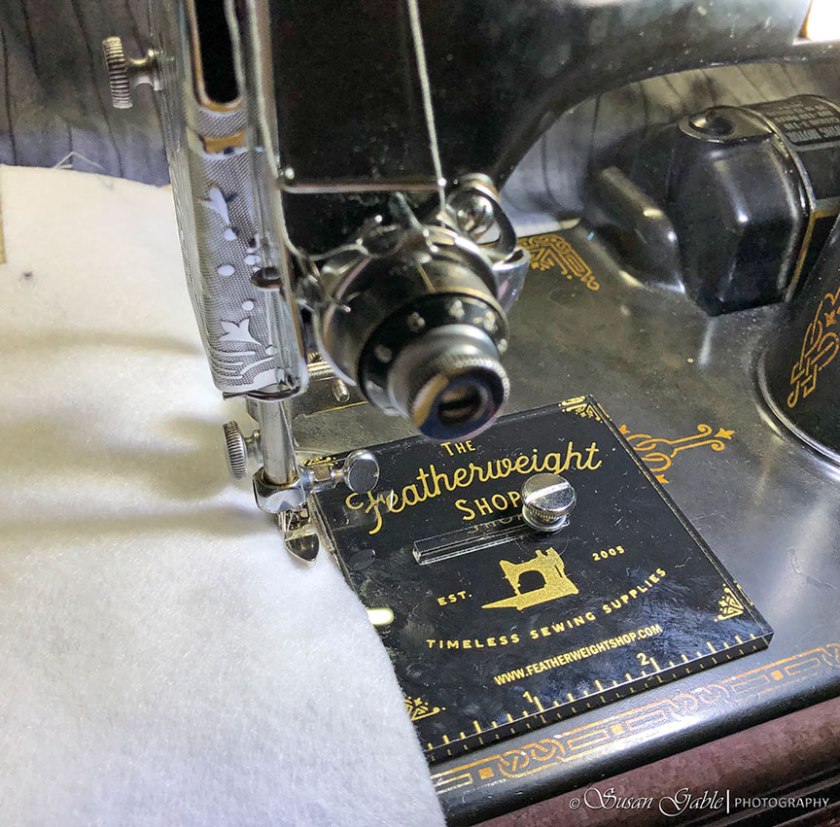
The seam guide is thin enough (3/16″) and it does not interfere with needle bar screw assembly when the bar is lowered. For me, this is a valuable and extremely useful sewing machine accessory and it doesn’t scratch the surface of my machine’s bed.
Here’s my before picture taken at the antique shop.

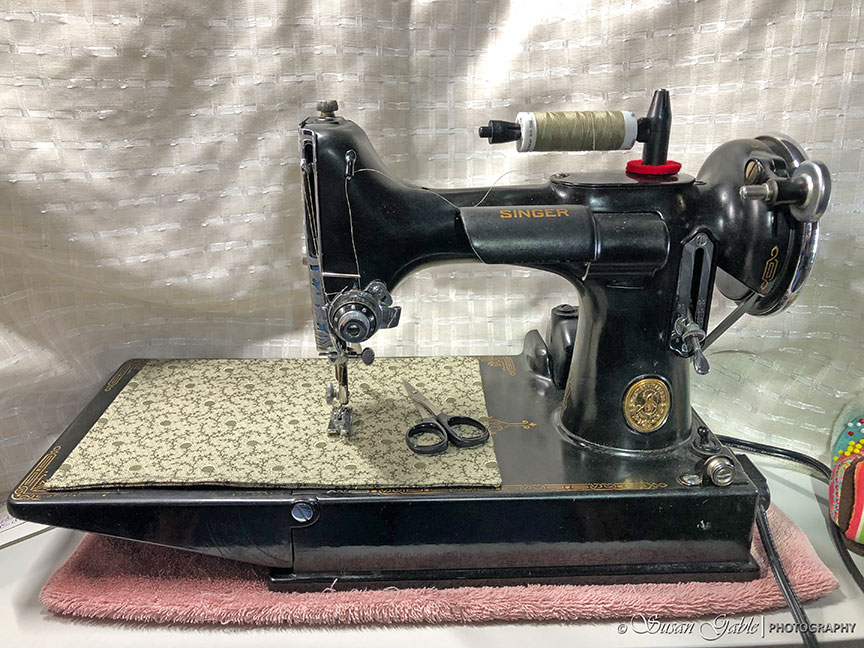
Here’s my after picture with the majority of my machine cleaned up. I’ve been sewing on it every three days or so and plan on sewing on heavier fabrics to test my machine’s capability. I need to give my machine another good waxing to add a bit more protection to the paint and decals.
I believe that wraps up my conservation blog posts on the initial care and maintenance on my lovely vintage sewing machine. It’s been a fun and exciting adventure for me and I learned so much in the process.
My Featherweight was a fantastic find for me and it’s the perfect size. I like the compact size as I have limited space in my studio. Right now, my machine is sitting on a small rolling cart when not in use. It’s light enough to pick up and carry to my desk when I’m ready to sew a project. I use a towel underneath my machine to help dampen the sound and also to lessen any bounce or rattling on my desk.
Thank you for your patience and following along in my conservation adventure.
Waxes/Oils: Flitz metal polish used on the nickel, chrome, and brass items. Sew-Retro sewing machine oil used to lubricate the moving parts and in the oil holes of my machine.
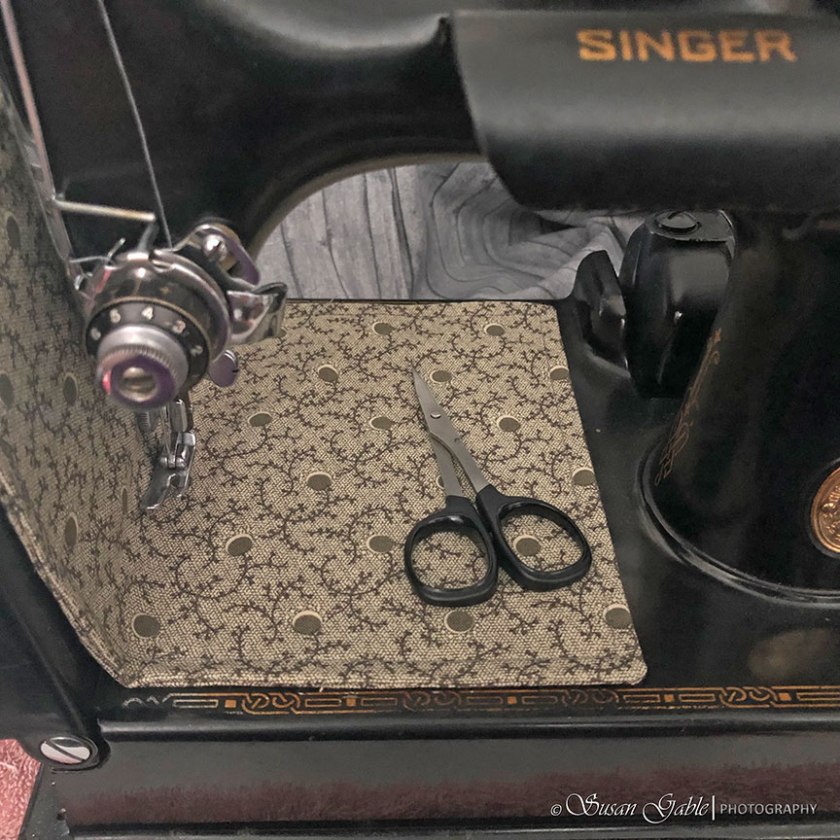
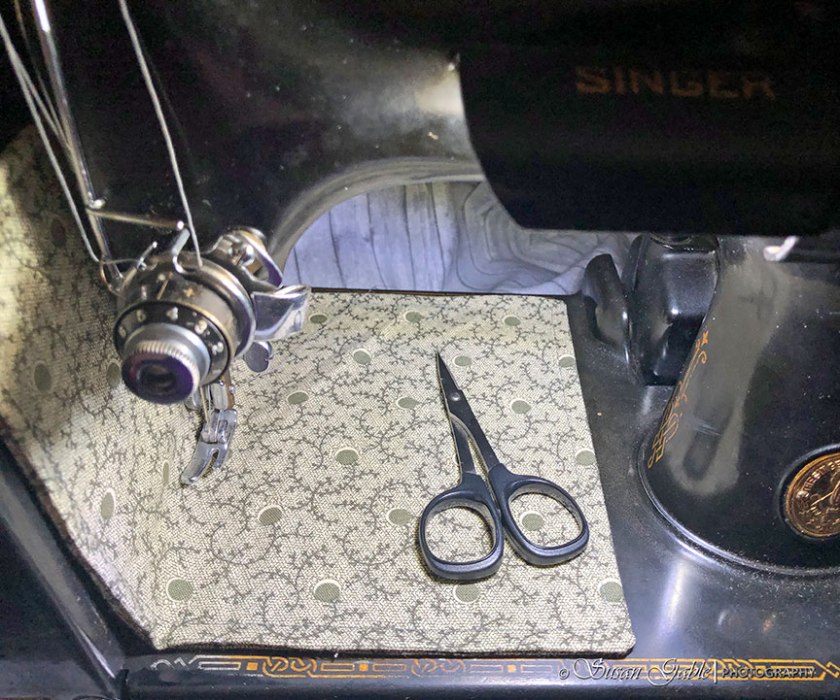
Other Accessories: LED light bulb (110volt, bright light) and Seam Guide from The Featherweight Shop. Kai 5100 Series 4″ scissors.


Leave a comment