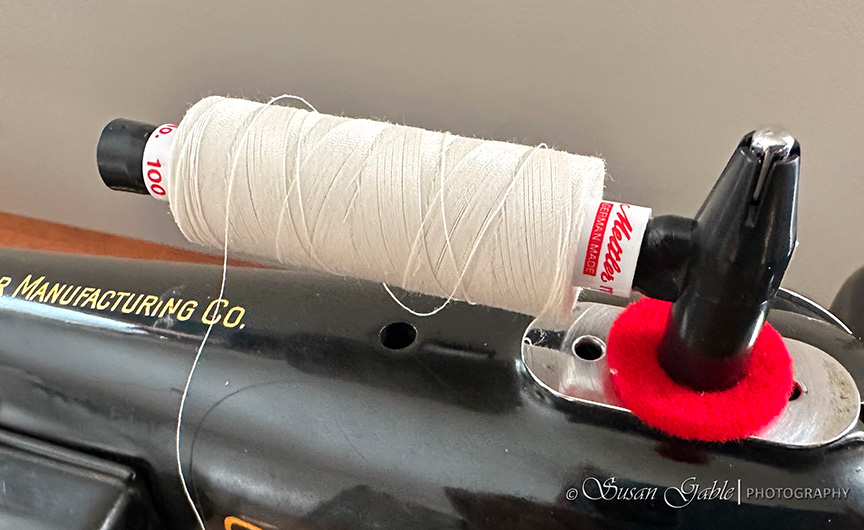
I’ve pretty much shown the outer parts of my machine and the final polishing I’ve done so far. Now, it’s time to show what’s behind the beautiful and decorative chrome plates.
On the Left Side
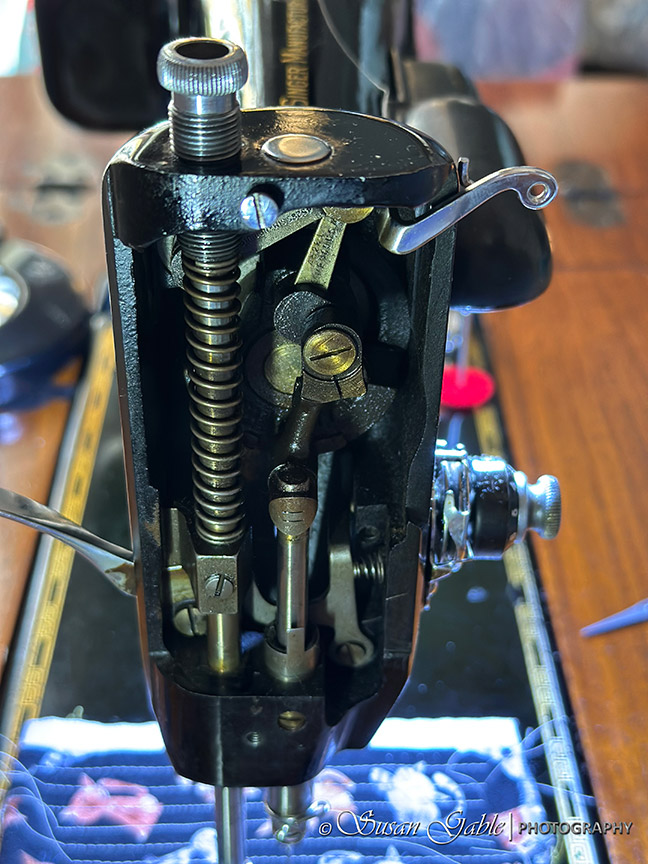
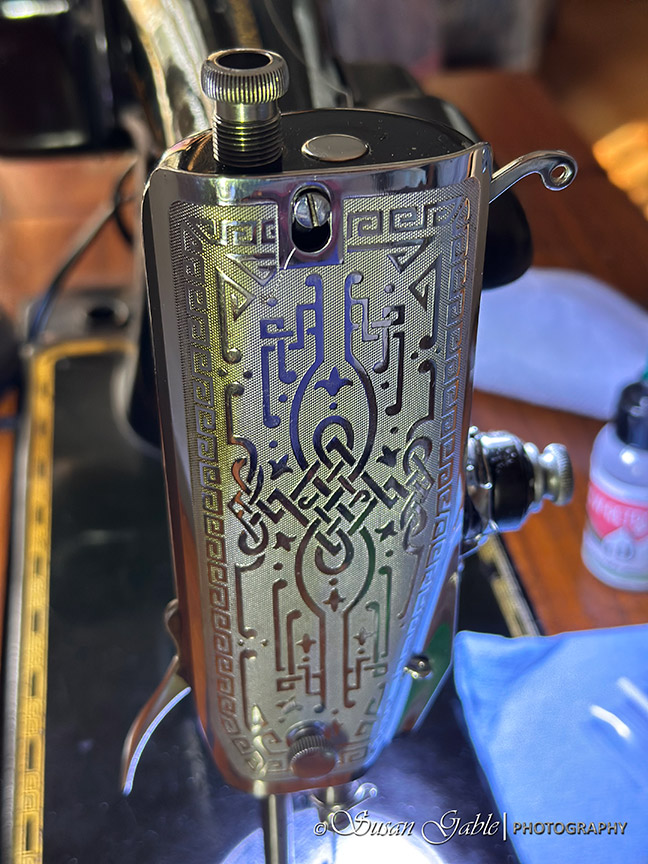
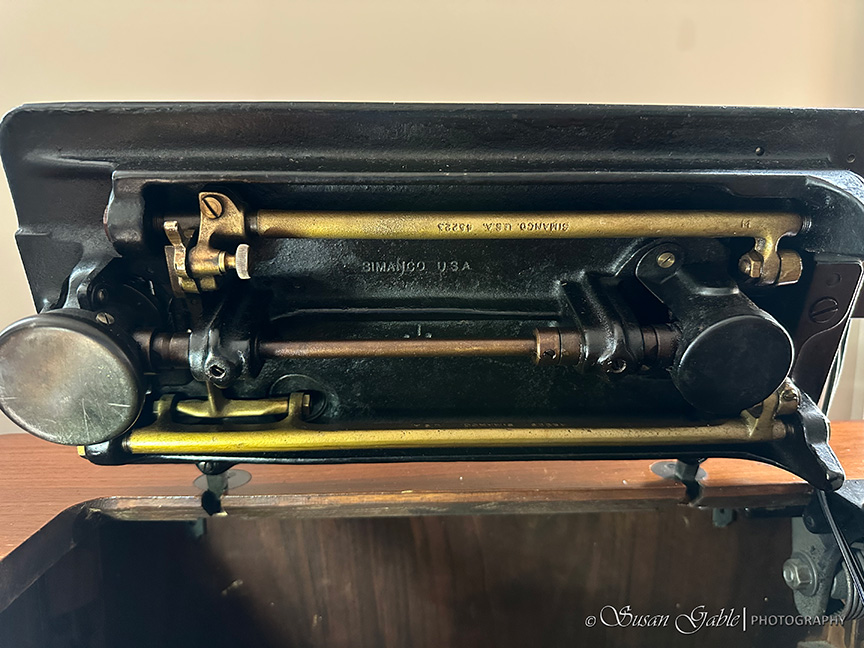
Here is the side face plate or what some folks call the nose plate. I’m thankful that I did not need to clean the nooks and crannies on this plate. It only needed some cleaning and buffing around the edges. This plate has a thumb screw located towards the bottom of the plate. Unscrew the thumb screw and slide the plate up a tiny bit to release it from the top screw that holds the plate in place.
You can clearly see the presser foot bar with the long coiled spring on the left. The needle bar is next to it on the right. Inside this area I ended up adding oil to 10 spots including the three (3) oil holes or what I call ports. A lot of the steel rods and most things metal are covered with old varnished oil. That’s the yellow coating you see in my pictures. One day (or a week) I plan on taking my machine apart and clean this up a bit. For now, my machine is working and I just want to enjoy my time sewing.

On the Back Side
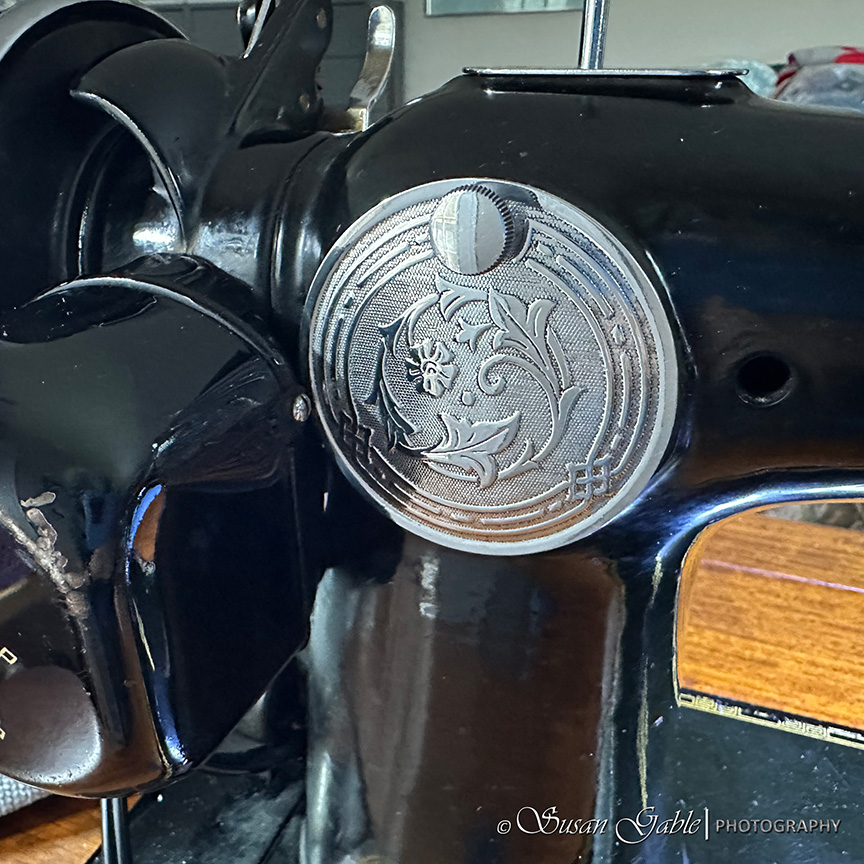
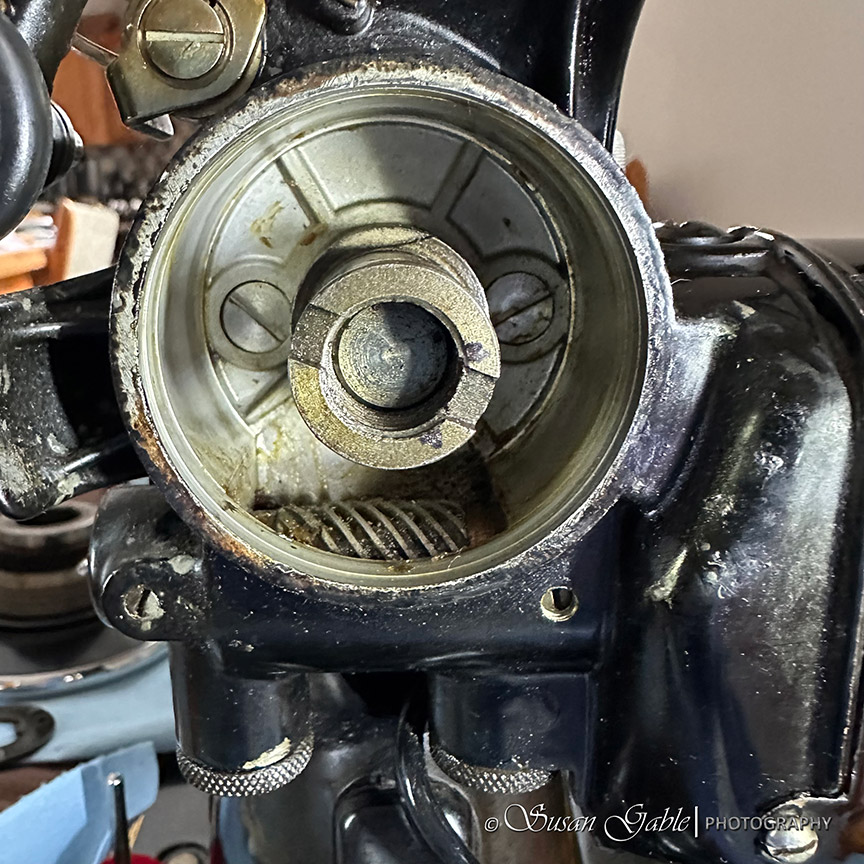
Looking towards the back side of my machine is a round decorative plate with another thumb screw holding it in place.
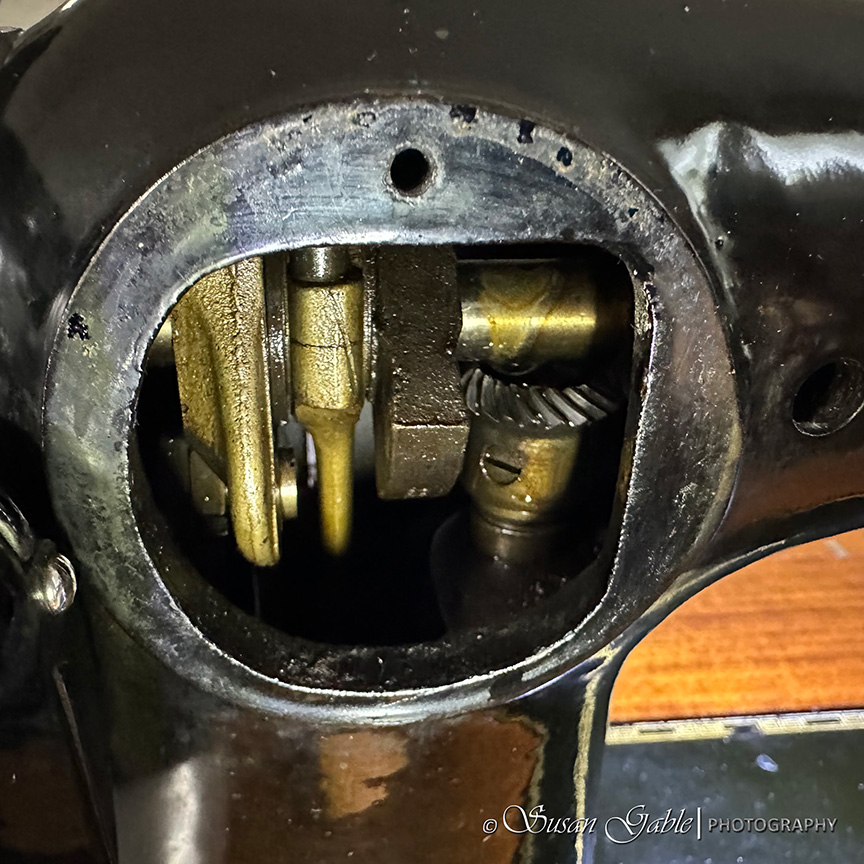
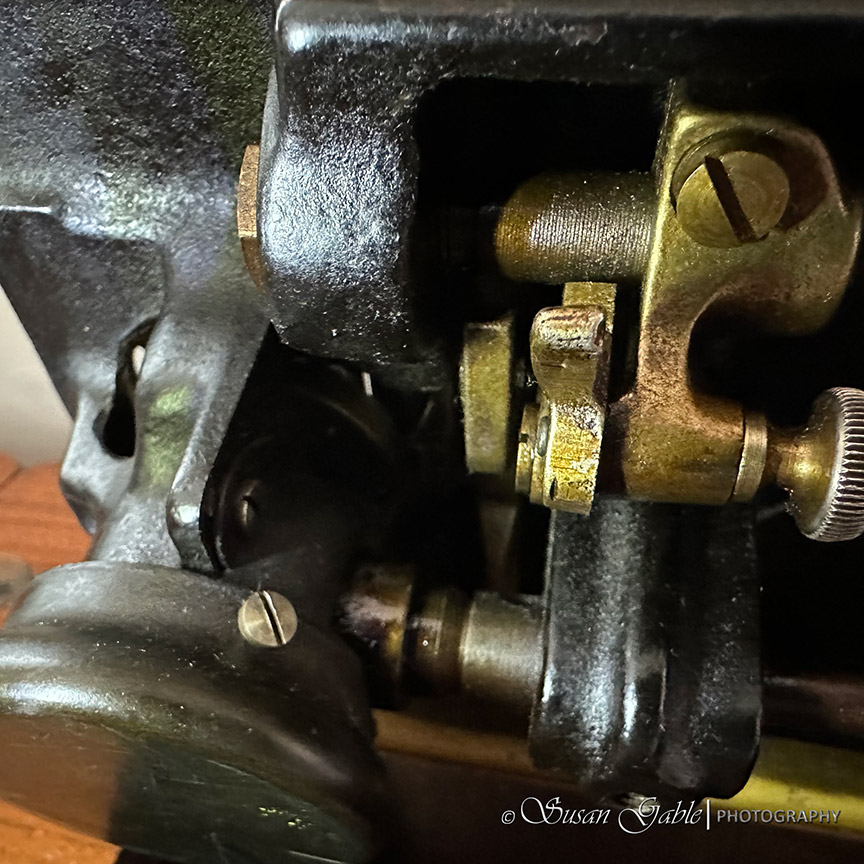
Once I removed this decorative cover plate, I had access to additional rods/bushings/gear that required oiling. I ended up cleaning out and removing old black grime from the area in and above the gear. I then oiled the gear. Yes, I oiled the gear.
Note #1: Apparently on the Singer 201, I’m supposed to add oil to the gears. It’s okay. The gears on the 201 are so finely tuned that only oil is needed. If grease gets on the gears it will eventually get “caked on” after years of use and possibly slow down the machine. We don’t want that at all. Absolutely no grease on the 201 gears. Duly noted.
Note #2: On the Singer Featherweight the gears are lubricated with grease. No oil on the Featherweight gears. Just grease. Duly noted.
Take a look at what’s behind the round plate. So many moving parts can be seen through a small opening. Also this opening makes it a bit difficult to access the oiling points.
The Singer engineers thought of everything when they designed this heavy duty housing. There are several oil holes/ports on top of my machine.
On the topside of the machine and above the rear face plate are two oil holes on top of the metal spool plate. Also, the picture shows the round decorative plate behind it that I loosened and swung the plate up a bit.
My bottle of sewing machine oil came with a long narrow spout. This came in handy for putting oil into the oil holes. In a few areas, I had no idea how far down I needed to go. So I took the end of a long cotton swab stick and placed the slender wood handle down the hole until I hit something like a metal rod. With the round decorative plate removed, I could see the wooden stick touch a metal rod. Other times when I can’t see anything, it’s a guess.
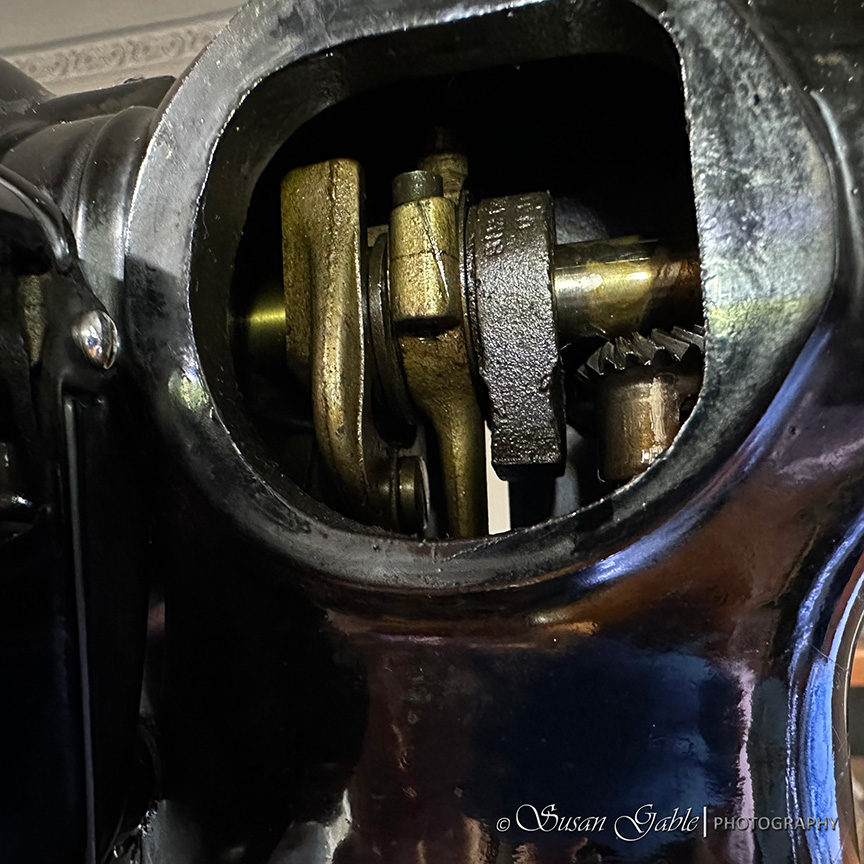
Again more old varnished oil on the rods and bushings.
On the Underside
The workmanship on my sewing machine and cabinet is well…brilliant! I can lift up my machine and lean it back to clean and oil underneath.
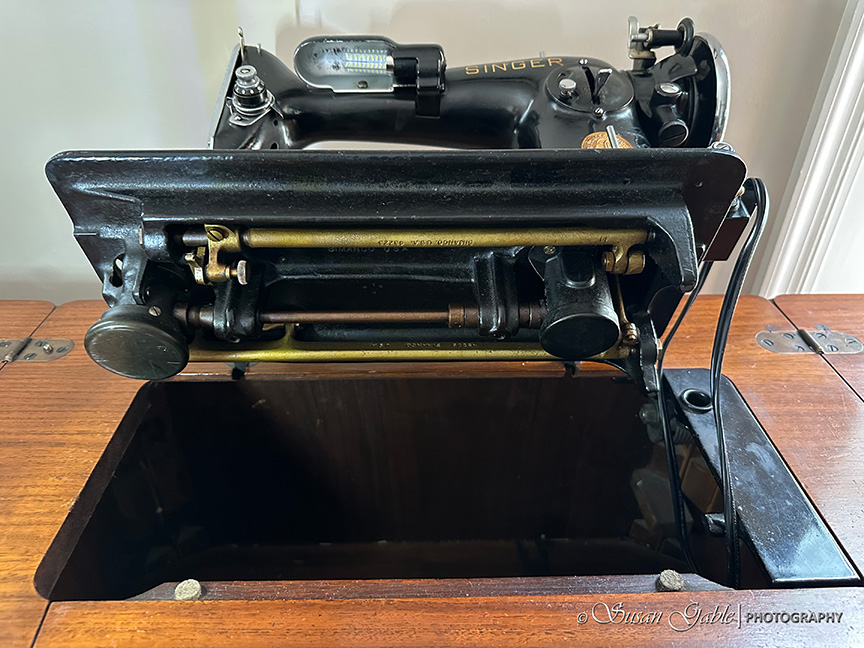
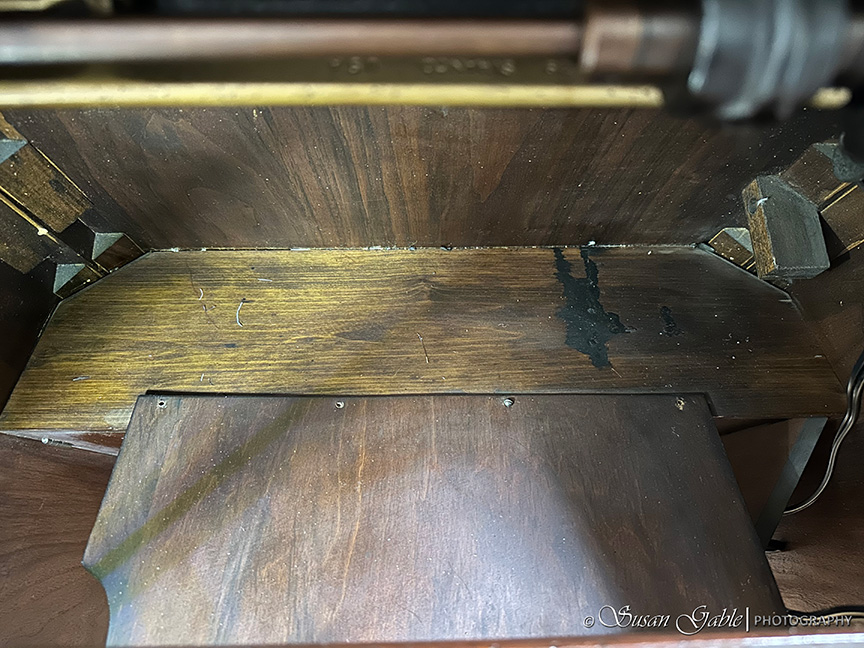
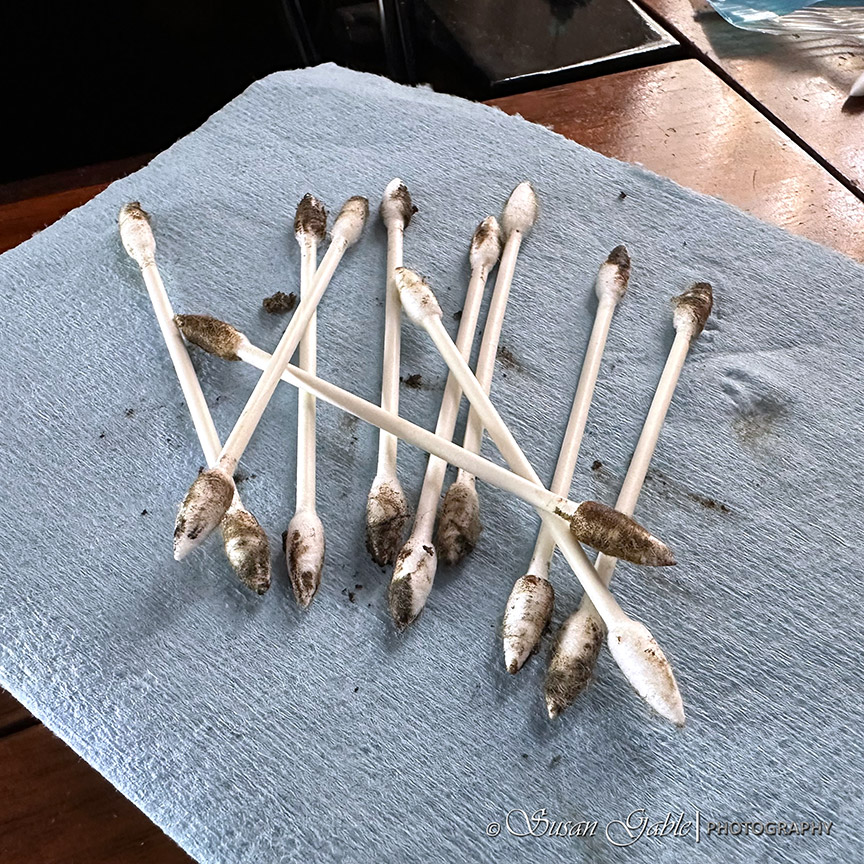
My machine sits over this enclosed area inside the cabinet. It’s an area that collects debris and oil. I can see an old black pooling of something that collected over the years. It looks like the same black gunk I removed from the gears on the top of my machine.
Here’s a close up view under my machine. Again, very simple engineering and design. There are several areas to oil including parts that move against each other, oil holes, and two gears. I notice there are two cup caps. Behind each cap are gears. I imagine the cups are used to collect any oil that runs down because of gravity. On my to do list is to remove the cups and give the gears a good cleaning and add oil. For now, I’m able to use the long narrow spout on my bottle of oil to get to the hard to reach areas.
Here’s a close up showing the left cup cap (bottom left) and a thumb screw (middle right) to lower the feed dogs. Yes, I can lower the feed dogs on my machine and do some free motion sewing.
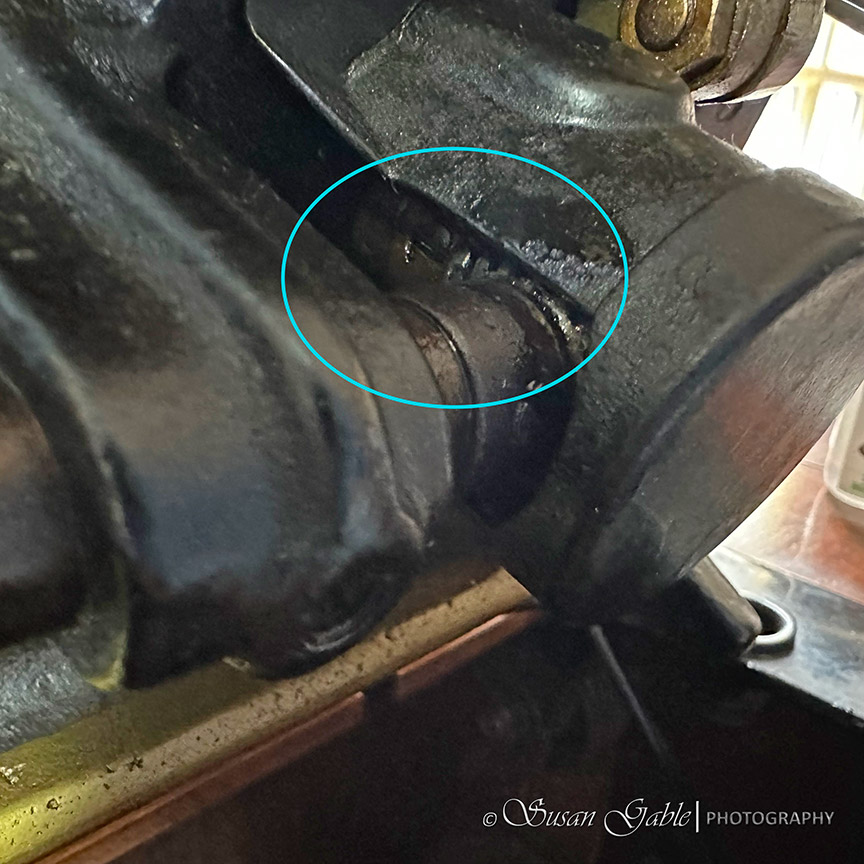
On the right side is the other cup cap. In the circled area I can barely see the gears hidden under the cup shield. Before I took this picture, the gear was filthy with black grime/gunk. I used my pointed cotton swaps and cleaned out the gear while turning the hand wheel. I then added lots of oil in this area while turning the hand wheel.
I have no idea what this black stuff is that I removed.
This is the sewing machine oil I used on my Featherweight. I purchased this from the “Featherweight Shop” a few years ago and I figured it was safe to use on my 201.

I have kerosene. I have Tri-Flow oil. I’ve decided not to use those two products. Not indoors. I only use cleaners and oils that have a light scent or no scent at all.
In order for me to do a bit of deep cleaning, I’ll need to remove my machine from my cabinet and take it outdoors. I can be as messy as I want outside and not worry about being knocked out by strong smelly products.
For now, I’m giving areas I have access to a light cleaning and a good oiling to keep all the moving parts happy.
Oil: Sew Retro from the Featherweight Shop. You can find this product link here. This is a cool shop for all Featherweight related products including accessories & notions, jewelry, maintenance products, feet, bulbs, screw drivers, etc. Enjoy!
Note: Tri-Flow oil was recommended to me and I decided not to use it on any of my vintage Singer sewing machines. I prefer to use sewing machine oil that is used for sewing machines. Plus when I opened the Tri-Flow bottle, the scent nearly knocked me over. I’ll use this oil for its intended purpose which is great to use on bicycles.


Leave a comment