Update: A question was asked about how I created the shadows underneath my objects. I’ve updated this post to include my answer. Look for the “*” paragraph.
I thought it would be a good time to sketch an art tool that we all have on hand, a water brush.

I started my sketch using my mechanical pencil.

I used my fine point pen with permanent ink to sketch over the lines I wanted to keep in my drawing.
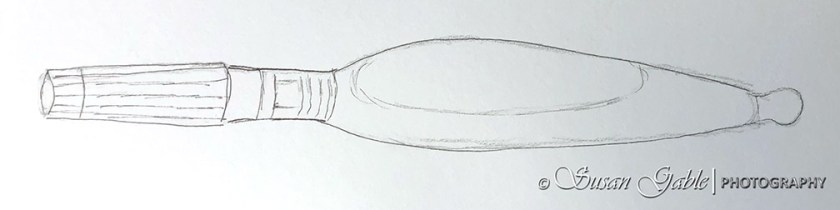
After I gently erased my unwanted pencil lines, I applied my inky wash. I decided to use Sepia Nights for the main areas of my water brush and the shadow underneath my brush. I used Thunderstorm for the dark components inside my brush and added a tiny bit to my shadow to give my sketch a bit more depth.

* To create the shadows under my object, I leave a bit of highlight (white of the paper). I take my pen with same ink color as my object and sketch a line around the underside of my object. This creates a reflective shadow of my object. I dab a tiny bit of Thunderstorm where I think the shadows are the darkest. I slowly swipe my water brush across the two colors and pull the colors down and away from the object. This technique takes a bit of practice, but well worth the effort.
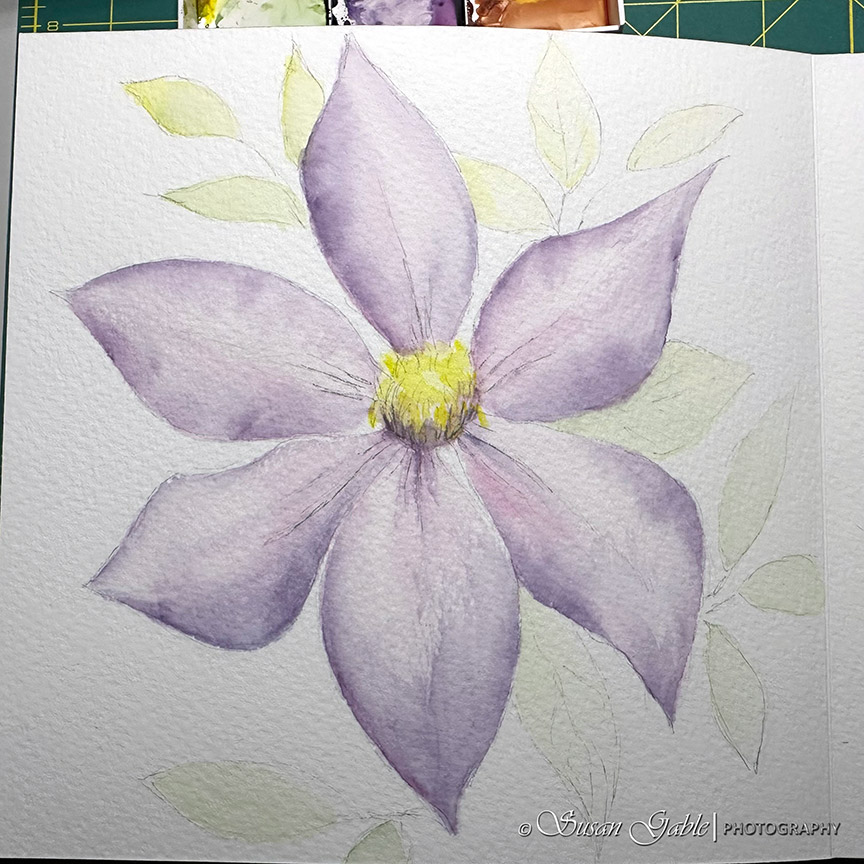
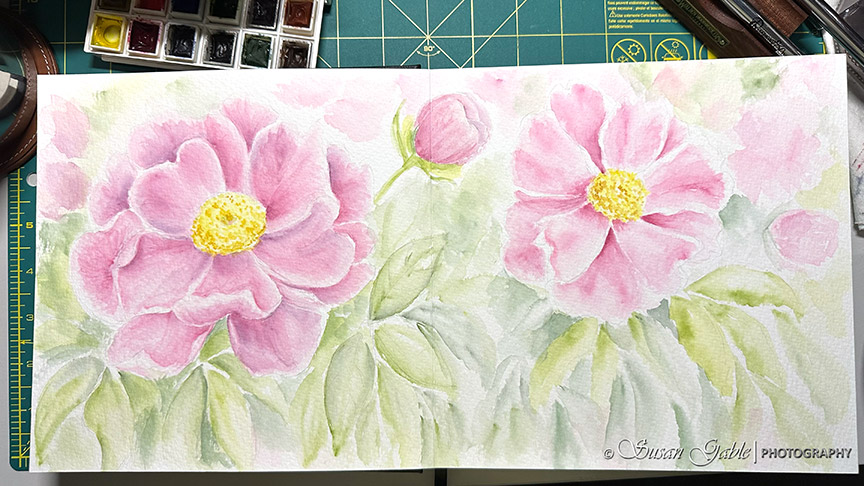
The following picture shows what my sketches look like in my art journal.

Try sketching your water brush. You have creative license on how much detail you want to include. For your first sketch use a blue ink color for your wash.
Challenge: create another sketch of your water brush and use a different ink color for your wash. This additional practice will help in observing your object a bit more and where the highlights and shadows are versus trying to copy the color of your object.
Pens used: Copic Multiliner with 0.1mm tip. TWSBI GOs with Stub 1.1 nibs.
Inks: Robert Oster Sepia Nights and Thunderstorm
Journal: Stillman & Birn Alpha Softcover A5


Leave a comment