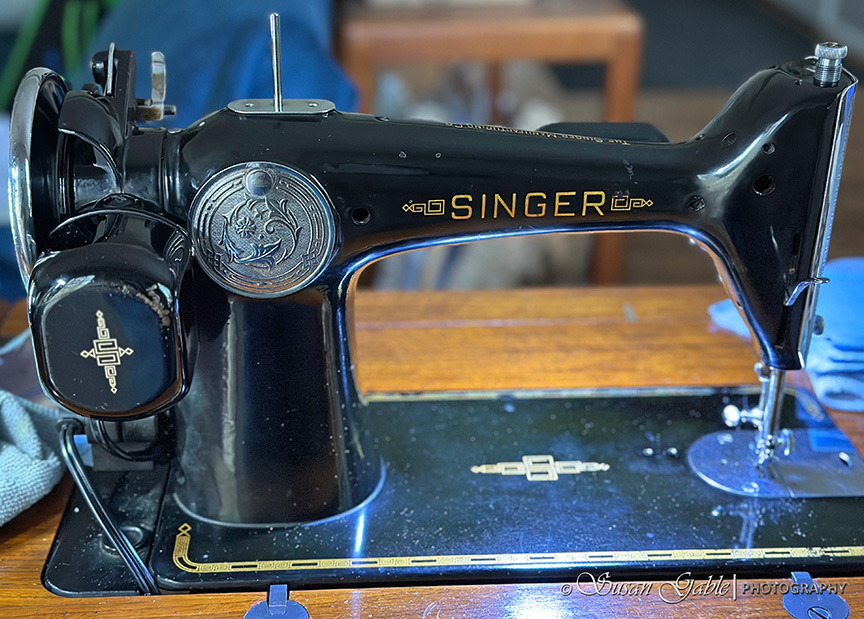
I’m back to working on my Singer sewing machine. There were still some parts of my 201 that were bothering me to no end. I’m talking about the dirty pieces that were staring back at me while I sat in front of my machine.
One particular area turned out to be an important area for me to make adjustments and clean it as well. The presser foot bar. I was having some issues when sewing a layered fabric sandwich or sandwich quilt. My sandwich quilt consisted of fabric, poly interfacing, and fabric. The bottom side of the sandwich had ripples after sewing. Since I’m still in the testing phase with my machine, I did not want to make any tension adjustments as the machine was sewing basic seams beautifully.
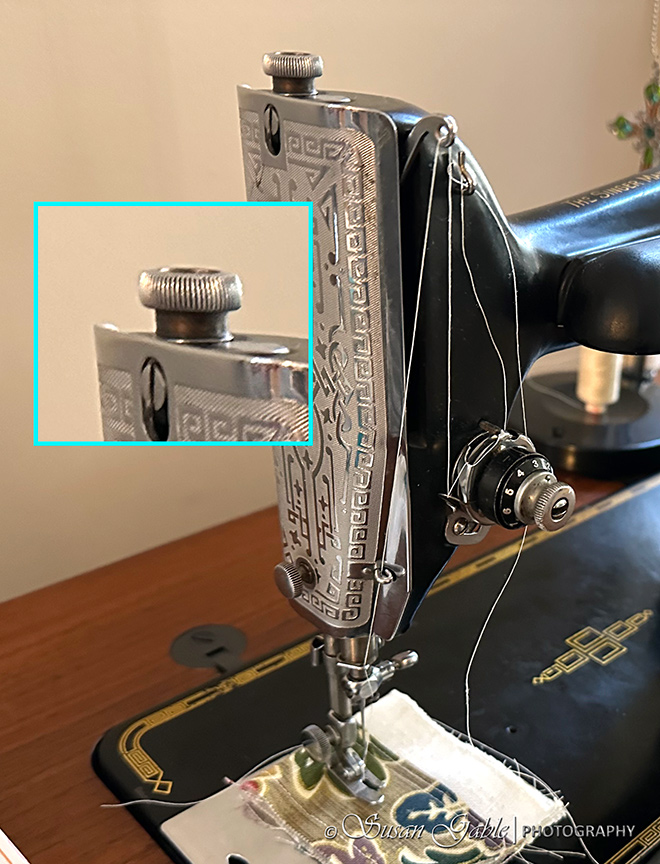
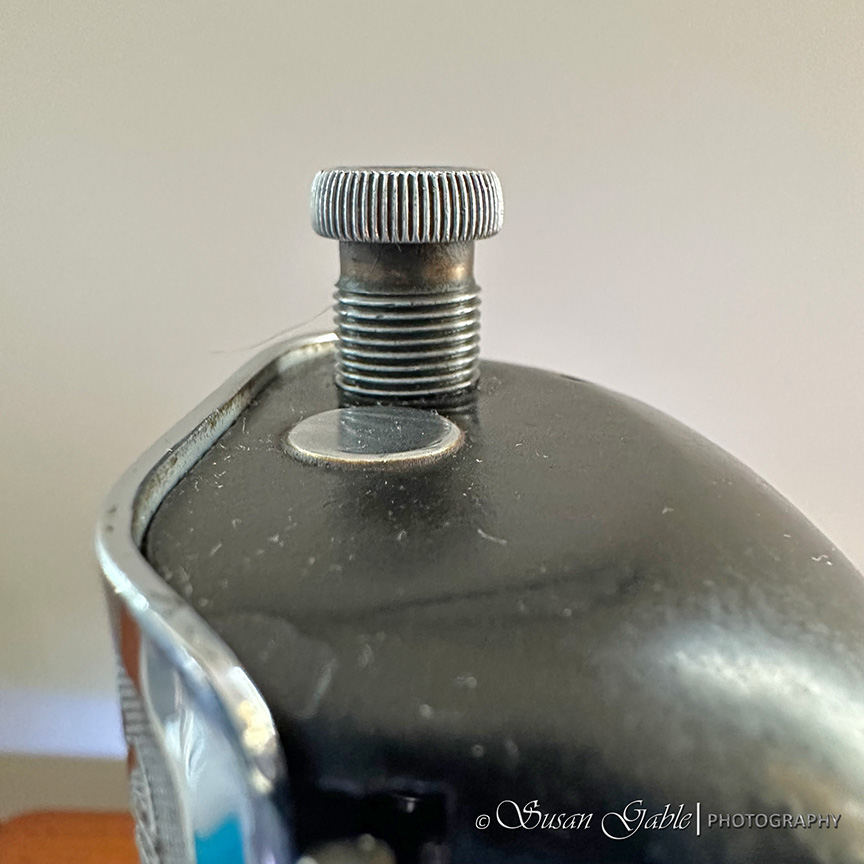
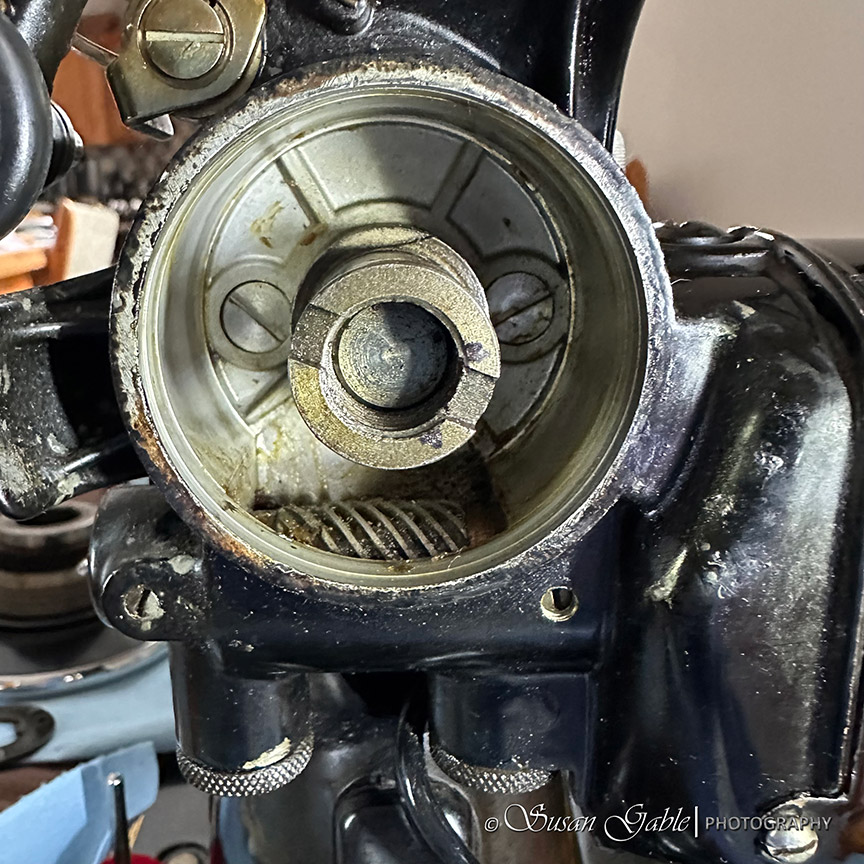
Here’s my pressure bar knob or thumbscrew on the top of my 201. This was originally set when I received my machine. Only the top thread line was showing. Barely.
Initially, I wasn’t paying too much attention to this setting. Until I started to sew some samples of things I would normally sew on my computerized Viking machine without any issues. I was starting to see some puckering under my sample sandwich quilt.
So the original setting was for extreme pressure on the foot which I probably would not use at all.
Yes, I know this knob is dirty and needs a good cleaning. It’s been on my list of things to do. I wanted to show the knob turns right or counter-clockwise to lighten the pressure. Turning it towards the left or clockwise will make the pressure heavy.
I decided to play around with the different pressure points. I turned the thumbscrew counter-clockwise to lighten the pressure.
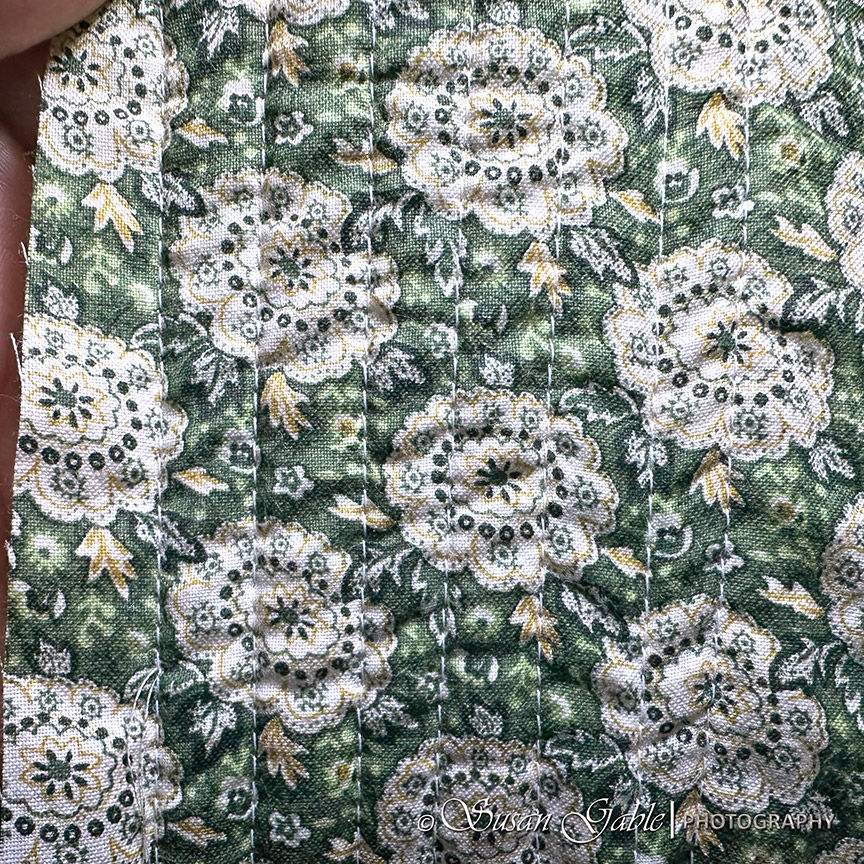
I adjusted the presser foot bar to the right to lighten the pressure and sewed a few more rows. It appeared that change made some difference to the underside of the fabric. Less puckering.
I also sewed some diagonal lines across the fabric and did not see any puckering on the backside of the fabric.
I think for now I will leave my presser bar with 8 thread lines showing or light pressure while I’m sewing. I will still continue further sewing tests to see if I need to make further adjustments here.
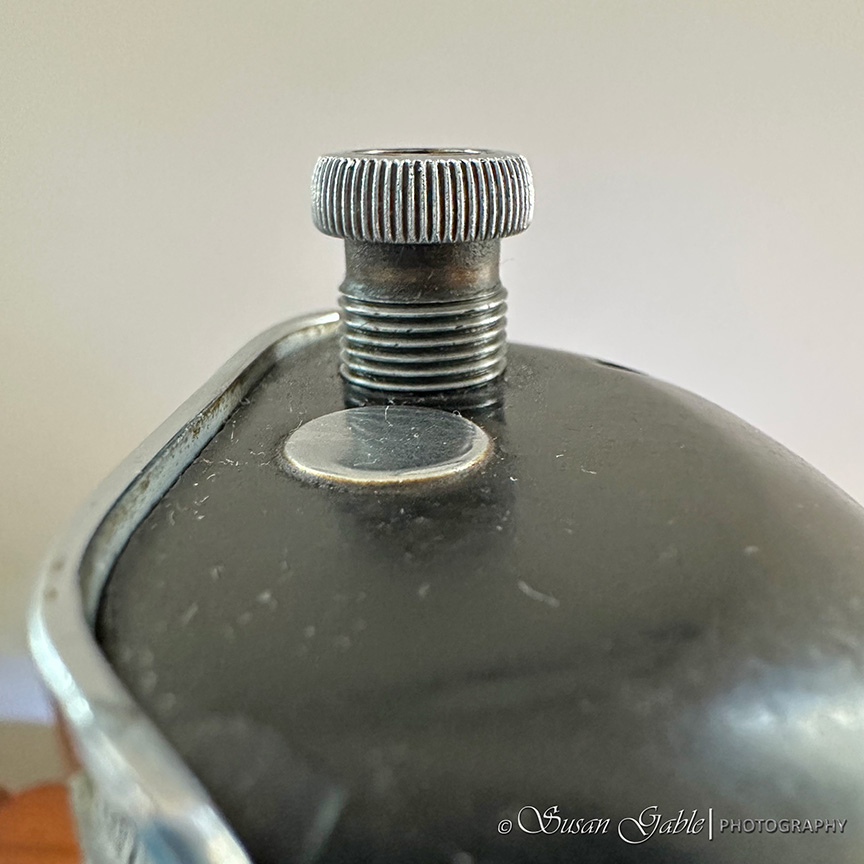
After staring at the above pictures, I knew I had to do something with that dirty thumbscrew. I removed it by turning it counter-clockwise until it released from the hole above the presser bar.
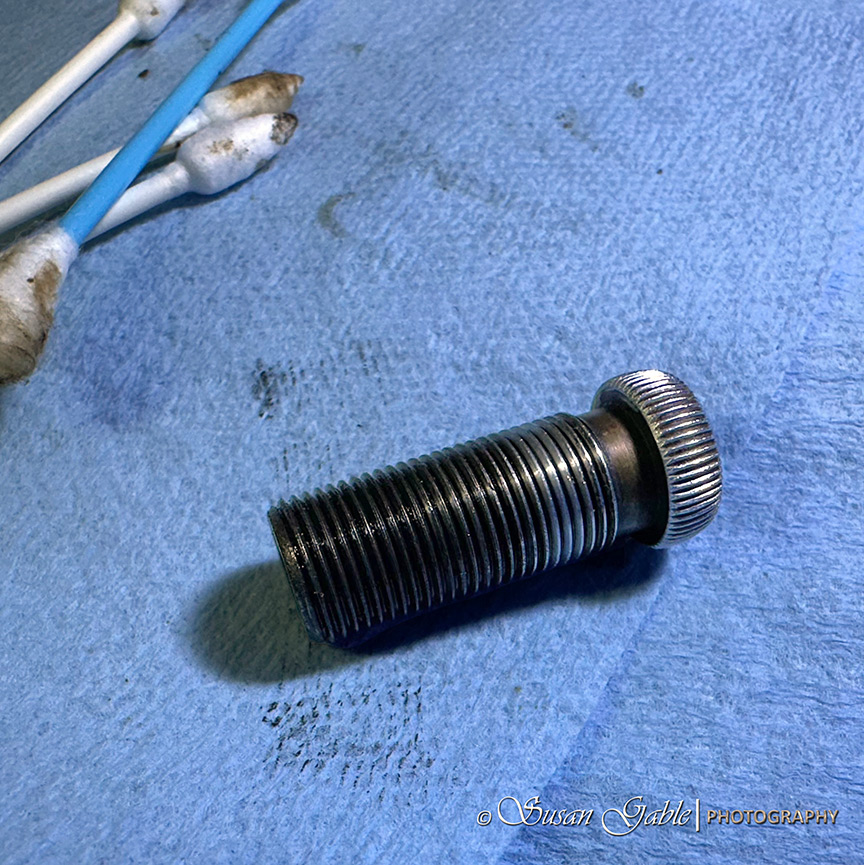
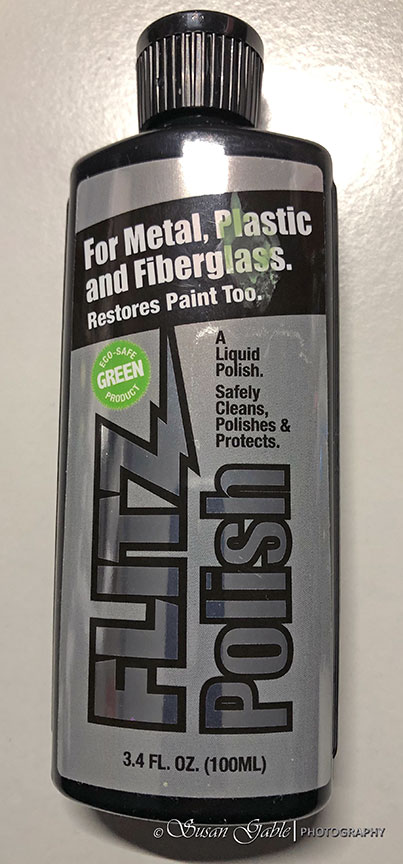
I took an old Singer brush I had in my cleaning supply kit and brushed over the threads to remove the caked on grime and oil. I also used a chrome polish called Flitz Polish to clean and buff the chrome area and to provide some protection.
In my haste, I forgot to take a picture of the cleaned screw before I screwed it back down onto the presser bar. This is what it now looks like on my machine.
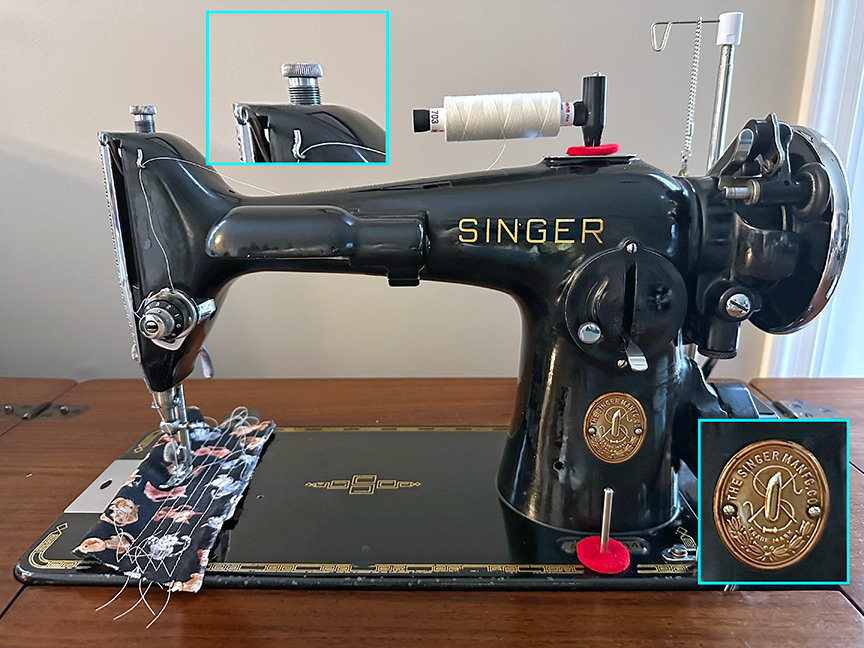
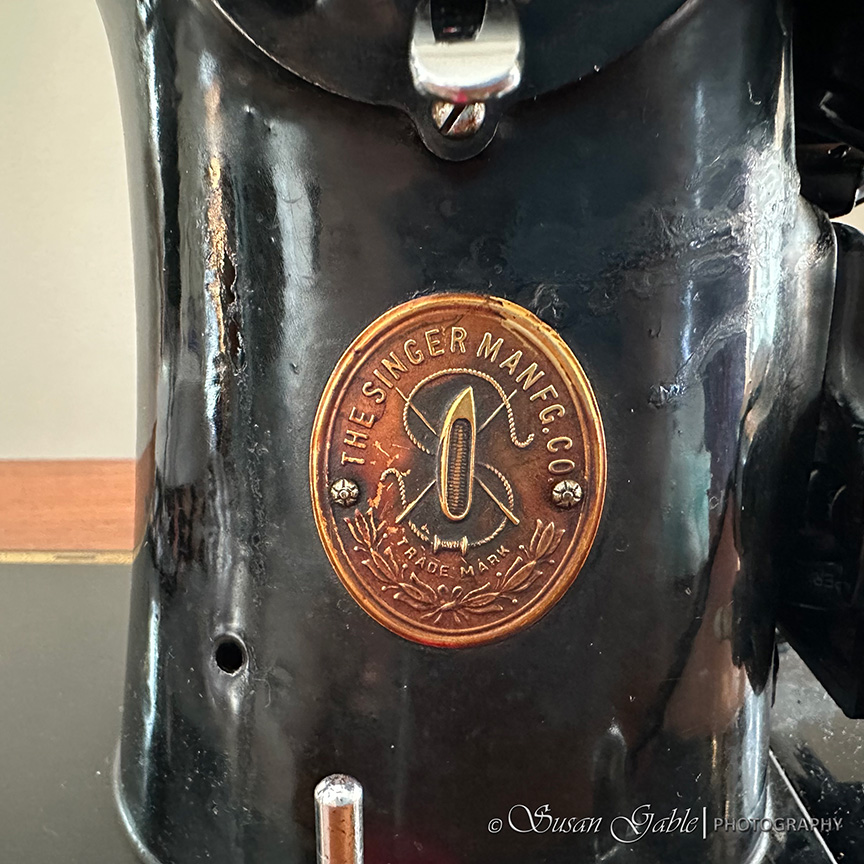
From the previous photo, you can see I also attempted to clean the Singer badge on the base of my machine. I also used the Flitz product to clean the badge. Here’s what it originally looked like:
I had to use a lot of elbow grease to remove the many years of grime caked onto the badge. I had spent a few minutes each day and tried to cleaned the metal based badge with cotton swabs and buffed it out with a micro-fiber cloth. This was the halfway point of cleaning it:
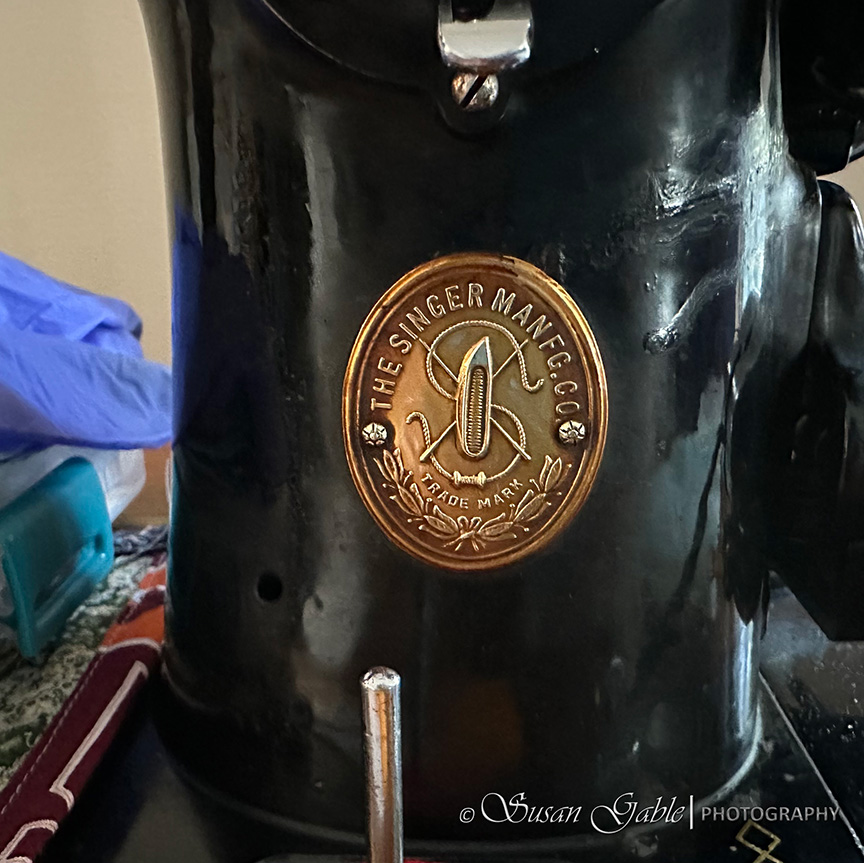
The darkish grime was still bothering me. As one can imagine, it’s hard to clean in between the letters, the decorative leaves, and the “S” part of the badge. I ended up using pointed cotton swabs which made cleaning a bit easier. I still have a ways to go on this.
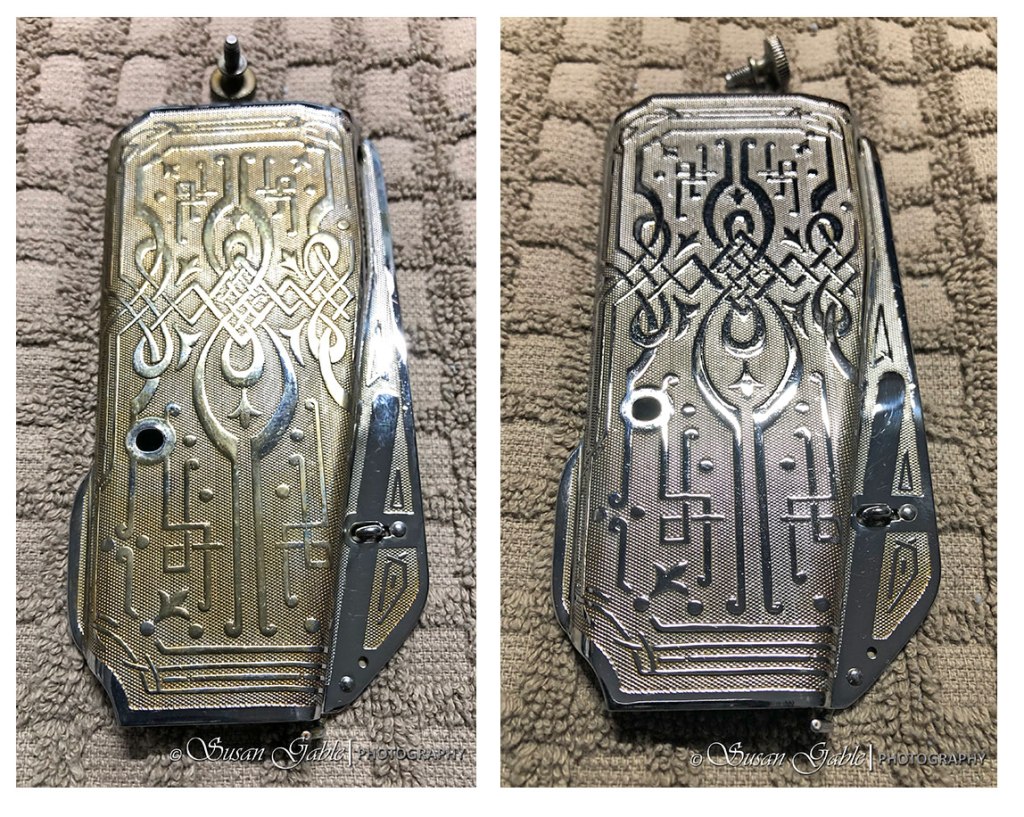
I wanted to take a quick break from my 201, to show the Singer badge from my Featherweight machine. Here’s what it looked like before cleaning:
Here’s what it looked like after cleaning and buffing with the chrome polish:
Now that I looked back at the previous two pictures, the Singer badge on my Featherweight was not in bad shape at all. I think sitting in the black case helped preserve the machine and kept off some of the everyday grime.
Back to my 201. Here’s the backside of my machine before I started the cleaning process.
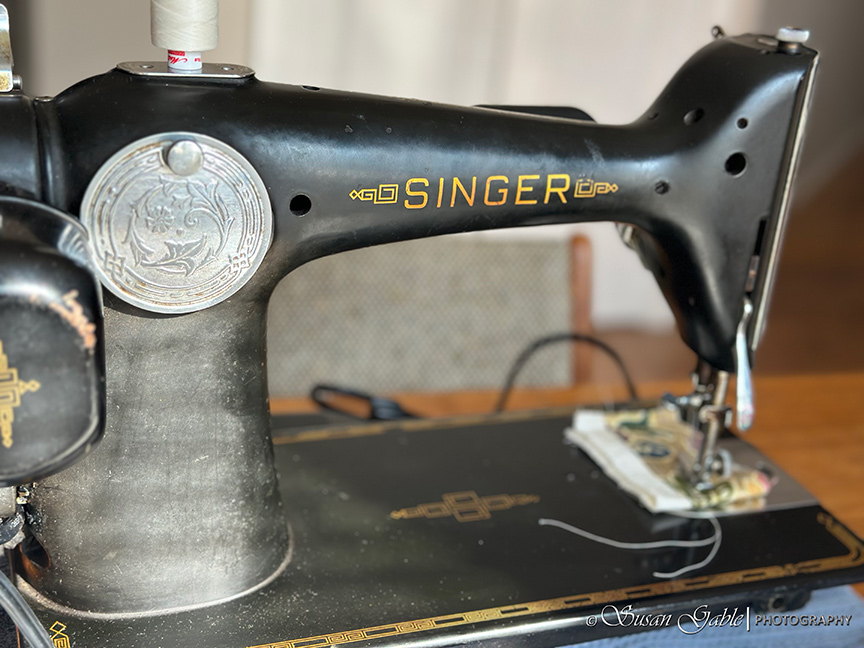
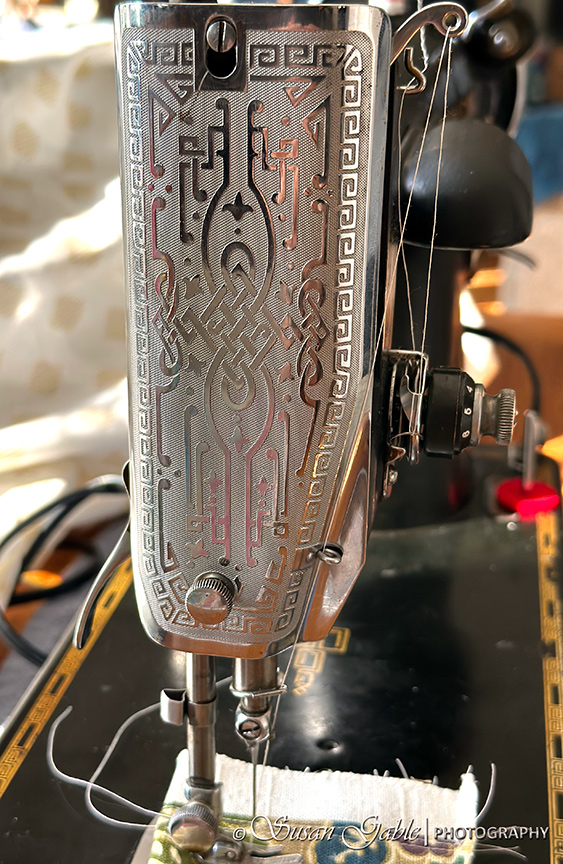
This next picture was taken after I cleaned and polished the bakelite (painted) areas of my machine. This is more like a before and after comparison. I wanted to show the backside face plate went from dull-looking into a decorative shiny beautiful piece after using the chrome polish.

I’ve used this Flitz Polish to clean, polish, and protect most of the chrome pieces on my two vintage Singer sewing machines. A few years ago I went to my local ACE hardware store. I mentioned to the elderly salesman that I just acquired a Featherweight sewing machine and it needed major help with removing the varnished oil, bits of rust, and old grime on the chrome pieces. He pulled this product off his shelf and handed it to me. I purchased it and knew it was the right decision.
It does a great job with removing old grime or varnished oil. There were a few pieces that required a bit more elbow grease or scrubbing/buffing. I also want to share a picture of my Featherweight faceplate that required several applications of the Flitz polish. A lot of work and patience went into this as I was trying to get into the nooks and crannies of this decorative plate.
You can imagine how happy I was when I brought my 201 home and did not have to do much with the faceplate. It just needed a bit of polishing around the curved edges.
Summary:
My 201 is in good shape and I’m only tackling the external components that require some attention. I’ve talked about my Featherweight machine and I wanted to show how well the chrome polish worked.
I’m stilling the testing phase with this machine and still figuring out its capabilities and personality. Tweaking the settings where needed. I’ve been finding that the oiling and the cleaning process also helped with resolving the minor issues I have with my machine.
So far this has been an enjoyable and fun maintenance experience.
Polish: Flitz Polish used on the nickel, chrome, and brass items
Cleaning cloths: Blue paper shop towels were use to apply the chrome polish. I used microfiber cloths cut down into smaller pieces and used for polishing the chrome pieces.


Leave a comment