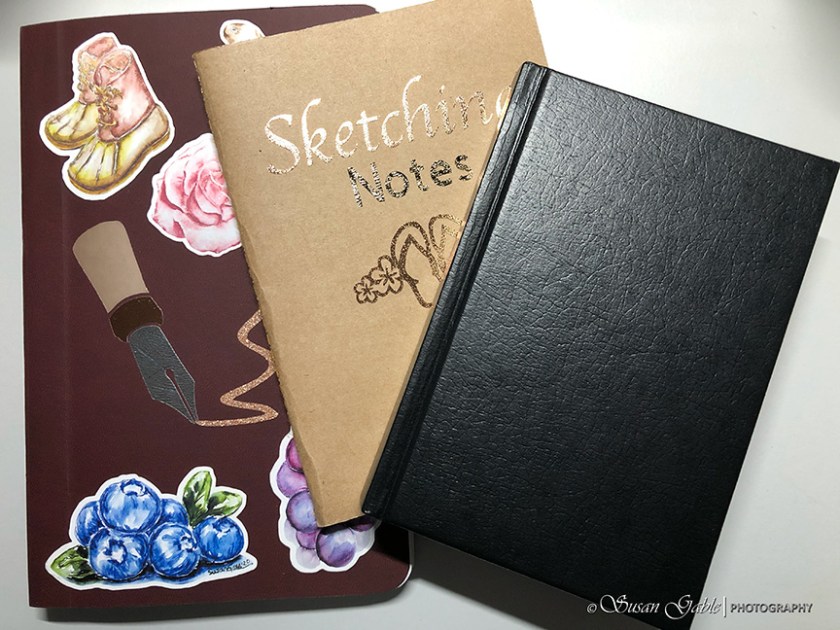
Several blog posts ago, I mentioned that my black chunky pocket art journal had a bare cover. It’s been bothering me. All of my other art journals have some sort of personalization in the form of stickers of my artwork or some vinyl designs.
I attempted to use my Cricut Joy (mini) to cut out some small vinyl designs, but was having a problem with it my since the last Cricut updates. I can make a bluetooth connection, but after 2-4 minutes I would lose connectivity. It’s an absolute pain when the Joy is in the middle of cutting and it loses connectivity. I’ve had a few vinyls that were cut on the wonky side or unplanned cuts into the middle of the designs. I hope the next Cricut updates will fix this connectivity issue with my Joy as I had this similar issue late last year. It’s really disheartening when I can’t use my cute little Cricut Joy.
I ended up using my reliable Cricut Maker to cut my vinyl decals. Using my huge 12″x12″ mat for my small 2″x4″ vinyl pieces was a bit of an overkill, but it worked flawlessly.
Did I mention how much I love my Maker?! It’s a wonderful machine to use and works brilliantly. Okay, back to decorating my journal cover.
I wanted to dedicate this chunky journal for my pen & ink art sketches. I have a bad habit of reaching for the nearest art journal and start doing my artsy thing and hours later realize that I did a watercolor sketch in my pen & ink journal or vice versa.
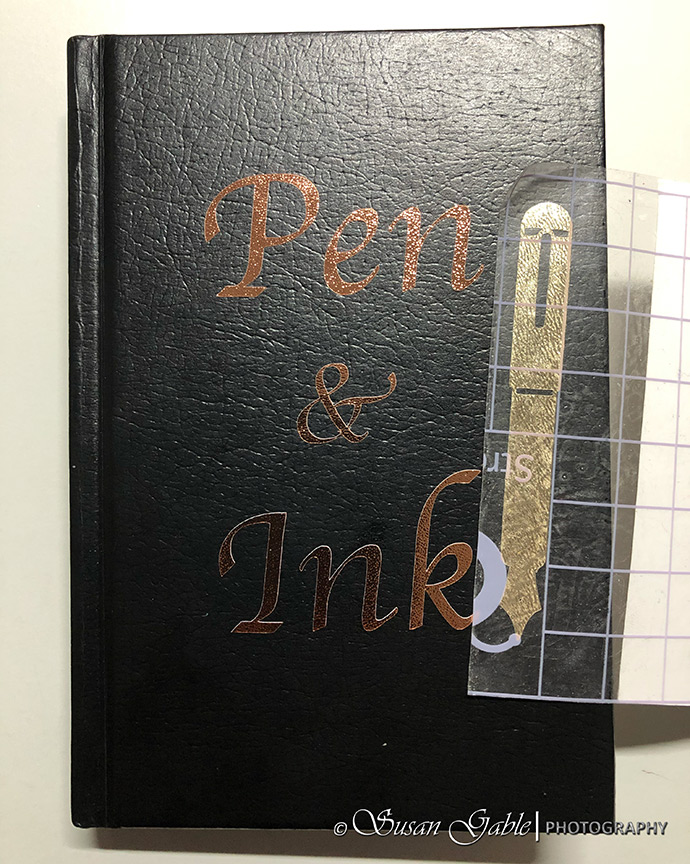
I created my design (text & images) in the Cricut Design Space software. I ended up with 5 layers or 5 basic project cuts as I was using different vinyl types and colors. In the following picture, I used my transfer tape to add the vinyl letters (first cut project).
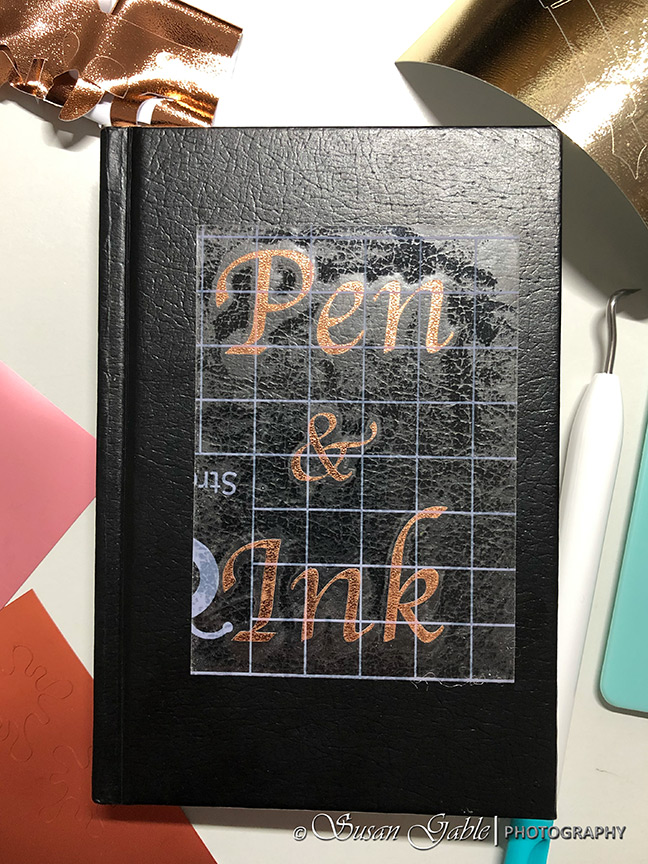
I slowly peel off the transfer tape (at an angle) from my journal cover.
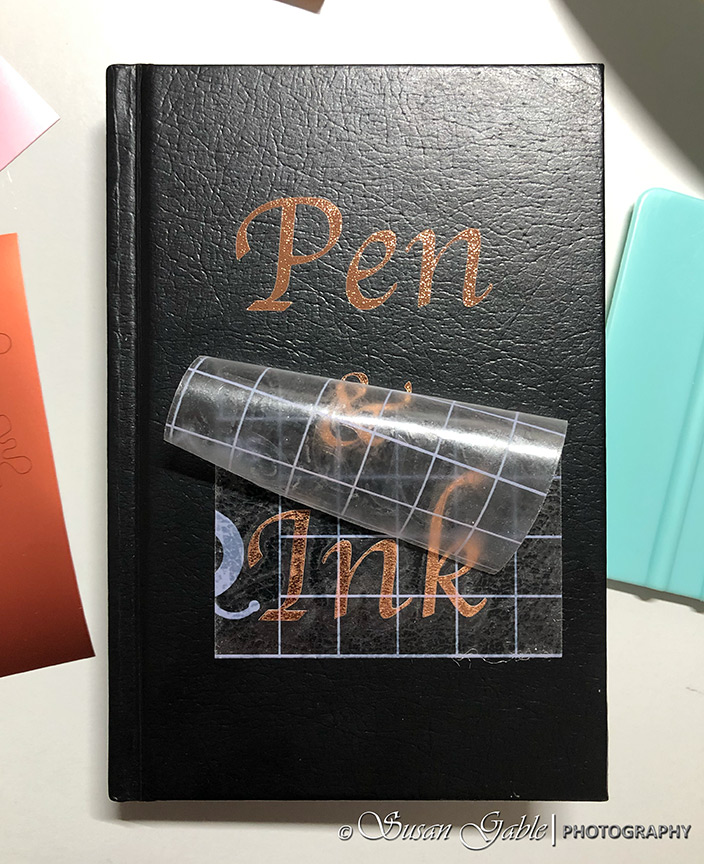
I was so excited about decorating/applying my vinyls and was not paying attention to what I was suppose to be doing. I centered my title on the cover and forgot I was suppose to add a fountain pen vinyl image next to it. Good thing I will be adding some other colorful images to my cover. Maybe no one will notice.
When I was designing my cover in the Cricut software, I forgot to straighten my fountain pen image before cutting the vinyl for it. This represented my second project cut. I took my transfer tape and lined it up parallel with my fountain pen vinyl and removed it from the vinyl backing paper.

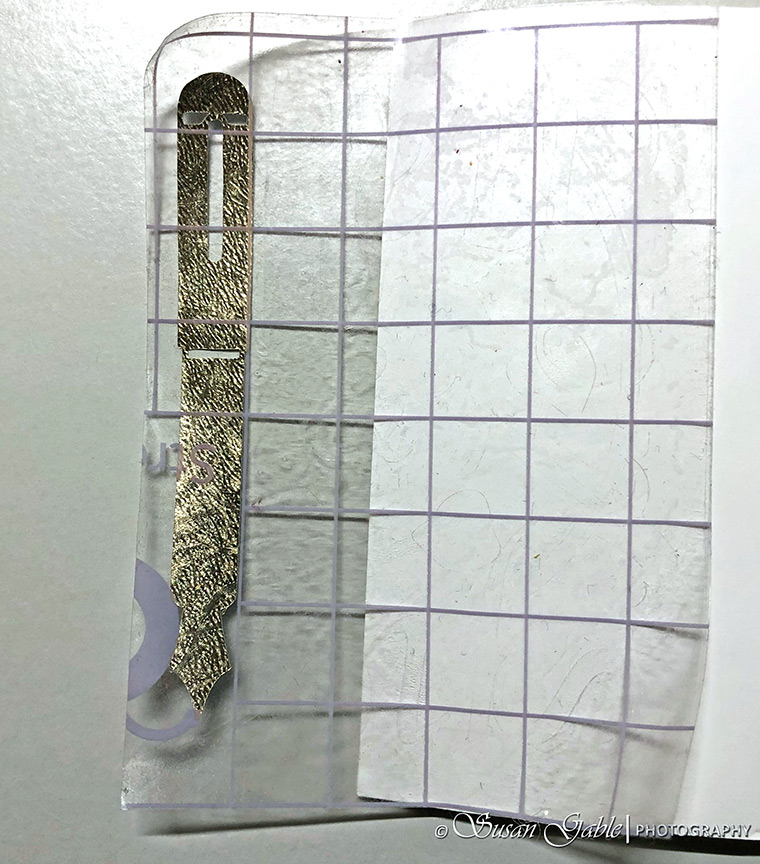
It made it easier to position and apply the fountain pen vinyl design onto my journal cover.
I wasn’t sure if I was going to photograph and share pictures of my transfer tape in this blog post. You can see it’s looking a bit abused and had lots of lint stuck to it. I’ve been using this same piece of tape for several projects now and it still has quite a bit of tacky adhesive on it.
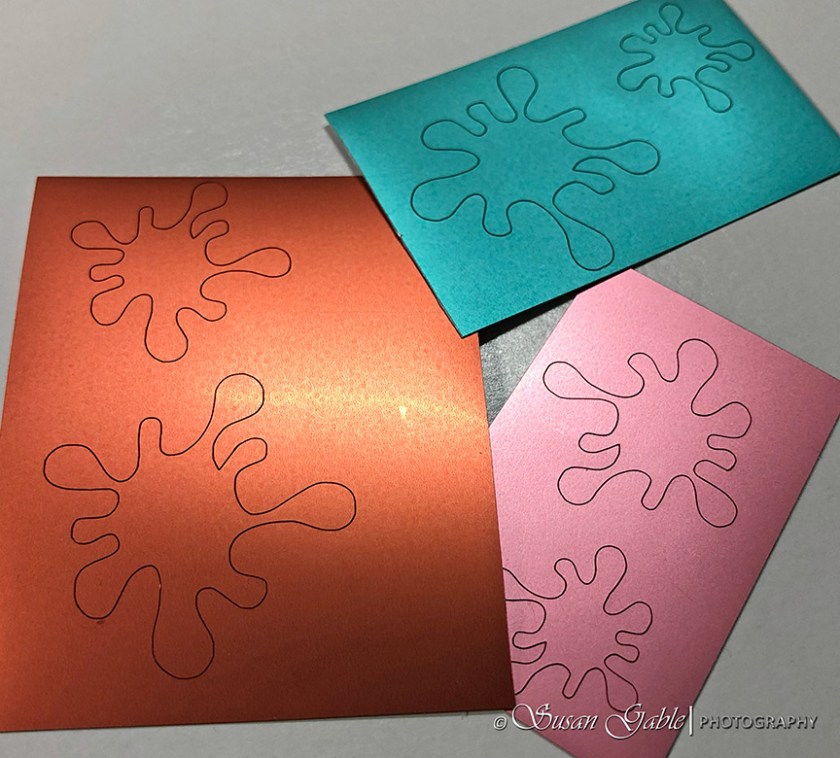
I wanted to add some splash of colors to my black journal cover. I cut out some ink splat images (project cut 3, 4 & 5) in different sizes using my metallic vinyl. The vinyl colors reminded me of Diamine Vintage Copper, Subzero, and Pink Ice.
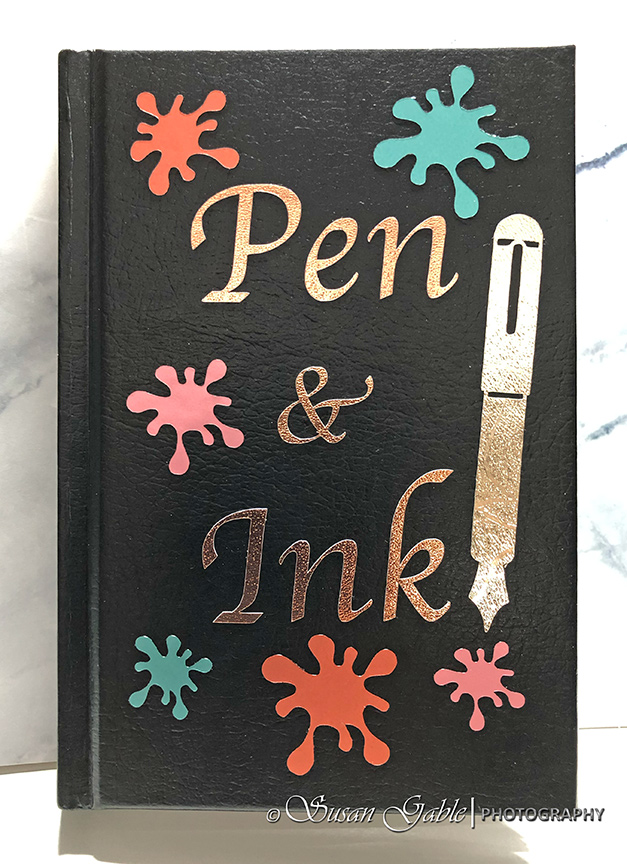
Check out my chunky art journal! My cover no longer looks plain and I can easily identify the use for my pen & ink sketches.
Journal: Stillman & Birn Alpha Hardcover (4″x6″)
Vinyl Cutter: Cricut Maker
Vinyls used:
- Pen & Ink lettering (Premium Textured Metallic Vinyl in Bronze)
- Fountain Pen (Premium Textured Metallic Vinyl in Champagne)
- Ink Splats (Paper Studio Removable Vinyl in Metallic Blue, Metallic Pink, and Metallic Copper)


Leave a comment