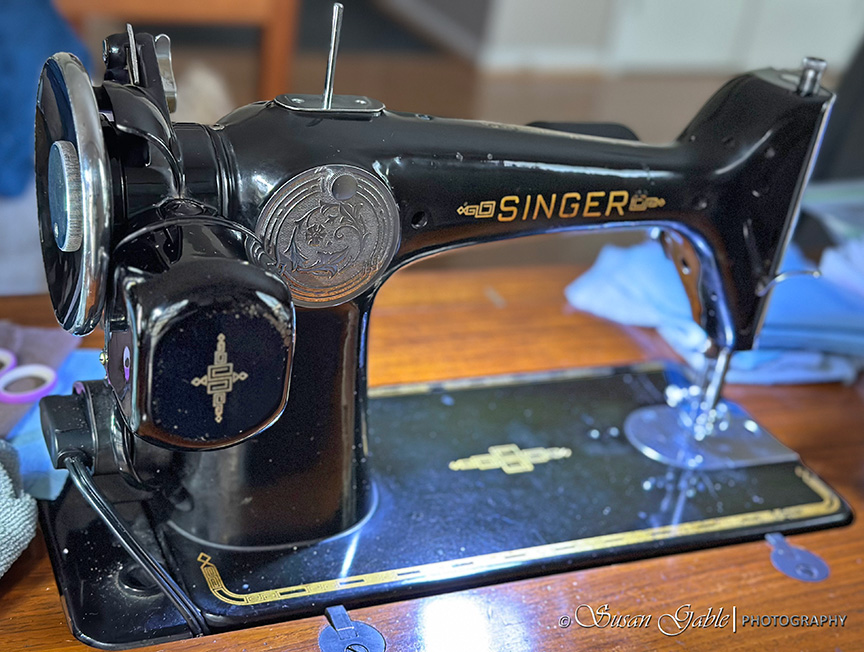
I’ve been watercolor painting non-stop for the last few weeks and documenting my creativity. You’ve probably noticed my sewing has taken a back seat for a bit. I did have this blog post about my Singer 201 sitting in my drafts folder for a few weeks. I wanted to take a quick break from my artwork to post this and come full circle with my vintage sewing machine adventure.
My vintage 201 sewing journey included cleaning, polishing, and oiling my machine as well as sewing over lots of test fabrics, testing the different stitch lengths, reverse stitching, and tweaking/tuning to how I think my machine should sew. I also uncovered a few issues with my machine that ended up being resolved once I finished my restoration/conservation process.
I want to compare my 201 to my Featherweight. I know the two machines have two different personalities, size, and capabilities. It will be more like an apples to oranges comparison. I want to share my personal experiences on how size can make a difference when maintaining and sewing on the two machines. Also, there might be some differences on which fabrics sew well using my Featherweight and the same with my 201.
I have to mention. The more I have sewn and completed projects using my 201, the more I’ve become one with this beautiful machine.
Oil vs Lubricant
For a few reasons, I’ve been finding it easier to oil my 201-2 than oiling my Featherweight. One main reason is I can oil the basic gears on my 201. So, basically it’s everything I see or have easy access to. Oil. Oil. Oil. There is no drip pan/cover at the bottom of my machine. I can flip my machine back onto my sewing table and I have easy access to the underside of my machine. Once I completed the major oiling process on my 201, I noticed there was no oil drips inside the cabinet.
On my Featherweight, I have to use lubricant/grease on the gears. Depending on my machine usage I could probably get away with greasing the gears once a year, if needed. To access the bottom of my machine, I have to lay the machine on its back to access the drip pan/cover. I unscrew the large screw and remove the felt washer and remove the pan/cover to expose the gears under the machine.
Drop in bobbin – Personally, I prefer this on a vintage sewing machine. It’s easier to see the bobbin area from the top side of my sewing machine. I slide the top cover plate towards the left and drop in my bobbin. I thread around the hook assemble and slide the cover. My modern computerized sewing machines also uses the drop in bobbin feature. I want to mention it’s easier to clean the bobbin area.
On my Featherweight, I have to remove the bobbin case from the rotary hook mechanism. Place my bobbin into the bobbin case. Thread through the bobbin case. Open and hold onto the bobbin case arm and place my bobbin case into the hook assembly which is located on the bottom left side of my machine. This might take several attempts before I have it placed correctly and can release the bobbin case arm to lock it into place.
Straight stitching – Both of my vintage Singer machines produce the most beautiful straight stitches I’ve ever seen. My 20+ year old Viking comes very close to creating straight stitches, but it’s not as beautiful nor consistent as my Singer machines.
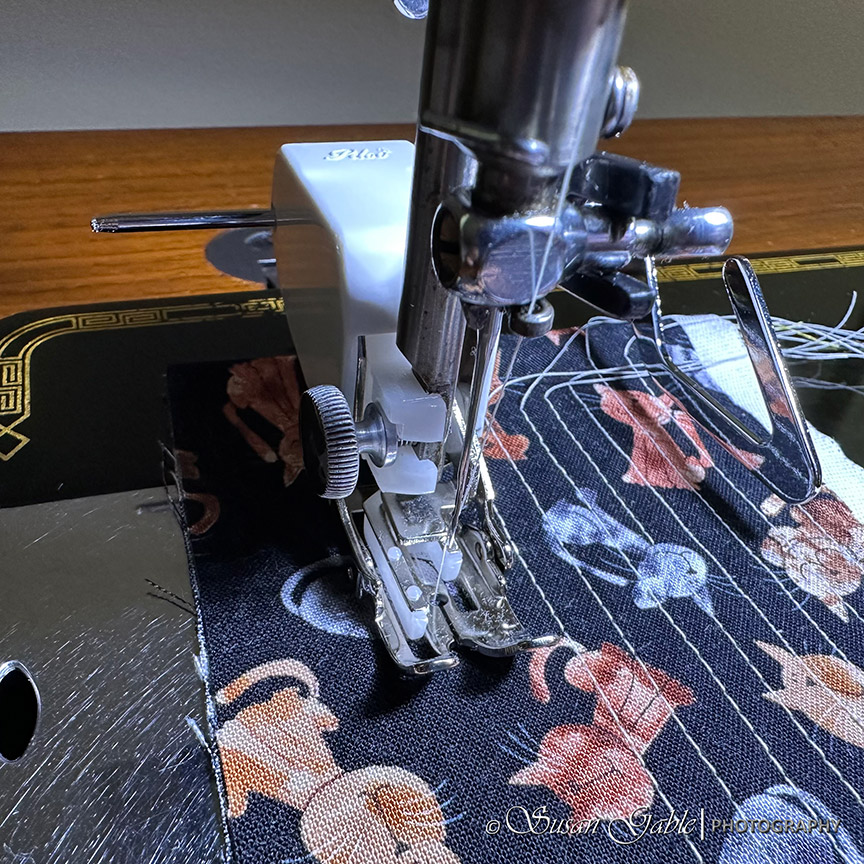
Short stitches – this machine can do 30 stitches/inch. This is the finest stitching for a rotary mechanism machine. Incredible.
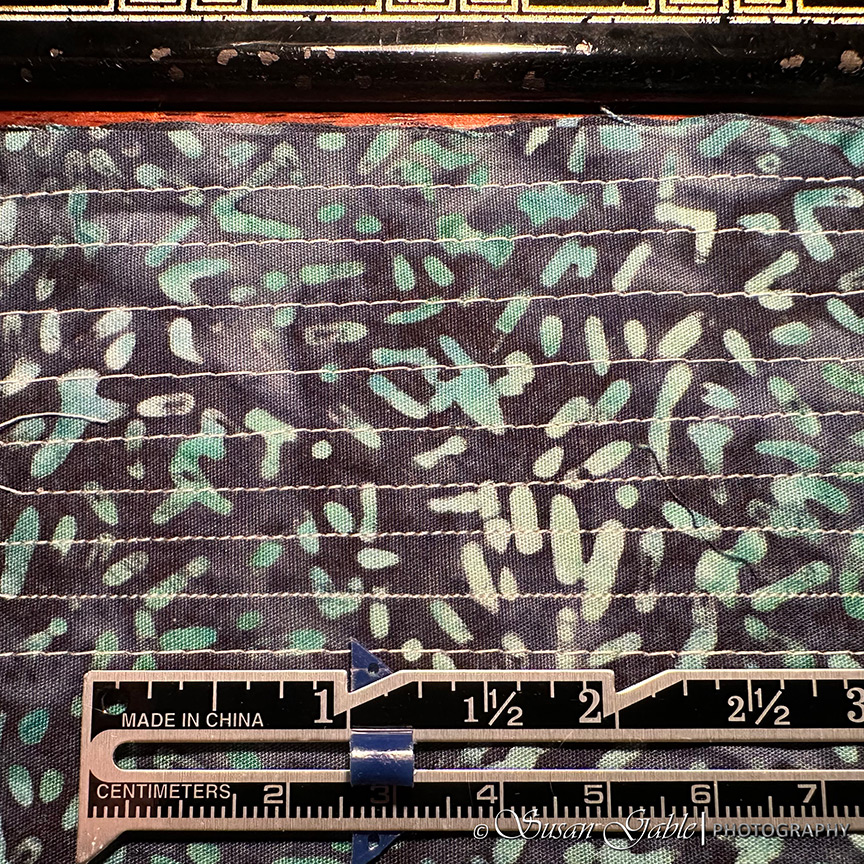
Long/basting stitches – this machine can do 6 stitches/inch. I have to remind myself that this vintage machine was made back in 1938 when sewist did not require longer stitch lengths that more modern machines can do. My computerized Viking can do longer stitch lengths. Okay, my Viking has me spoiled.
Drive train gears – my 201 machine has a potted motor that drives the gears with an amazing level of precision and power. That’s why this 201 requires oil on the main gears to keep it running smoothly.
Rotary hook mechanism – creates amazing straight and consistent stitches. Just like the Featherweight, the 201 has the rotary hook system. This hook mechanism is famous for producing beautiful straight stitches.
Tip: I’ve learned that this is the best technology to have on a machine. I would avoid sewing machines with oscillating hook mechanism as their stitches are not as straight or consistently straight.
Rotary hook – the bobbin system rotates a complete circle while stitching.
Oscillating hook – the bobbin system rotates back and forth or side to side. Does not rotate a complete circle.
Direct feed reverse – While I’m sewing my seam, I can flip the lever on my stitch guide up and basically throw my machine into reverse sewing mode in one movement. While in reverse stitching mode, I can flip the lever back down and continue normal sewing. I don’t have to stop my machine and then flip the lever up to reverse and then stop the machine and flip the lever down to continue sewing. Funny thing. I will still do this from habit. Also my other machines do not have this capability and so I don’t want to break that good habit.
Harp area – this is the distance from the needle to the edge of the arm base. Basically, it the sewing area to the right of the needle. On a 201, it’s about 8-1/2″ wide.
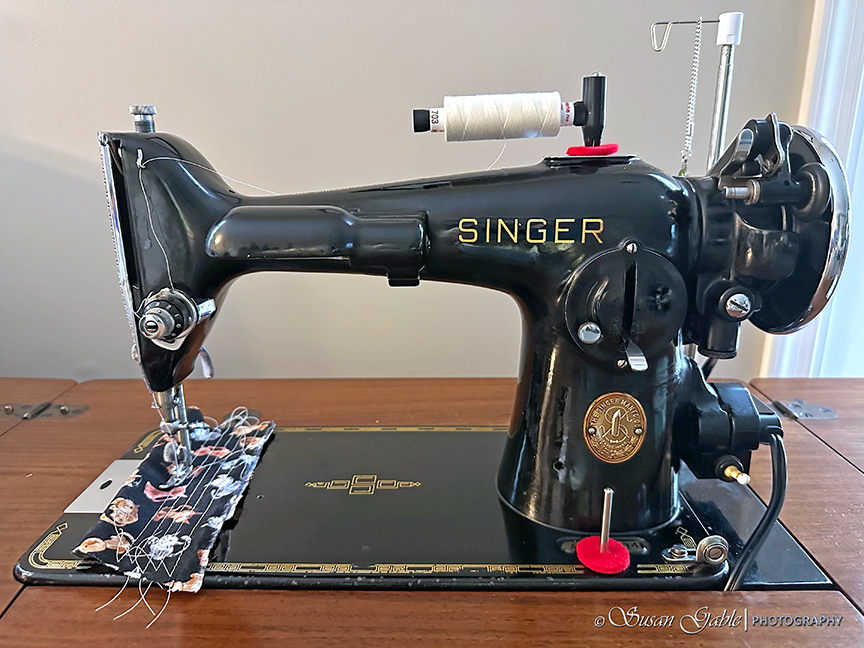
Decals – The gold decals that outline the bed of my machine and the center decal is called “Paperclip” or 497. It was in use from 1934 til about 1953.
When producing these bakelite (painted black) sewing machines, Singer used some exquisite and elaborate decals to decorate their sewing machines. If one gets a chance, check out the Singer 15-91 machine and its ornate decals.
Sewing over a variety of fabrics – So far, it sews beautifully over cotton fabrics. Both quilting cotton and batik fabrics. It loves to sew over home decor fabrics as well as heavy canvas fabrics.
Free motion sewing
I have the capability to drop the feed dogs on my 201 and do free motion sewing. I haven’t tried this yet, but it’s good to know it’s there if I need to use it.
Sewing machine needles
Uses the same 15×1 sewing machine needles as most modern domestic sewing machines. I can use what I already have.
Sewing machine maintenance
After each sewing project is completed, I need to clean the bobbin area and feed dog area and remove any lint I see. After a few weeks of sewing, I place my machine on its back to access to the bottom side of the bobbin mechanism. I will typically find bits of lint that collects in the nooks and crannies. I use a small brush to remove the lint.
I try to oil the machine at the beginning of each big sewing project. If I’m sewing smaller projects, I will oil my machine every two weeks. Sometimes, I can sense when the machine is not sewing properly. It can be the sound or hum of the machine that changes. It can be the sewing experience where the fabric is struggling a bit.
Change the Needle
I’m not a stickler for changing the sewing machine needle often. Especially when I’m only sewing cotton quilting fabrics. I do not sew over sewing pins or anything that can damage the needle. I do not push or pull my fabric while sewing. I gently guide the fabric along while the stitches are created.
I will change the needle when I’m sewing with different kinds of fabric and also sandwich quilts, home decor, canvas, or thicker fabrics.
Sewing machine maintenance supplies
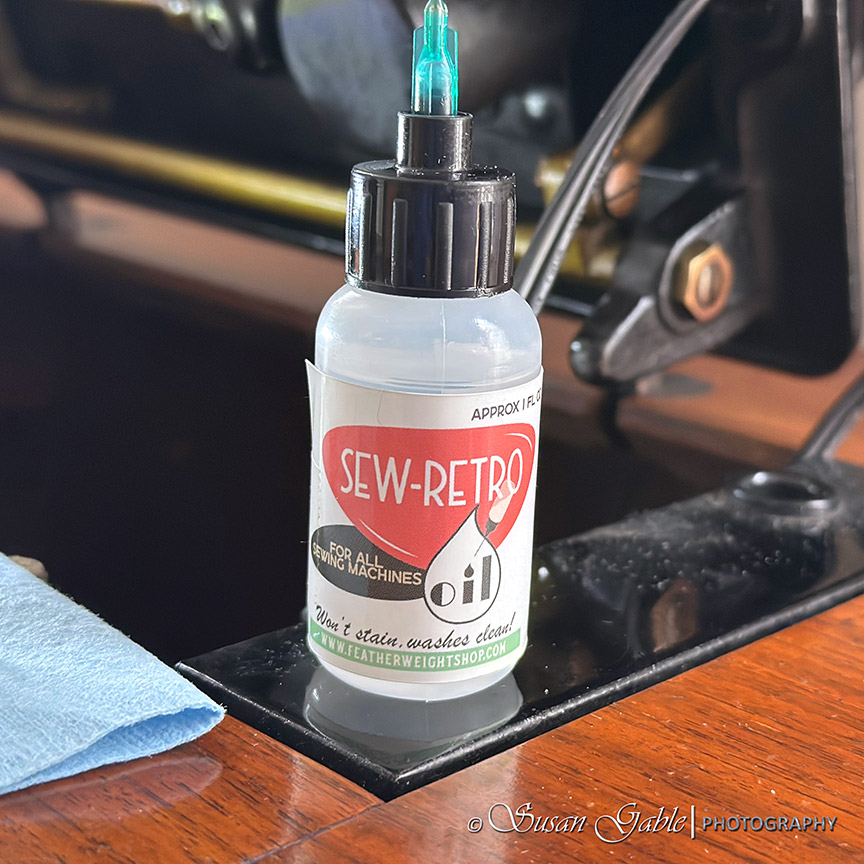
I use clear sewing machine oil. I use a bottle that has a long narrow metal spout. I like using the long the metal spout when I’m oiling the holes as I can feel when the tip of the spout hits a gear, rod or bushing that needs to be oiled.
I’m currently using the Sew-Retro oil. Eventually when I run out, I plan on using a lily white oil from Wawak.
I like using blue paper shop towels. They are durable and I can typically reuse them until they get absolutely dirty and toss them in the trash.
Sewing cabinet
I’ve learned that back in the day, Singer would sell the base of the 201 with a hard cover case. Customer’s who purchased the 201 could upgrade the machine to include a cabinet. The cabinets would be offered in Mahogany, Walnut, and Oak.
New Update: I had a good laugh at myself. My #48 sewing cabinet has the metal knee bar attached to the upper inside front of my cabinet. I tried to remember what the shop owner was telling me when he gave me a quick tour/demo of my 201 machine. Cabinet includes the knee bar. He rewired the power cable so I could easily unplug the 201 and remove the machine and the power cable from the cabinet. I assumed the power cable and foot pedal were somehow originally wired into the cabinet and made it cumbersome to remove or maybe not at all. Anyways, I kept seeing the shop owner placing/sliding the food pedal into the cabinet behind the double doors. I didn’t think much of that other than a place to store it safely when not in use. I thought he mentioned the knee bar did not work. I was so wrong.
It’s now several weeks later I just had an OMG moment. I grabbed a flashlight and peered into the upper part of my cabinet. I saw a metal faceplate attached to the inside of the cabinet. I scratched my head a bit and then attempted to mount the foot pedal to the plate. I could not get it to fit into place. So I played with the metal knee bar a bit to see what it was actually doing. Another OMG moment. I turned the foot pedal sideways and managed to slide it over the mounting plate and fit into place. I moved the knee bar towards the right and saw the attached metal device/arm (circled below) actually pushing the button on the foot pedal.
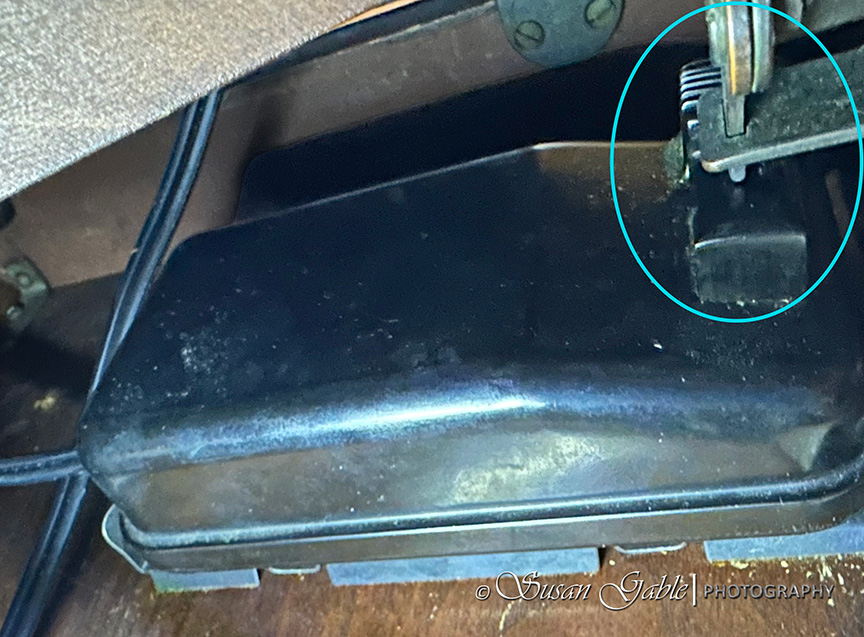
I immediately plugged the power cord into the outlet and tested the knee bar. My machine started to sew. OMG! That brought so much joy in my heart and my knee. Yes, it only took me four weeks to uncover this major sewing convenience/feature. Life is very good.
Summary
The Singer 201 is one of the finest made sewing machines. Especially for its consistent straight stitch capability. It’s the only stitch this machine can do and it does it very well.
I have to say the quality of this sewing machine is impressive. I’ve turned my hand wheel and watched the rods and gears move with precision. There’s a few oil ports that collect the oil and spread it out to the adjoining rods. It’s amazing to think that the engineers back in that day were brilliant to create a sewing machine that would last a few lifetimes with proper oiling.
I previously mentioned I had a few issues with my machine during the first week I was sewing/playing with it. I felt confident that those issues would get resolved through giving my machine a good cleaning and oiling. I had no plans on taking my machine apart. That would have to wait when I have a block of time (days) to work on my machine. I did have to remove the hand wheel and give the areas I could see or have access to a good cleaning. That resulted in solving one of the issues I had with my machine.
It is time consuming to overhaul a vintage sewing machine, especially for those who will actually take it apart to clean and conserve. This reminds me of the time I had to take my Featherweight apart. I had to work in “sections” or areas of the machine starting from the left side and work my way towards the right side. I remembered removing the tension assembly to clean the individual components and then reassembled all those pieces and put them back on the machine. I also had to remove the hand wheel and clutch knob assembly to get access to the innards of the machine to clean and remove old gunk. Oil the rods and moving pieces. Add lubricating grease to any gears I came across. This conservation project took a few days. Once I got started, I could not stop.
Once the machine has been overhauled, conserved or restored, the maintenance on a vintage machine is very low. Just remember to oil the ports/holes, moving pieces, and clean the lint out from under the feed dog and in the bobbin area.
I mentioned before my 201 has a drive train. The power behind this machine is amazing and awesome. I can sew through thick fabrics without any issues and at any speed. This heavy machine can handle heavyweight fabrics which includes my heavy home decor fabrics.
My Featherweight is driven by a belt. I can sew lightweight canvas and lightweight home decor fabric with this machine, but I also have to sew at a slower speed. The more I think about the timeline when this machine was introduced, it was for the home sewer who enjoyed sewing clothes for their family or repaired ripped seams. It was a portable machine that was lightweight and small and could easily be carried from one place to another.
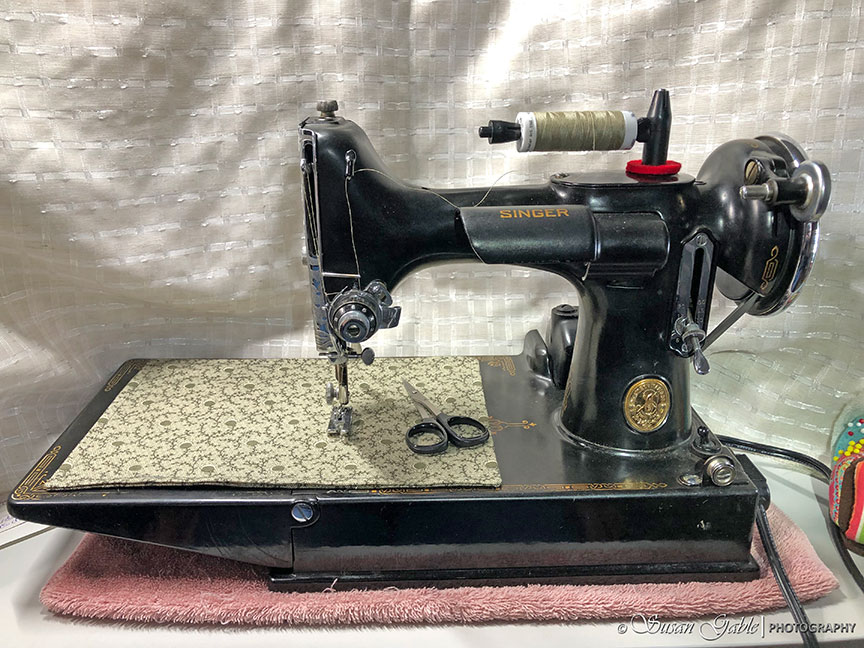
I never imagined I would own a “straight stitch” sewing machine for just a single sewing purpose. I also never imagined I would get the chance to own two vintage sewing machines and be apart of their sewing history.




Leave a Reply