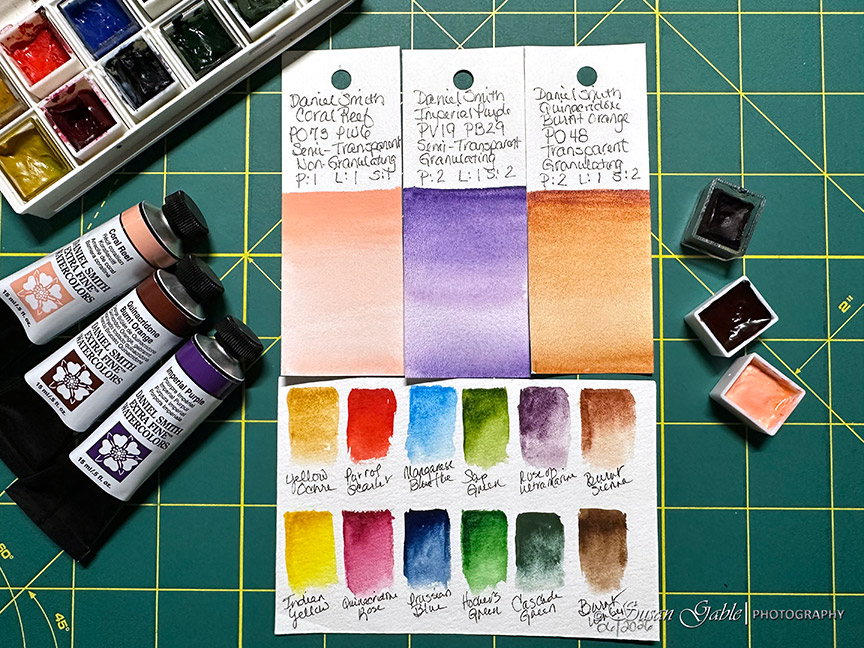
It’s now a few months since I published a blog post about my watercolor haul that included three new watercolors. I wanted to show my blog readers how I label my empty half pans, fill them with paint, and create my swatch cards.
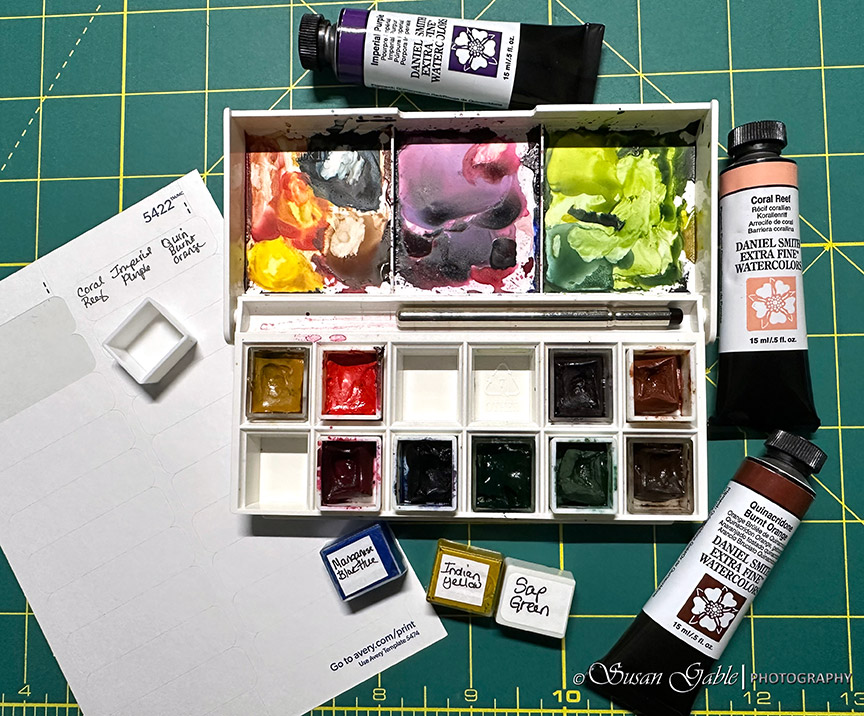
I had labeled my empty half pans in preparation for filling them with paint. I used my Avery 5422 labels and a fine tipped permanent marker to write the paint color names. In my case I can write three colors to a label. I cut the label into three squares and they fit nicely on the bottom of my half pans.
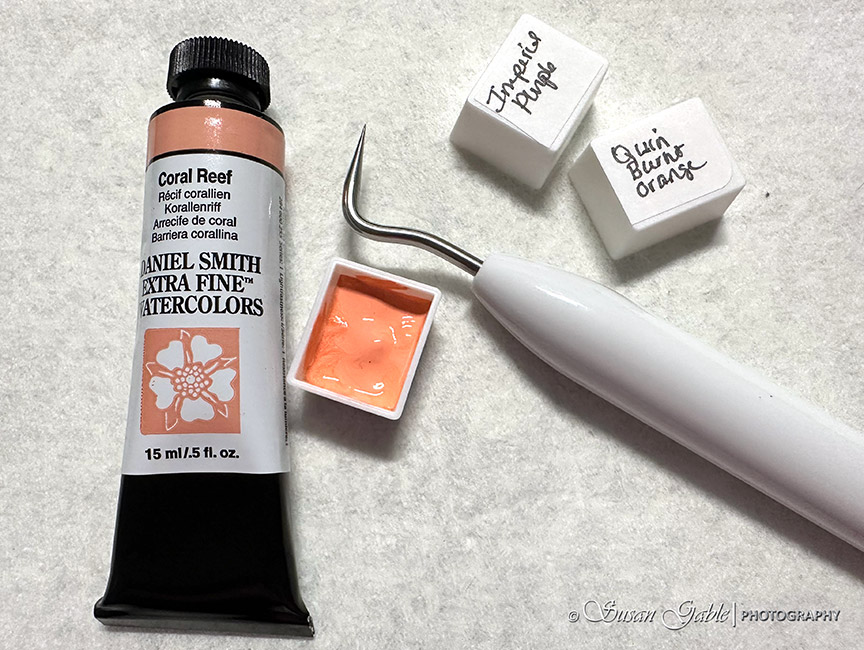
I started filling Coral Reef into the half pan. Typically, I fill the pan as full as I can. I used my Cricut tool to spread the paint evenly in the pan. I love it when I can reuse a tool for several hobbies I have.
It was important to mix and spread the fresh paint into the half pans. I spread the paint to the corners of the pan and make sure to remove any air bubbles. I also tapped the half pan against my studio desk to make the sure the fresh paint settles nicely into the pan.
I continued to fill the two remaining empty half pans and repeated the process for Imperial Purple and Quinacridone Burnt Orange.
I placed my filled half pans into a small zip lock bag. I placed a medium size binder clip into the bag. Why? I have a small workspace on my studio desk and I’m notorious for turning my half pans upside down or accidentally dropping it on the floor. This also prevents any dust or lint from settling on the paint. The binder clip prevents the plastic from touching the paint. I also leave the bag open.
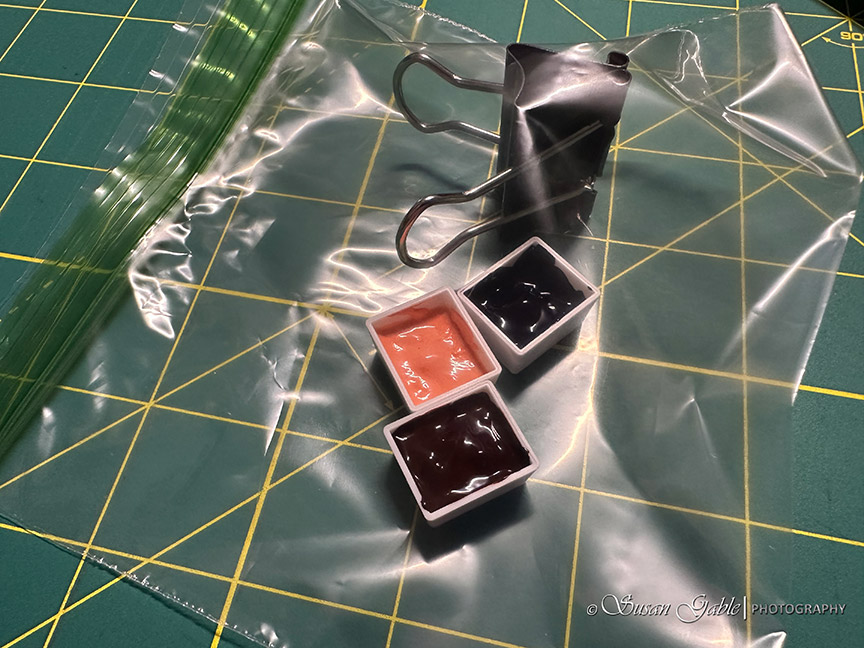
I leave the half pans alone and let them dry overnight. Sometimes I will let them dry for a full day or two. As the wet paint dries, they will shrink down into their pans.
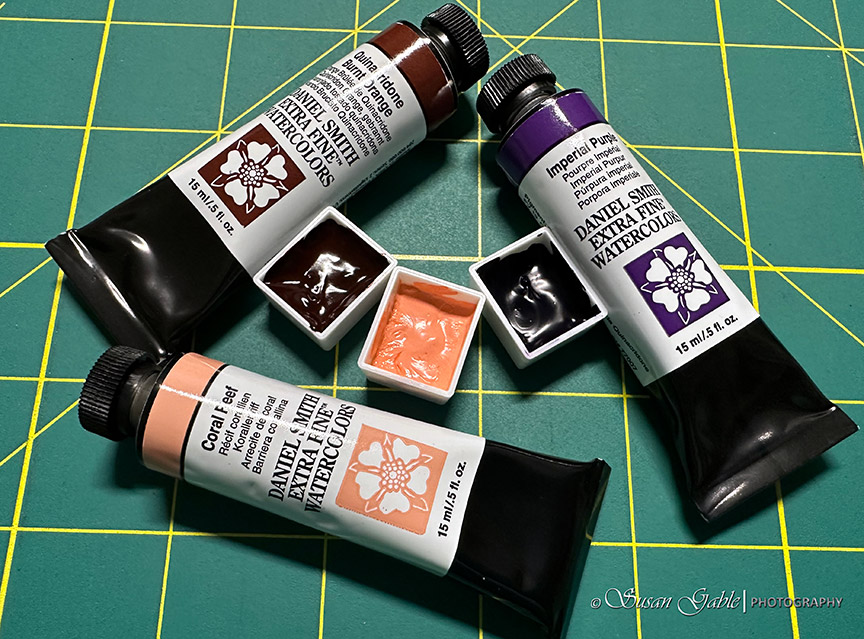
I can see that Coral Reef needs another fill of paint. The other two colors Quinacridone Burnt Orange and Imperial Purple look fine for now.
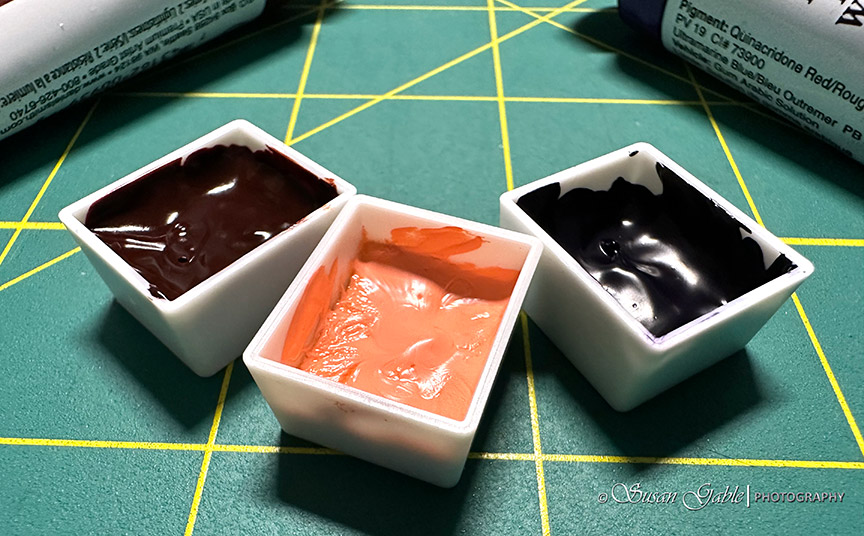
I’m getting ready to fill the Coral Reef half pan with the second layer of paint.
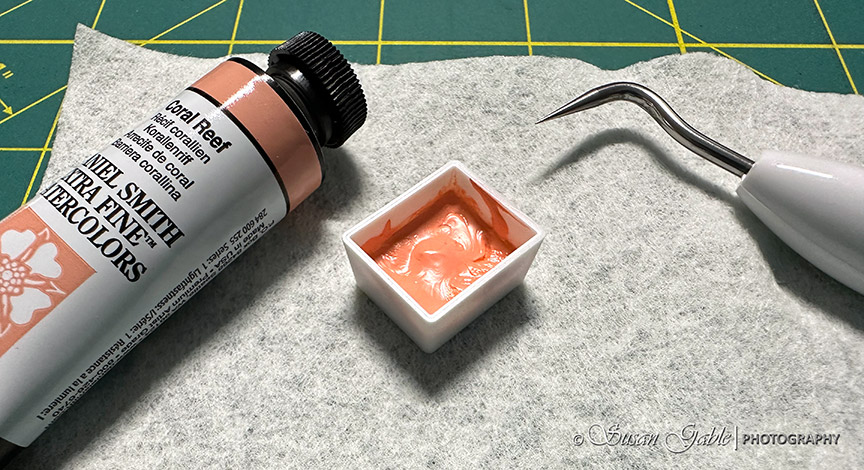
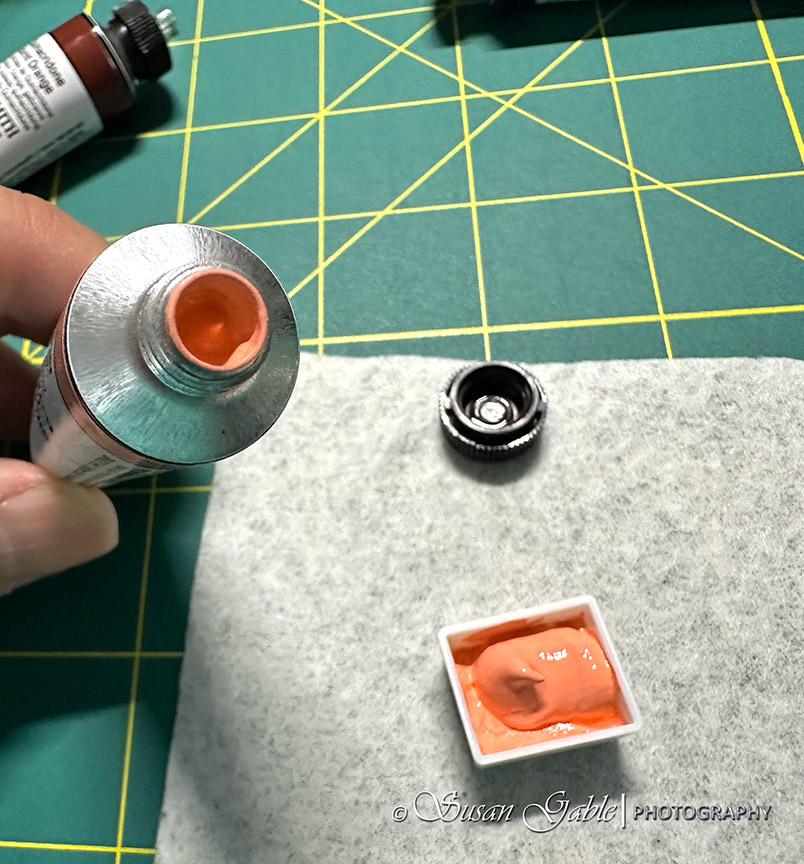
I like having a tidy and neat paint tubes and caps. I’m careful how I squeeze my tubes of paints and try to avoid any waste.
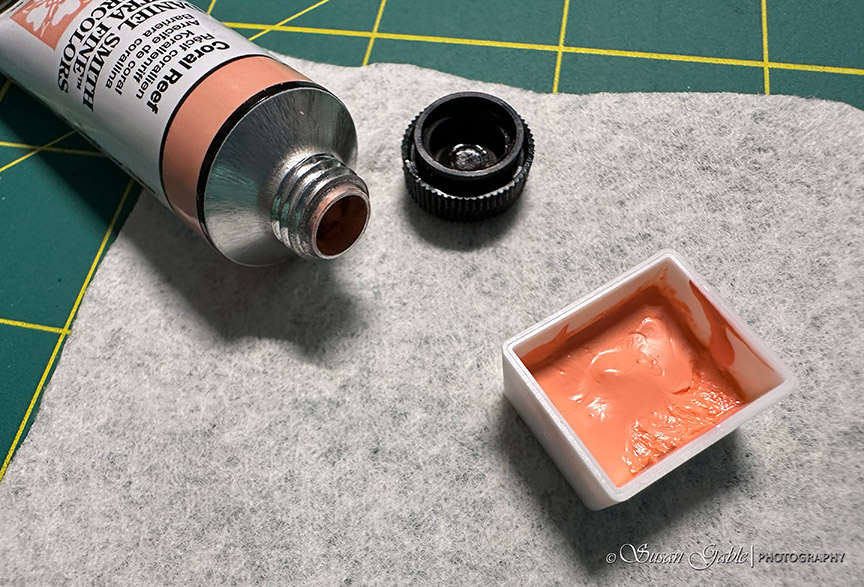
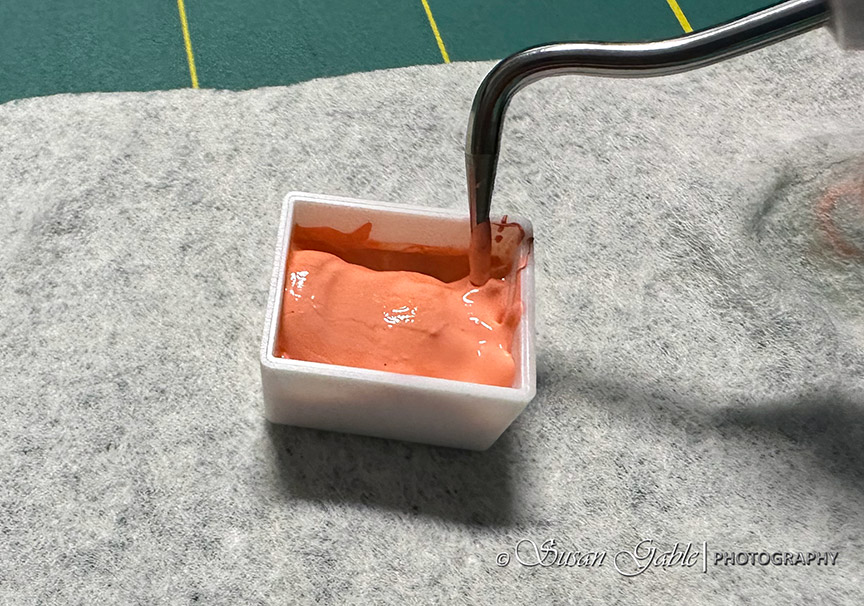
I’ve filled my pan with the second layer of fresh paint. I use my Cricut tool to carefully smooth out the paint. I also make sure I touch the corners and try to remove any air bubbles.
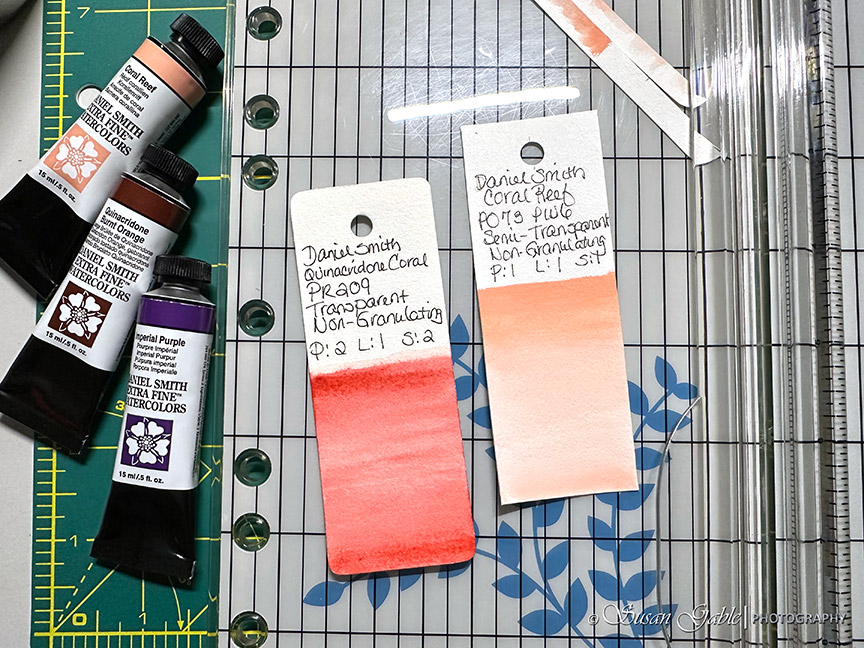
Once all the pans have dried, I’m ready to create the individual color swatch cards. I’ve misplaced my blank cards that I made last year. I pulled out a few blank cards from my fountain pen Col-o-ring stash to use instead. I’ve added “tick” marks to the cards to use as my cutting marks after I’ve completed my swatching. I also use the “tick” marks as boundary lines for when I’m writing the paint information and when I’m painting on the card.
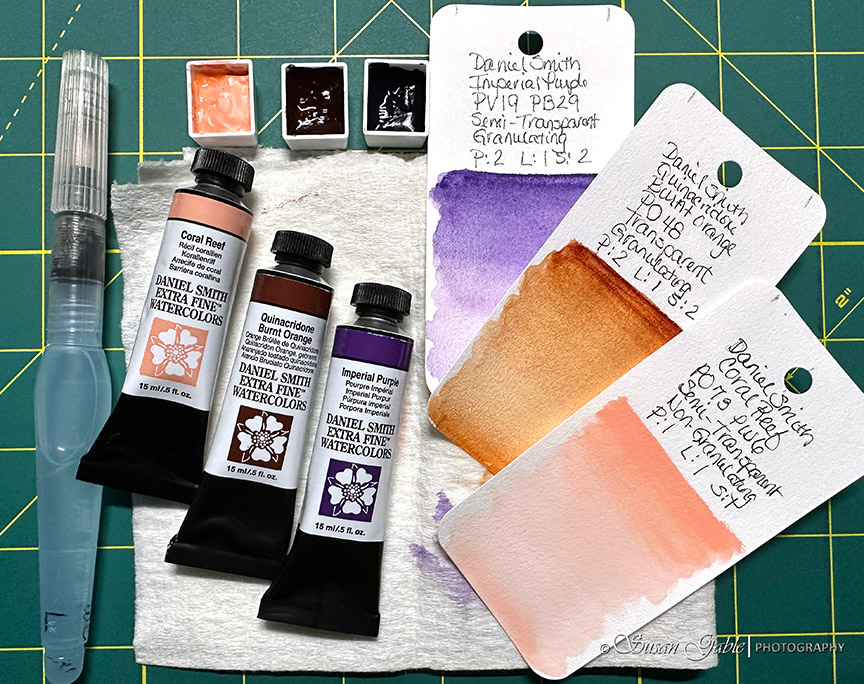
I normally use my paint brush, but I ended up using my water brush to paint my swatch cards. I think it did a decent job.
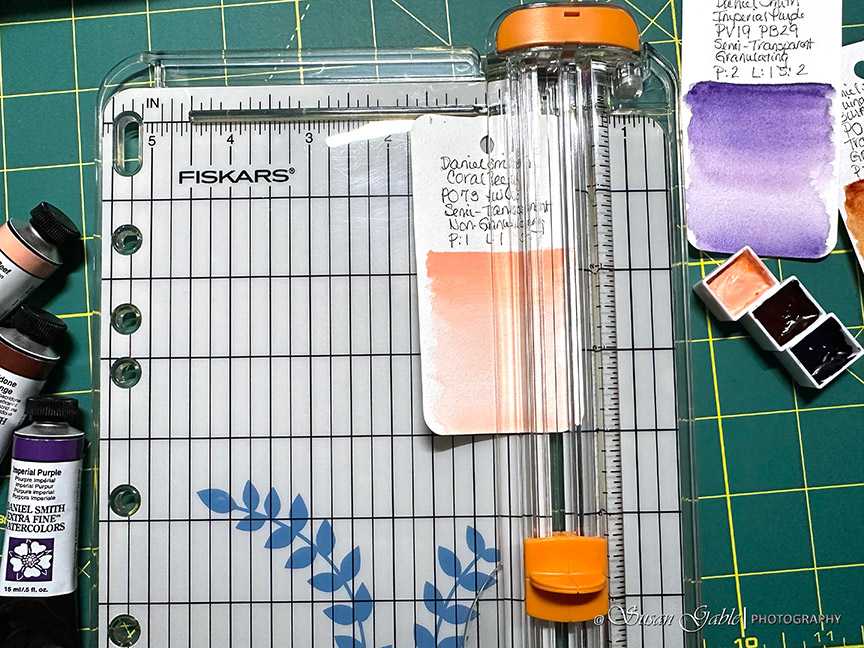
I have a small Fiskars cutting board that works perfectly for my small projects. I lined up my “tick” mark with the cutting wire and slide the cutting blade across the paper. I do the same for the other edge.
Not a bad looking swatch card.
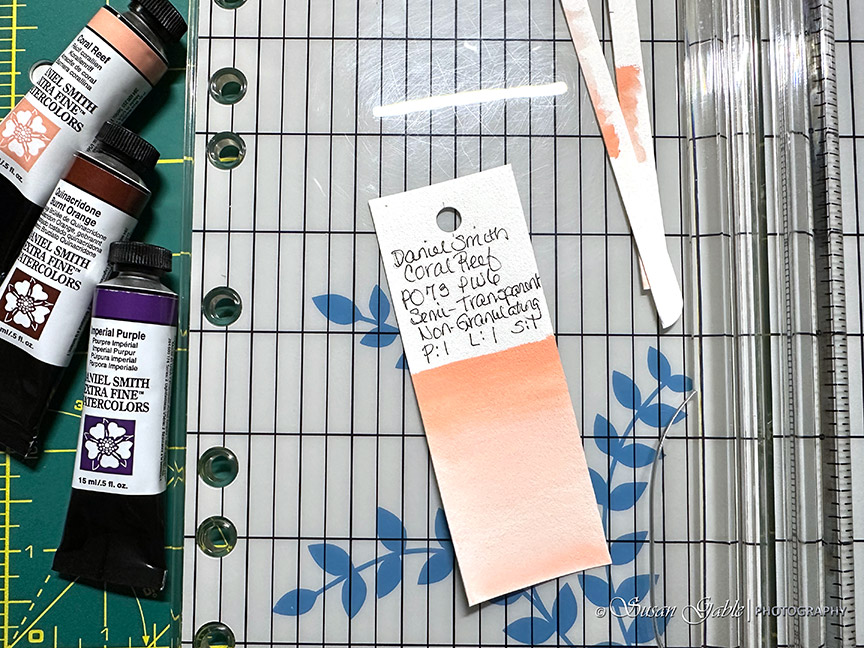
I’ve misplaced my corner cutting gadget tool that creates the rounded corners. For now, this will have to do.
Summary
My individual watercolor swatch cards are very useful to me when I need to see how a color looks against other paint colors. I also use my swatch cards to see if I can get a color match from my photos. Another use is to see what colors I can replace in my current working palette.
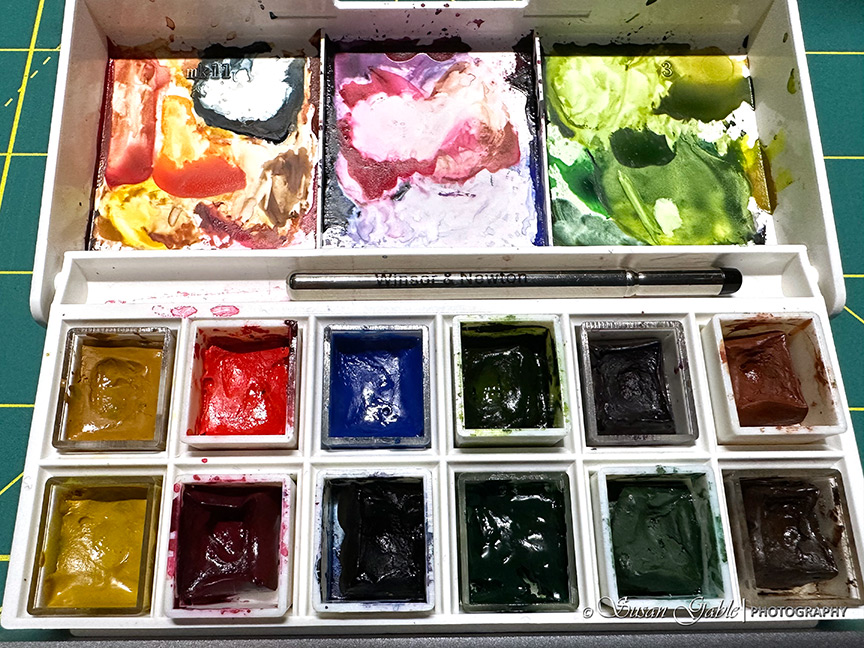
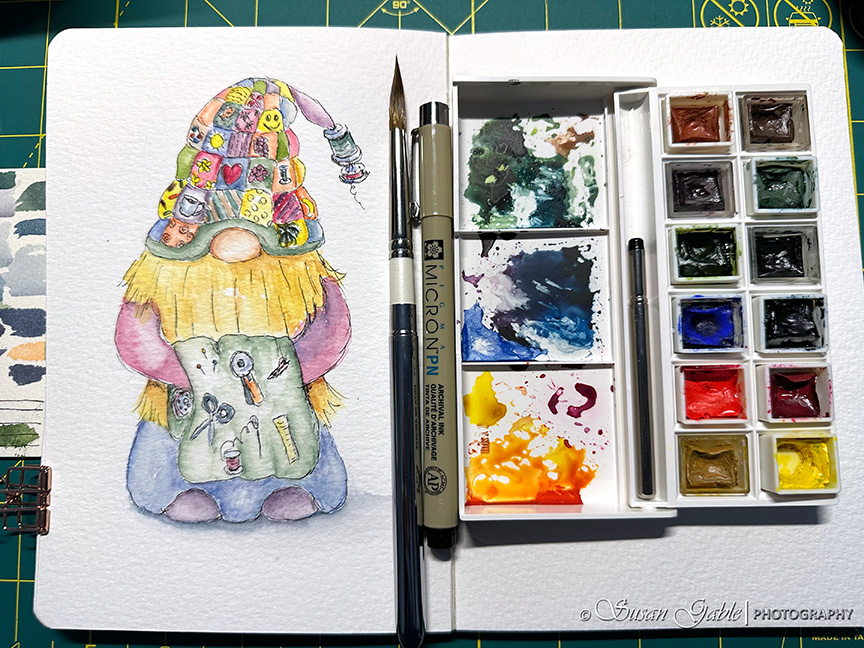
Tip #1: Spread the fresh paint around the edges and corners of the half pan. This will remove most of the air bubbles. If I left out this process, the dried paint will over time produce cracks and eventually the hardened cake will shrink away from the sides of the pan. You can see it in the picture below on the right side of my palette where my Burnt Sienna and Burnt Umber are sitting loosely in the pans.
Tip #2: I mentioned about keeping my tubes of paint and caps neat and tidy. After I squeeze the fresh paint into the pan by squeezing the bottom of the tube, I hold my tube of paint by the “sides” of the tube and give the tube a gentle squeeze. This sucks the paint back into the tube. I will clean off the paint from top open edge of the tube and replace the cap.
Paints: Daniel Smith Fine Watercolors in 15ml tubes – Coral Reef, Quinacridone Burnt Orange, and Imperial Purple
DIY Watercolor Swatch Cards: 1-1/2″ x 4″. Mixed Media paper.




Leave a comment