Back in 2023 when I found my lovely vintage Featherweight sewing machine, I had to make a few purchases as I was restoring the machine and trying to get it to sew. One big purchase ended up being a “foundation/maintenance” purchase where I had to buy essential tools like special long handled screw drivers that would fit the screws on the Singer machine, a wrench, cleaning swabs, machine oil, lubricating grease, and essential LED light bulb. I’m sure I’m missing a few other important items. I also purchased a cleaning wax kit that I’m not too sure worked well on my Featherweight.
For my vintage 201, I had to purchase a few additional items. An LED bulb. Sewing machine oil. Polishing compound. Cleaner wax. Class 66 metal bobbins. Vertical thread post adapter. Walking foot. Back up/extra original Singer set screws.
I have to mention that I don’t like having too many things (clutter) around my vintage machines. Since my Featherweight is portable and camps out on a small cart with wheels, I don’t have the extra space for a thread stand or a regular lamp.
I’m doing the same with my 201 and its compact cabinet. When the table top (extension) is open, there’s not a whole lot of space to work with. I also don’t like putting heavy things on the table extensions or adding a lot of weight. So, I have to pick and choose my sewing accessories wisely. What works for me. What helps me be more productive while sewing and not worry about things rolling off the table.
LED Bulb
Since I’m not sitting in front of a window, I decided I needed an extra bright lamp. The LED bulb provides me with bright white lighting onto my sewing area. I have to say that Singer did the right thing by placing the lamp forward on the arm of the machine. I can clearly see the machine needle’s eye when threading. I can also see what I’m sewing.
The LED lamp does not produce heat. If I bump into my lamp, I won’t get burned.
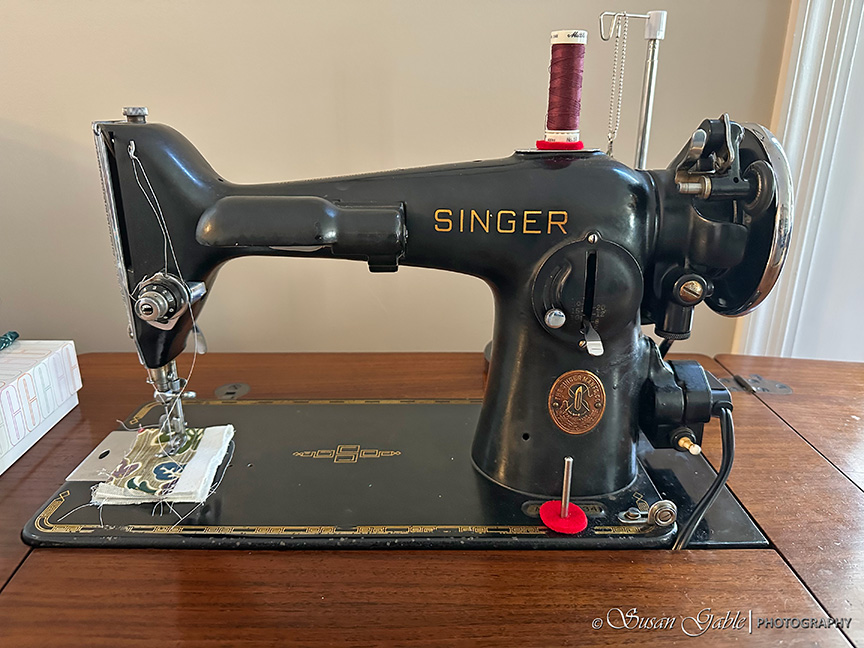
Here’s how the machine’s light (that came with my 201) looked like on the sewing area:
The old light bulb did a pretty decent job lighting up my sewing area. You can even see all the lint around the tension assembly dial area.
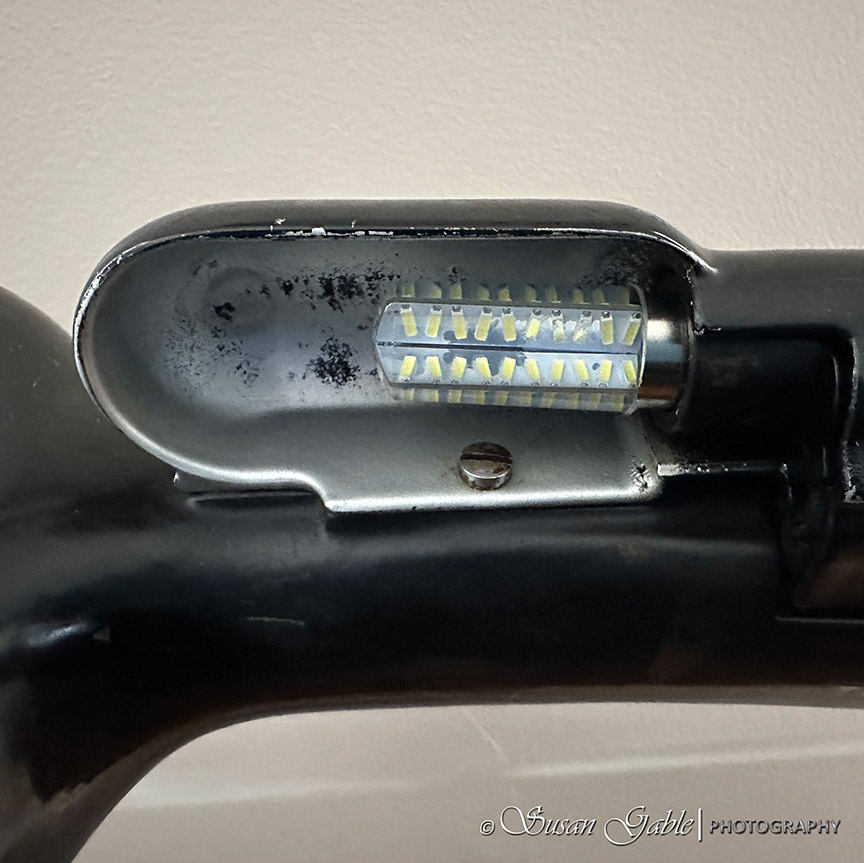
To remove or unlock the old bulb, it’s a push in and turn towards the machine movement. It’s not a twist or unscrew movement. I believe they call this lamp house a bayonet.
To install the new LED bulb, I pushed it in and turned it towards me. It’s now locked into place.
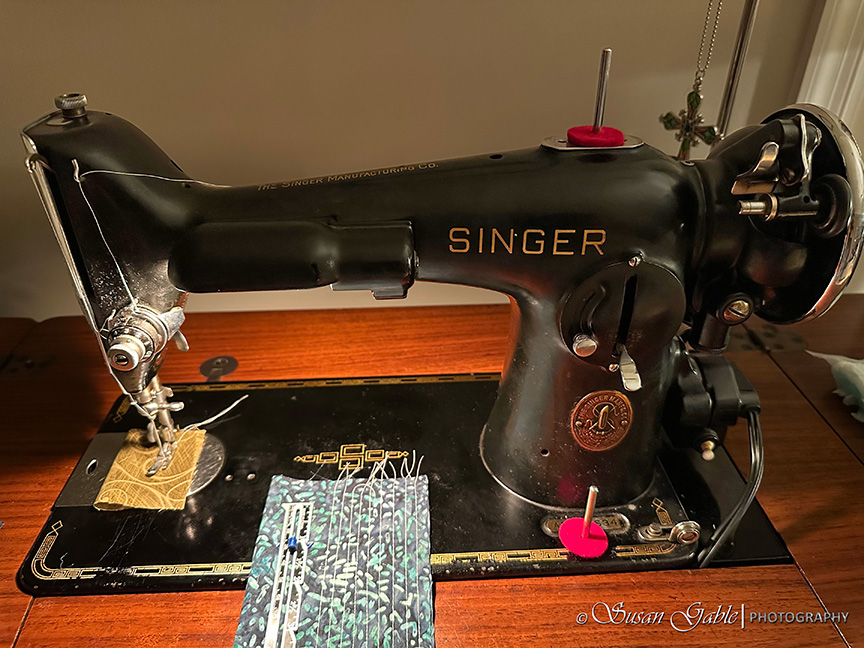
Here’s what the sewing area looks like after installing a new LED lamp:
After I installed the new LED bulb and I switched on the light, I could not believe what my eyes were seeing. Oh yeah…my jaw dropped as well. A 100% lighting improvement to the sewing area.
Thread Post Adapter
I was using a thread stand placed behind my 201 to easily pull the thread from my cross-wound spool through my machine while sewing. This was a huge help as I did not have to hear the spool bobbing around on the spool pin. I’m absolutely positive that this contributes to a better sewing experience with the machine.
As I mentioned before I do not want too many things cluttering the table top on my cabinet. I used a thread post adapter on my Featherweight and knew I would need one for my 201.
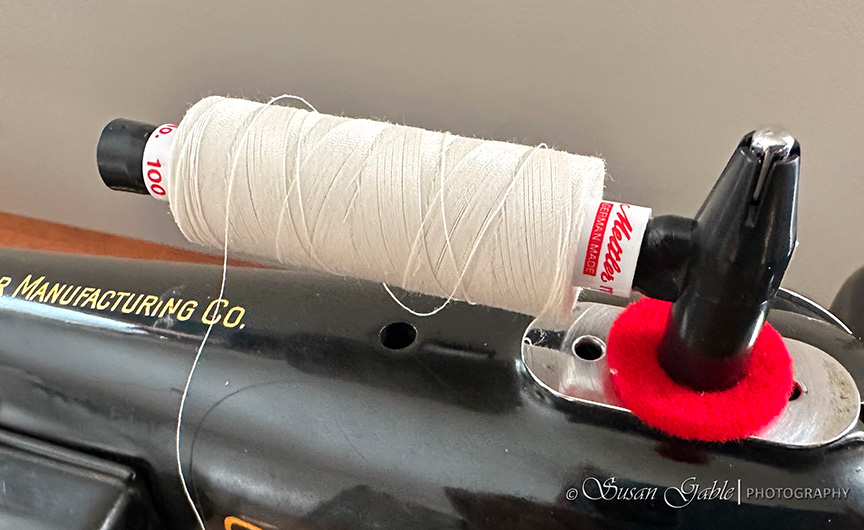
Using this adapter helps keep the footprint of my machine area small.
Walking Foot
I found a walking foot that is used for the Featherweight. I thought I would purchase this and have the ability to use on both of my vintage sewing machines…when needed. This is a special foot that is designed to match the feed dog on the Featherweight as well as the 201.
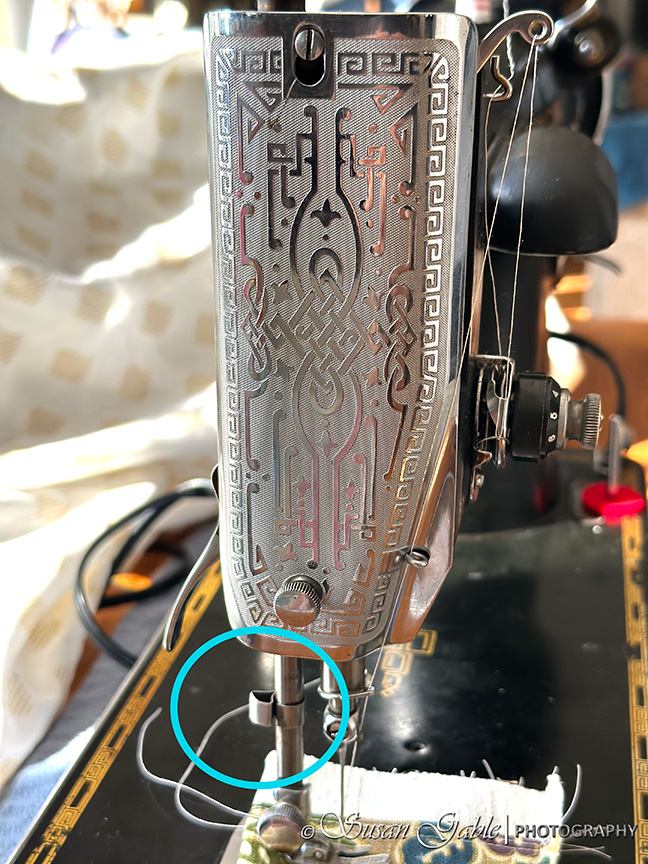
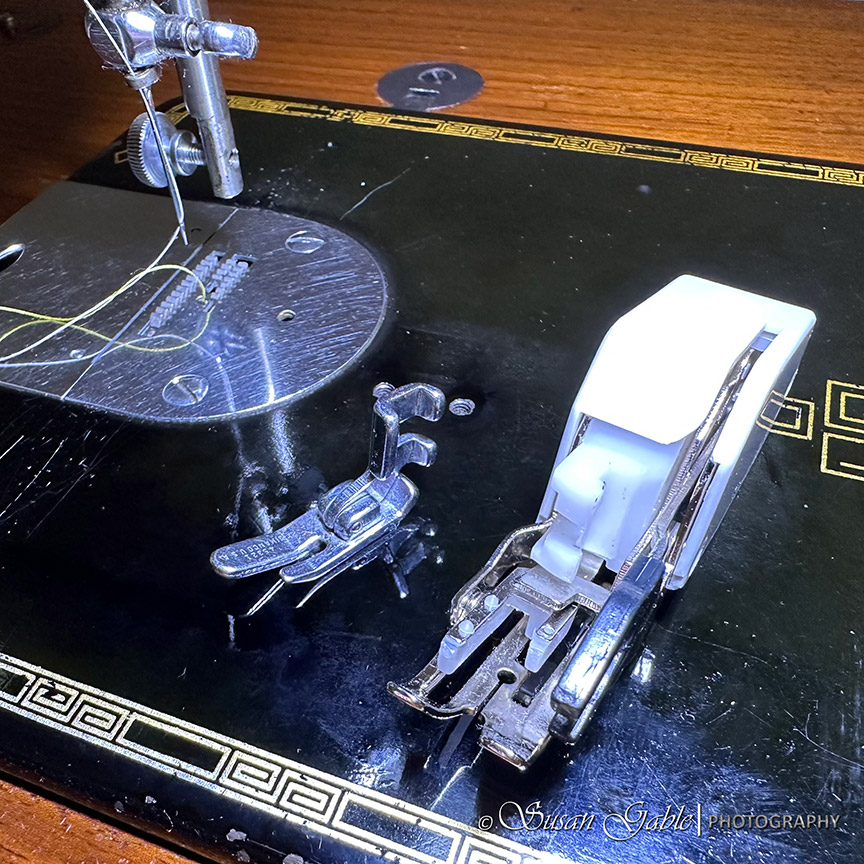
Here’s a close up picture of my low shank walking foot. I’ve circled the area where the foot has its own feed dogs or teeth underneath.
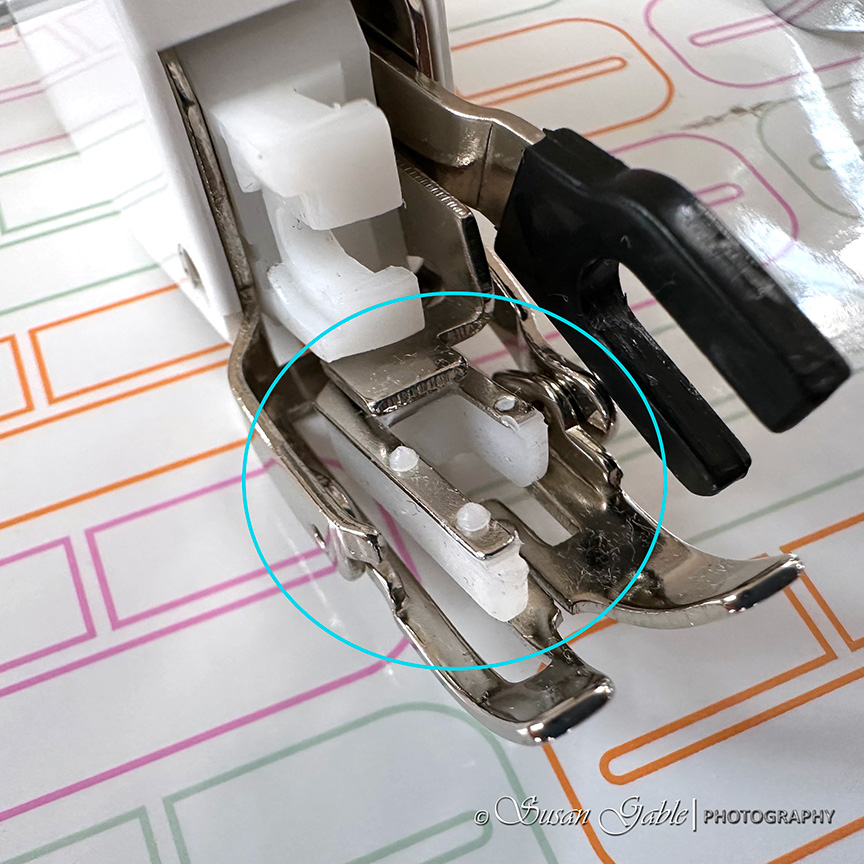
The teeth from my walking foot matches the feed dog on my machine. As I mentioned before this walking foot was made for the Singer Featherweight and 201 sewing machines.
Before I could attach my walking foot to my 201, I had to remove the metal thread cutter that was attached to the presser foot bar. As a habit, I’ve always used scissors to trim my thread after sewing. Personally, I’ve never enjoyed using a sewing machine’s thread cutter so for me it won’t be missed.

I did a bit of research on the removal of the thread cutter. A few folks mentioned about using sewing oil to loosen the cutter and then use a twisting motion and slide the cutter down and off the bar. They also mentioned to use some pressure while twisting and pushing down.
I checked my presser bar and could see some varnished oil (orange gunk) sitting on the bar just above the thread cutter. The thread cutter itself looked to be a bit clean with some dark gunk here and there. Like someone tried to polish it, but not going into the nooks and crannies.
I removed my regular foot and thumbscrew. I also removed my sewing machine needle. Just in case. I did not want to break anything or get stabbed with a needle. I managed to twist and loosen the thread cutter and turned it around the bar. I then put a bit of effort into pushing it down and it basically slid off. Oh. That was easy!
I cleaned up the presser foot bar of the dark gunk using my chrome polish. I thought about getting out my 100% isopropyl alcohol (rubbing alcohol), but decided not to as this was a small cleaning task. Plus I did not want to get the rubbing alcohol on the black paint. Using the chrome polish would be fine for now.
I’m currently using two machine feet: the standard foot (left) and my new walking foot.
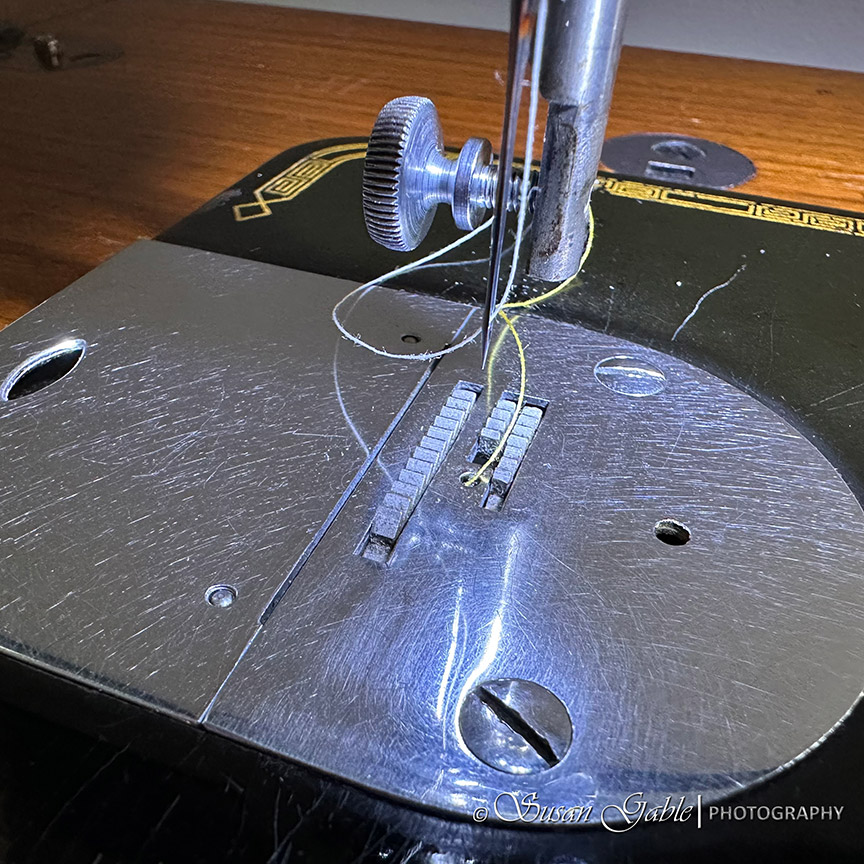
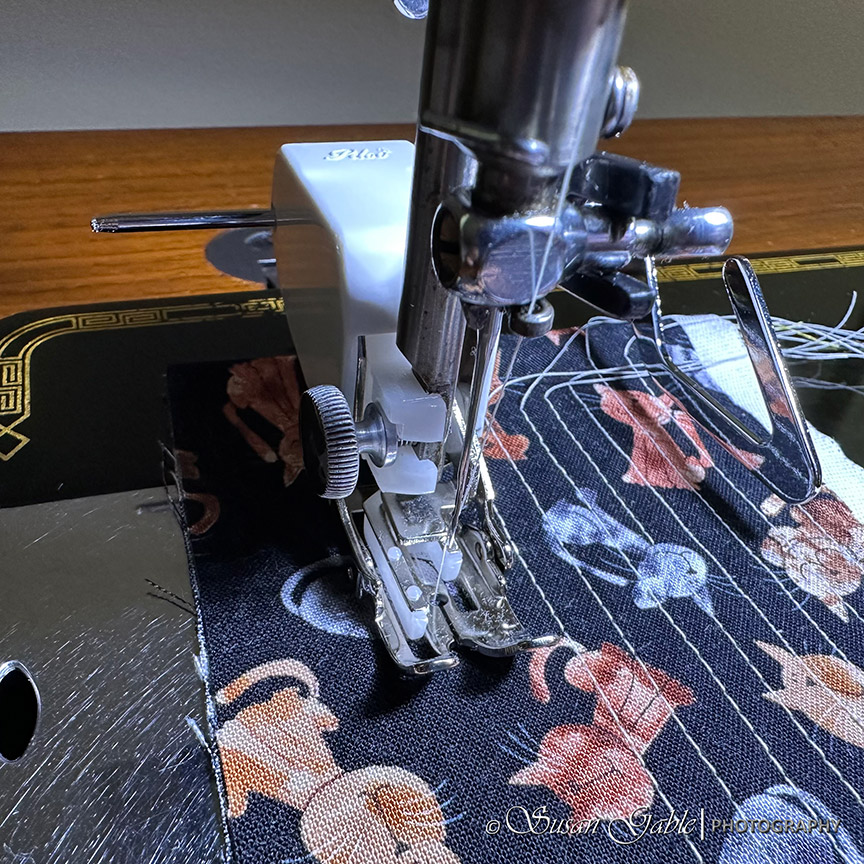
I attached my new walking foot to the presser bar and reinserted my machine needle. I turned the hand wheel towards me slowly and double-checked that the needle would clear the tiny hole in the walking foot.
I immediately found a piece of test fabric and sewed a few rows to make sure there weren’t any sewing issues.
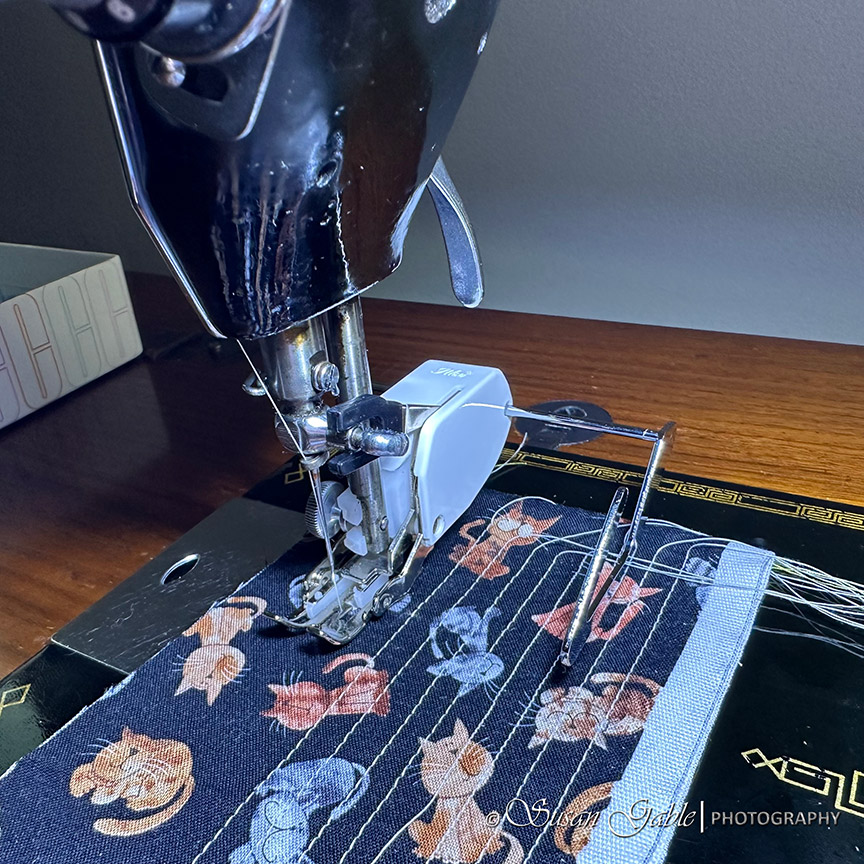
Using the walk foot adds a tiny bit of noise as the walking foot arm is going up and down and the foot is “walking” over the fabric.
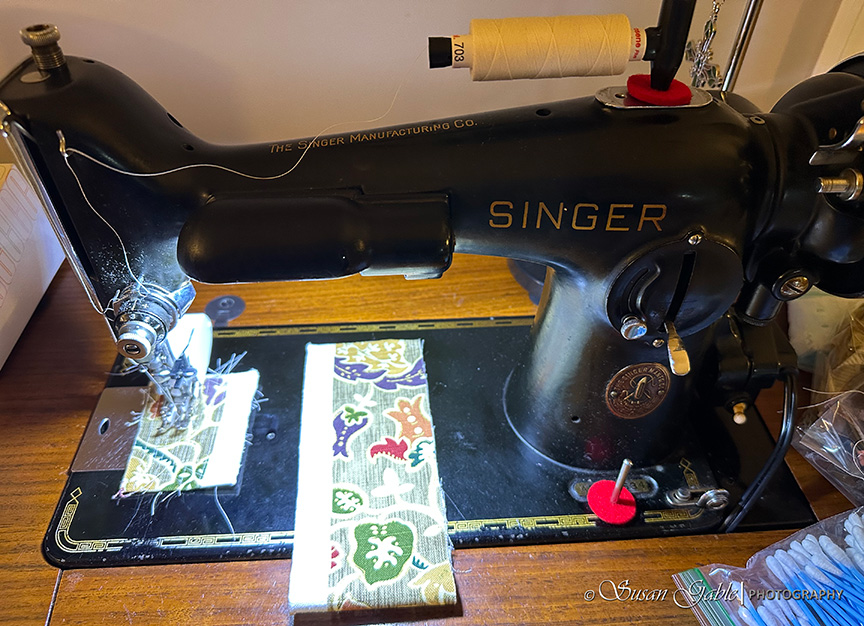
I took my sample fabric sandwich quilt and ran a few test stitches across the fabric. I have to remember to sew slowly. I do the same with my Viking machine. I still saw some puckering on the underside of the test fabric.
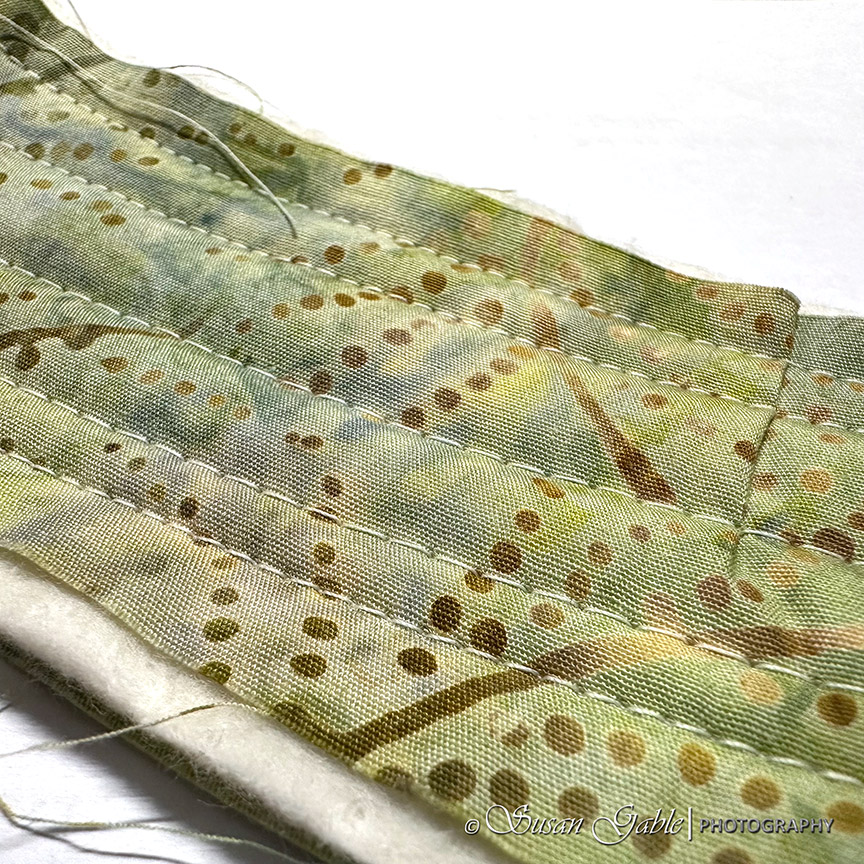
I’ve been noticing an issue under my fabric sandwich where the there are signs of “ripples” in my fabric. For now, I’m avoiding making any adjustments to thread tension. I need to clean and oil the inside of my machine and hope this will alleviate some of the minor issues I’ve come across.
Class 66 Bobbins
I’ve had to add another set of bobbins to my stash. You’ll remember I have a Viking, Babylock, and the Singer Featherweight machine and each brand uses a different bobbin size type. I forgot to mention that I have a Janome embroidery-only machine that also uses a different size bobbin as well.
My vintage Singer machines that I own are the only ones that use a metal bobbin. Unfortunately, my Featherweight and my 201 uses different size bobbins.
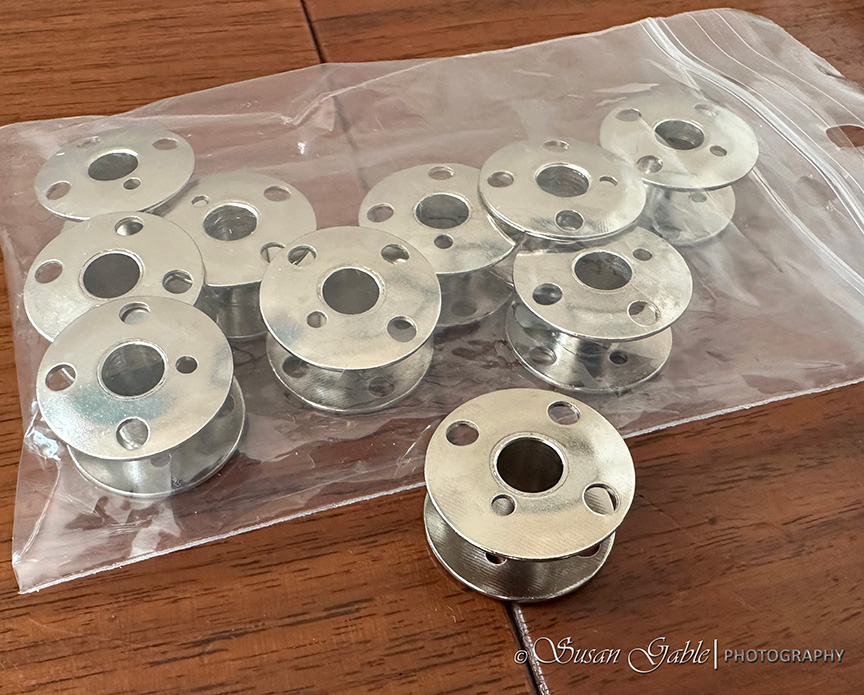
A small investment of much needed items for my vintage machine.
I found an online shop that sells sewing parts and is a resource for vintage Singer sewing machines. The shop is called Quilter’s Connection and the owner is David Werther. You can find the link to his shop here. Enjoy!


Leave a comment