
Warning: This will be a grab a cup of coffee, tea, or water kind of blog post.
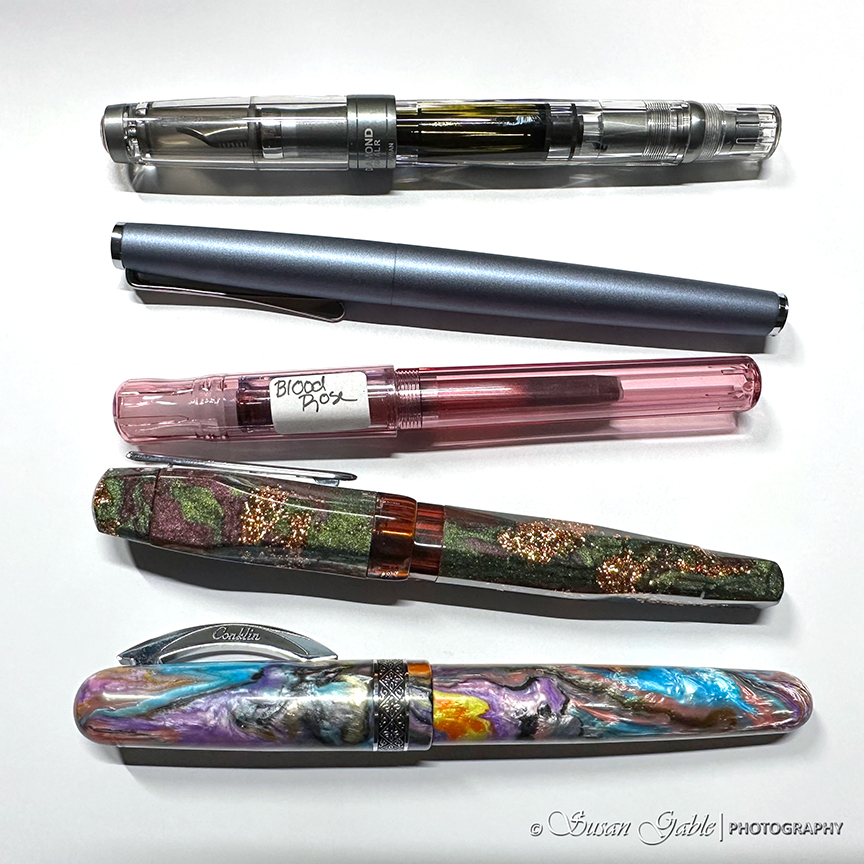
Now that I’ve recovered from a whirlwind weekend pen show adventure, I have been spending some quiet time writing in my pen show journal. I’ve been doing this every year as it gives me the chance to write about the show highlights, friends I have reconnected with, new friends I’ve made, new exhibitors I’ve talked to, my pen show haul, and mostly a way to remember. Also this journal will contain a sketch or two along with a variety of pens used and writing samples from various nibs I’ve come across.

As I was going through the conversations in my head, I remembered a few comments I made about refilling an empty ink cartridge to several people. I also had conversations about the fountain pen inks I prefer to use. Every year I come across pen show newbies who need some guidance or a just a person to chat with. I let them follow me around and I point out exhibitors to see, tables that have test pens, and find an answer to their questions. Many times newbies are afraid to approach an exhibitor and I let them know it’s okay to ask to see a pen or use their test pen to create a writing sample.
Over the pen show weekend, I did a “pre-swatch” of my new inky purchases in my pen show journal to get a sneak peek of the ink’s personalities. It also comes in handy to show my fellow pen enthusiasts what the ink looks like in my handwriting and also how it looks as a pen & ink wash. That way they can run, not walk, to the exhibitor’s table.

Last night I spent some quality time with my new inks and swatched most of them to see which colors I wanted to use first in my artwork. I was hoping to fill a few of my Kakunos, which are now part of my artsy-workhorse pen collection along with my GOs. I thought this would be a wonderful time to show how I fill an ink cartridge.
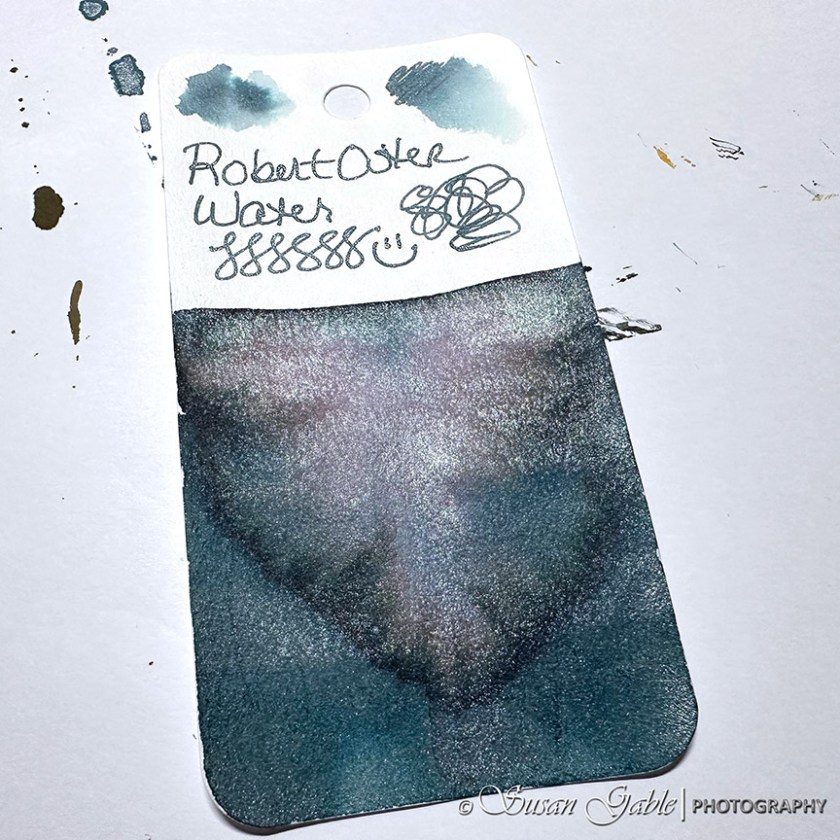
Let me just stop for a moment and give a shout out to this lovely shimmering ink called Water. OMG! This is my swatch card! I feel as though I should stick this in a frame. Sigh!
Okay, I need to get back on track. Where was I? Oh yeah…
I know I’ve mentioned in my previous pen & ink posts that I dislike using my Pilot CON-40 converter with my Kakunos and Preras. The CON-40 converter does not hold much ink. It’s actually a pain in my side to use. Enough said.

So the big question for today is how do I fill my Kakunos with ink?
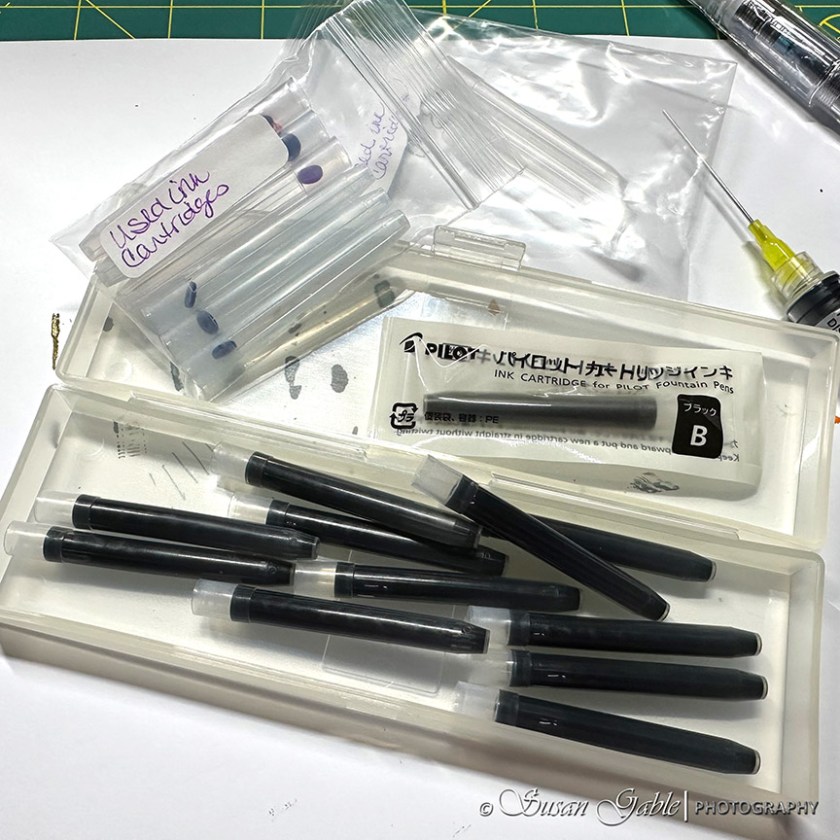
I use/reuse the included (Pilot) ink cartridges. I’m sure folks out there in the fountain pen world have tossed the “included” black ink cartridges into a container/box or even the trash. Do not throw them away!

I keep my cleaned and empty cartridges in a small zip lock bag. I also have a separate bags for short and long international cartridges, Lamy, and Platinum. For this post, I’ll focus on the Pilot cartridges.
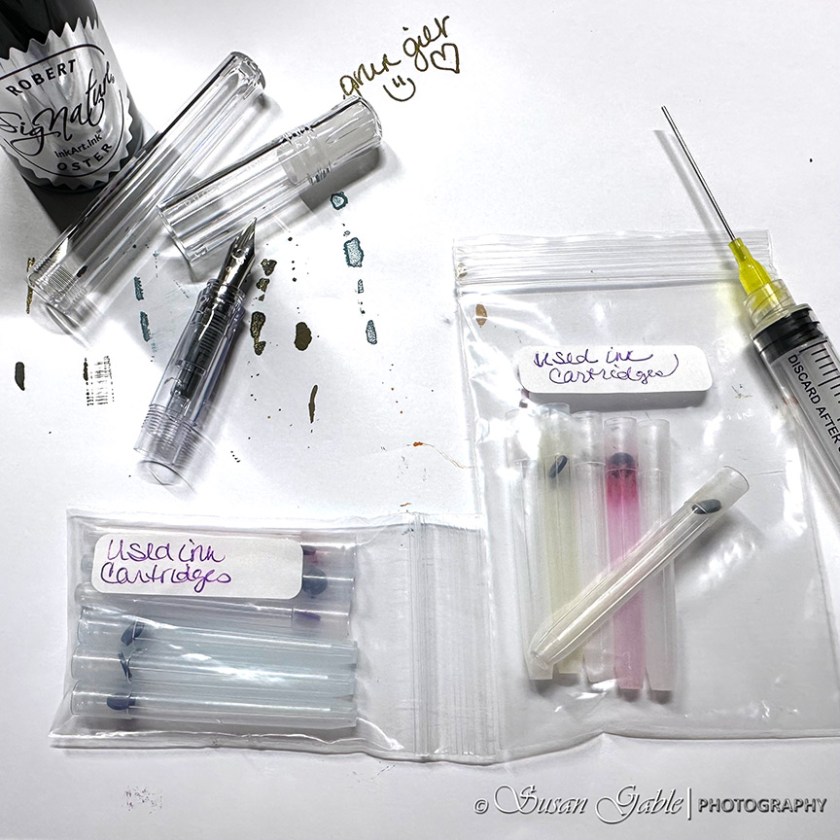
As one can see, I do have a lot of Pilot cartridges. That must mean I have a lot of Pilot pens. I do! I have a plastic TWSBI box that contains my Pilot cartridges that I received with a pen.
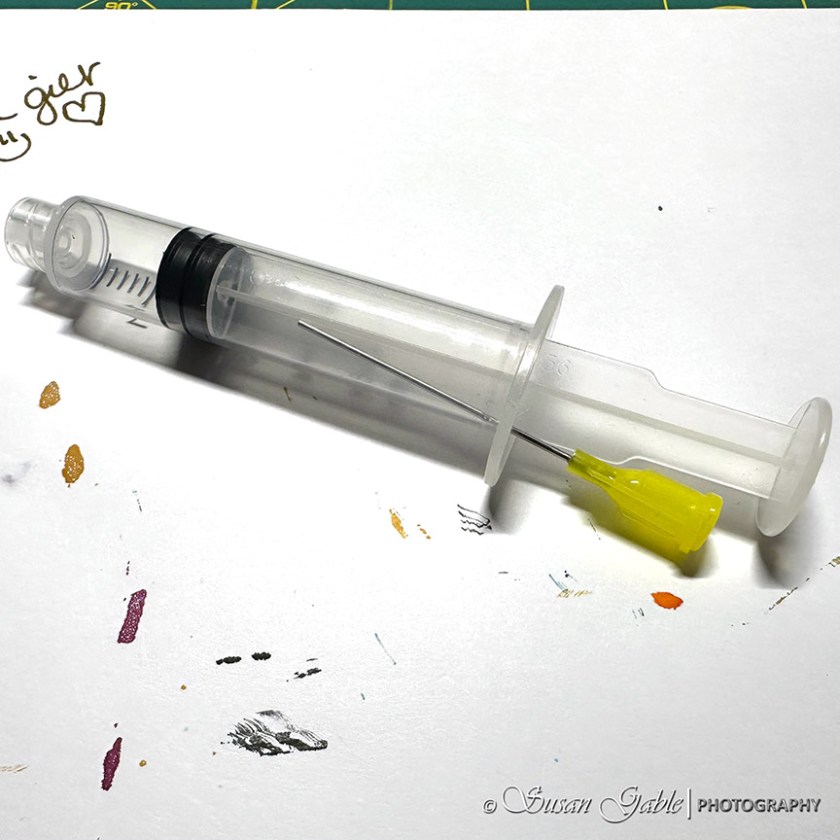
One Blunt Needle Syringe
Every pen enthusiast should have at least one of these in their pen tool box. This is a blunt needle syringe I purchased from one of the online fountain pen shops. I actually have a few of these. One in my pen cup. One in my tool box. Another in my workshop travel case.
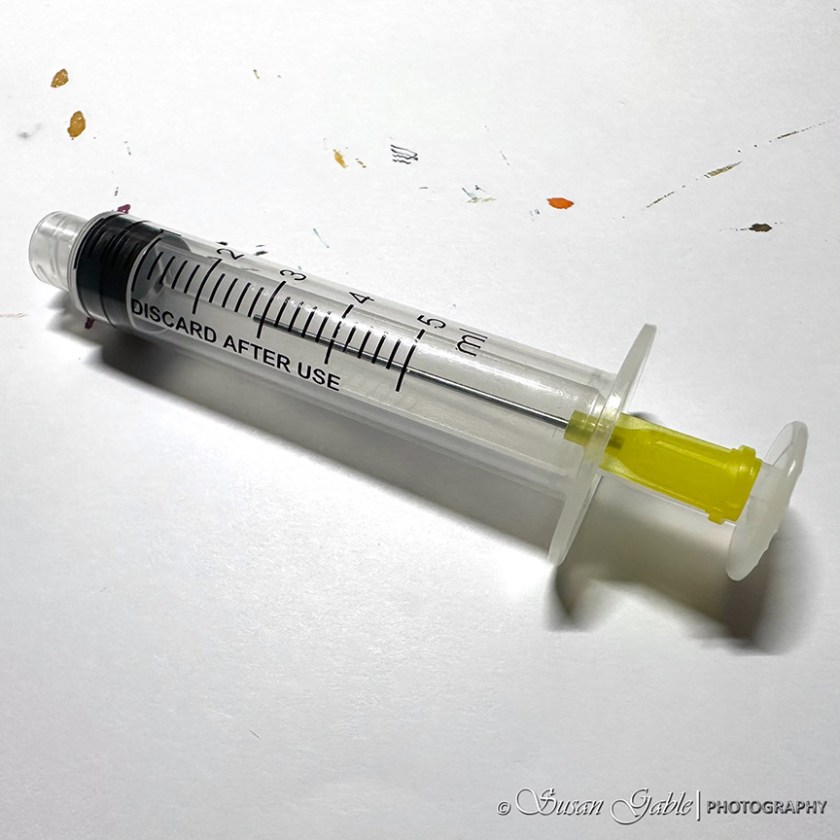
Pull back the plunger to release the blunt needle.

Screw in the blunt needle into the syringe and the it’s ready to go.

Let’s fill a cartridge!
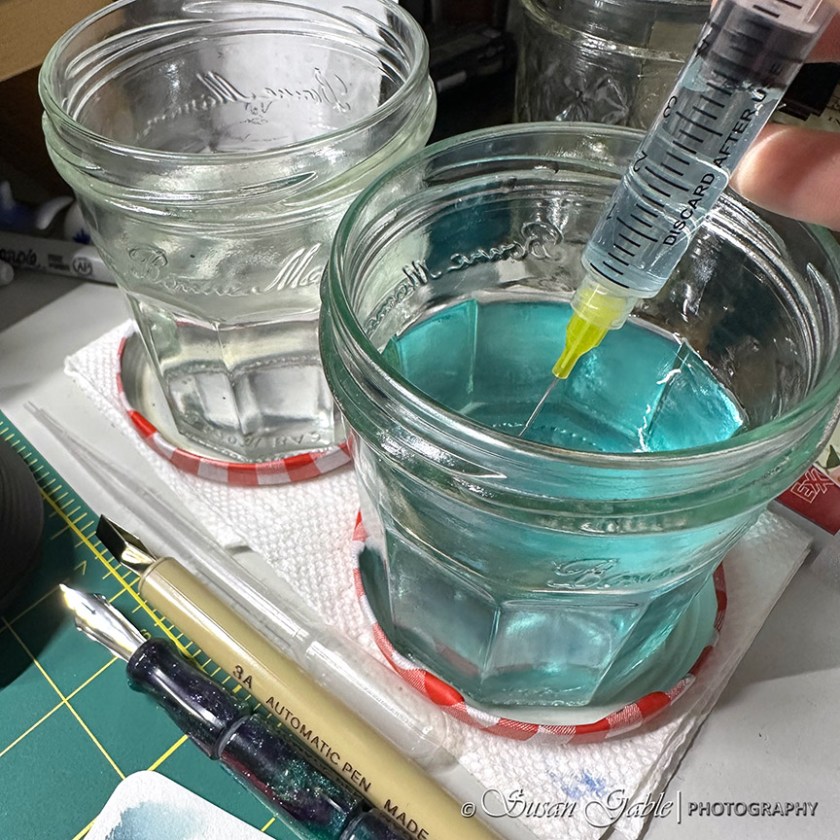
An important thing to remember is the open end of the ink cartridge always needs to be pointed up during the filling process. Otherwise, the ink will fall out and there will be a mess to clean up. Trust me I know about these things.
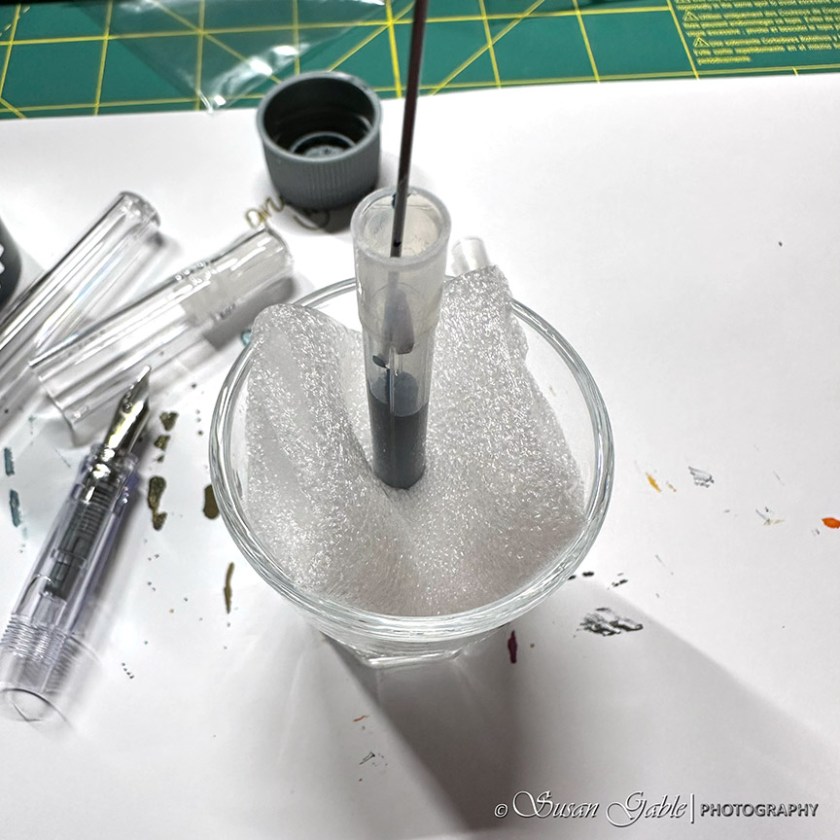
Warning: the following pictures shows an empty cartridge sitting in some foamy packing material sitting in a cute multi-purpose shot glass. This is for picture taking purposes only. I’m not talented enough to take pictures while holding open inky containers in my hands. If you, my blog reader, decide to copy this idea…use at your own risk.

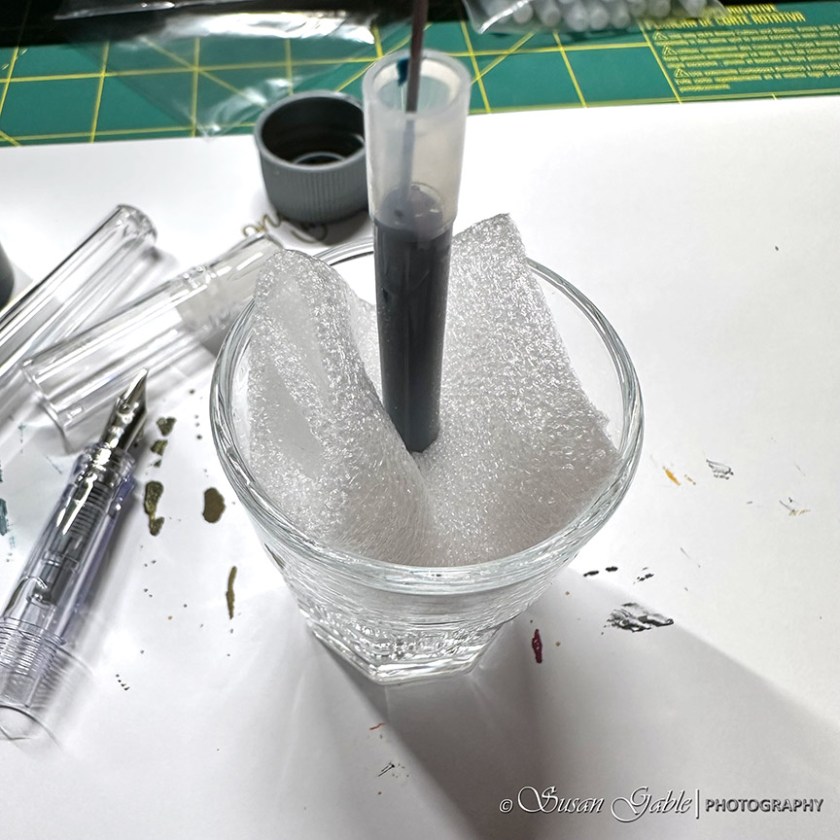
I fill the syringe with about 1ml of ink. I place the blunt tip of the needle inside the empty ink cartridge.

To avoid inky splatters, I slowly fill the ink cartridge.
I do not fill the cartridge full, but I will leave some space at the top.
With my cartridge filled, I’m ready to slide the section (nib/feed) over it.

Line up the section over the cartridge and slide it as far it will go.

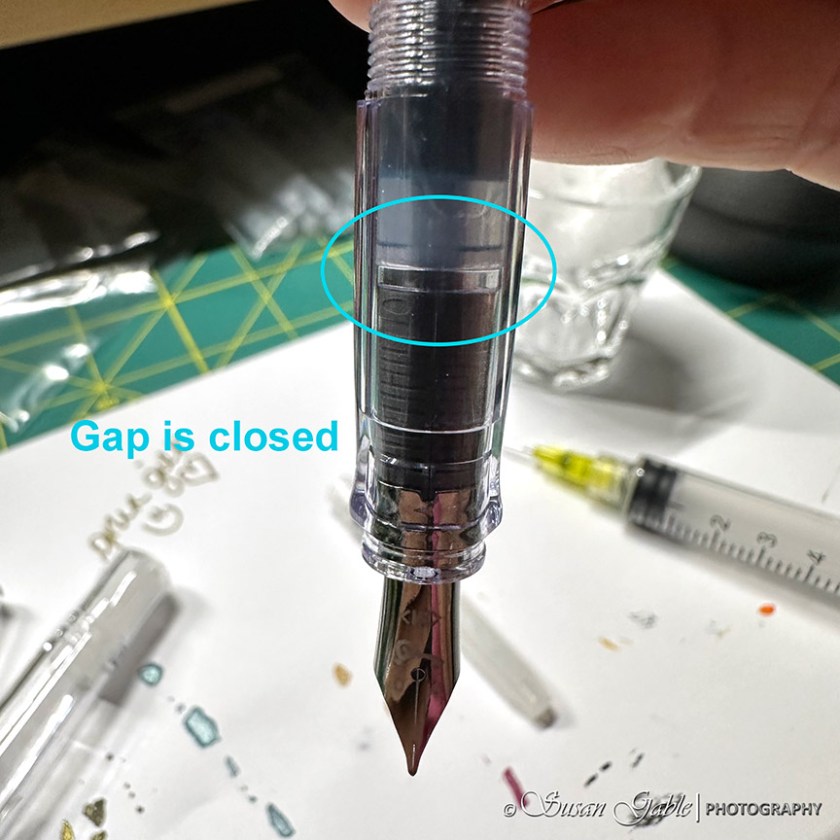
The next step requires pushing the cartridge into the section. In the picture below, the circle shows a space or gap where the cartridge can’t go further into the section.

While holding the cartridge firmly on my desk, I will push the section down onto the cartridge.

After pushing the cartridge into the section, the space or gap should be closed as shown in the picture below.

Here’s another view of the cartridge seated inside the section.
The ink is starting to make its way into the section.

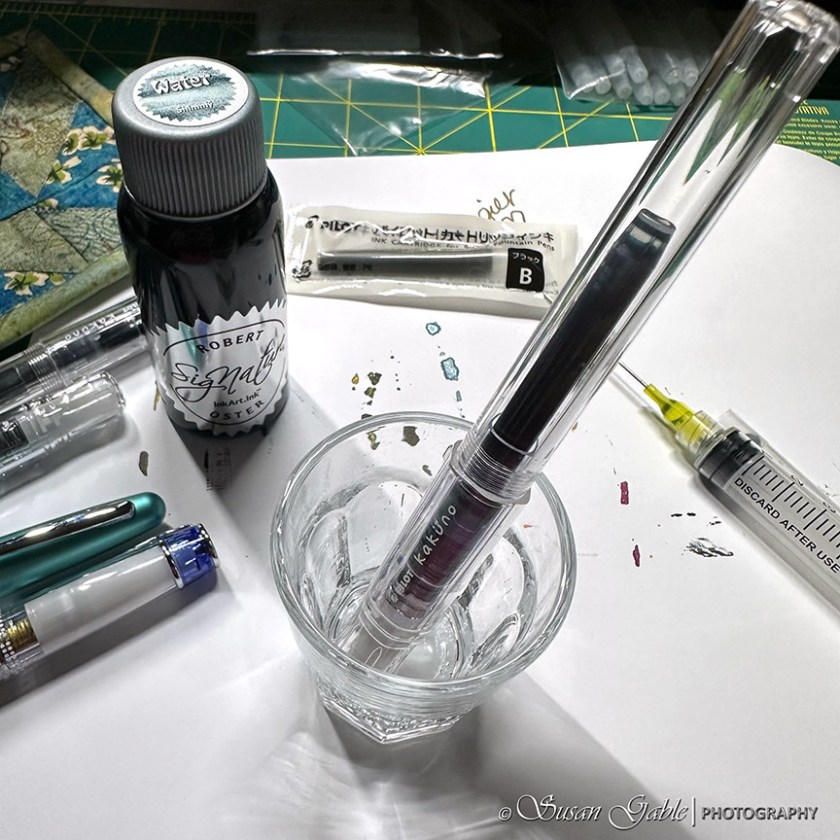
It’s time to let my fountain pen sit in a cup/jar with the nib side down and to allow the ink to flow down into the feed.
While I’m waiting to use my pen, I’ll go ahead and clean out my syringe. It’s basically filling the syringe with water and pushing it out. Eventually, I’ll take the dirty jar and syringe to a sink and do a final wash.
After the syringe is cleaned and empty, I unscrew the blunt needle and store it in the syringe. I also pull out the plunger a bit to help air out the tip of the syringe. It typically takes an hour or two for the syringe to dry out.
I check my pen and it’s ready to use.

Tips
Tip #1: To help keep my artistic juices flowing, I store a few of my empty cartridges in my clean fountain pens. That way, when I’m ready to use my pen, I’m not wasting valuable time digging around my studio looking for an empty cartridge or converter. Does that sound familiar?
Tip #2: Many years ago, I used to keep ALL of my empty fountain pen boxes. I had a few bins filled with them. It was overwhelming and got out of hand. I had to let them go, except for the ones that were plastic or had a see through cover. I ended up reusing them to store my pen and ink accessories.
Tip #3: The included blah-black ink cartridge. More times than not I will dump the black ink out and refill the cartridge with my favorite ink color. It’s probably a good idea to be doing the following over a kitchen sink. I will unseal the new cartridge by popping it into a Kakuno. Before the ink starts flowing out, I pull the cartridge out and dump the ink into a sink. I’ve also taken an open cartridge and swish it around a tub filled with water. I’ve also used the blunt tip syringe to pull the ink out of the cartridge and then clean it out.
I will be back to update this blog post with additional tips and ideas. Thank you for following along on my fountain pen adventures. Have a great week and enjoy your pen show hauls!
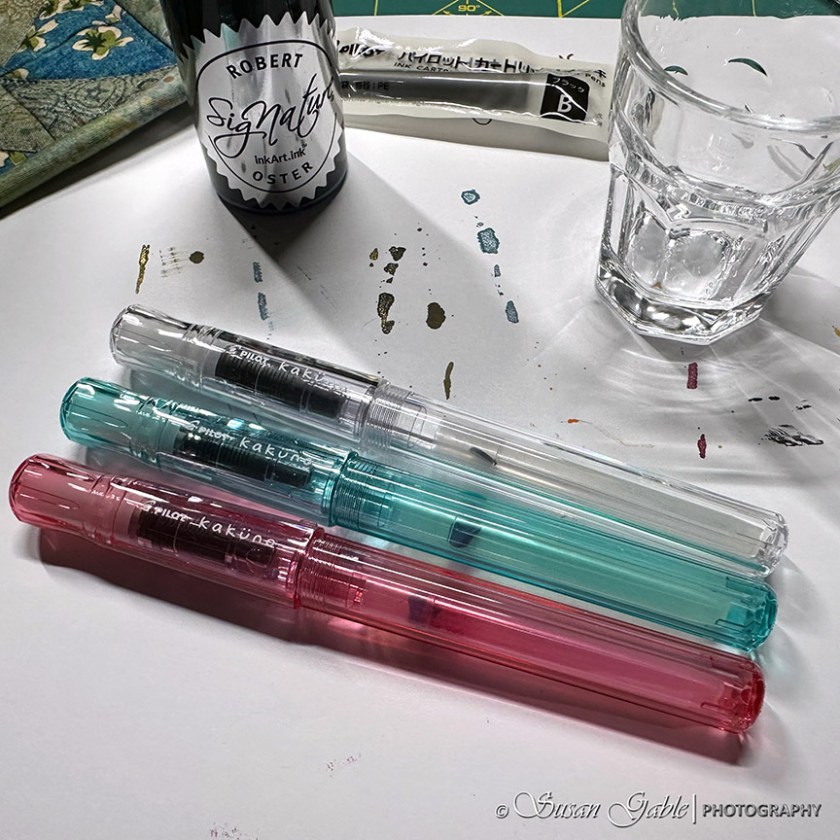
Pens: Pilot Kakuno (clear, pink, green) with Medium nib
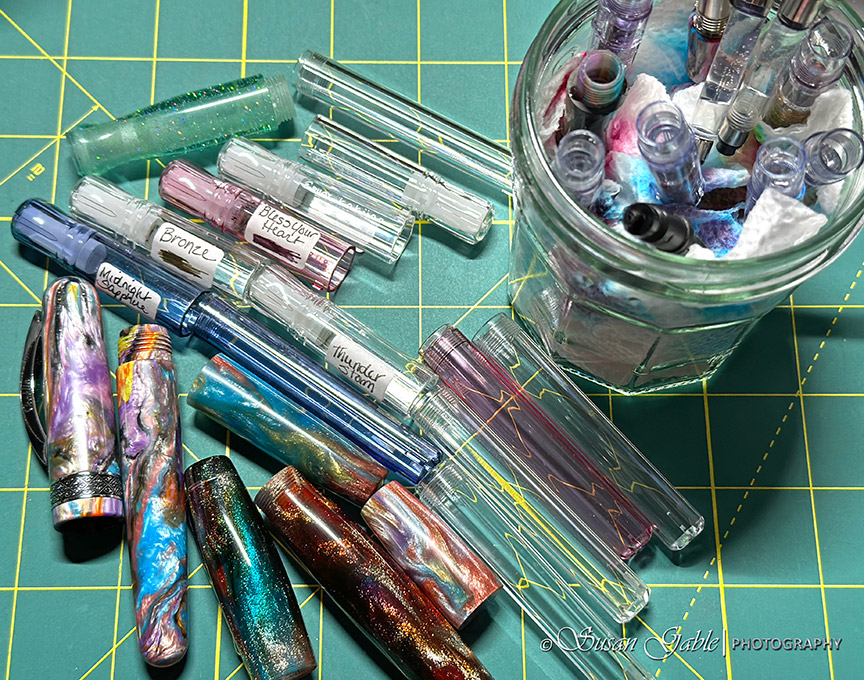
Inks: Robert Oster Shimmering in Water, Grun Gilt, Frankly X, and Glistening Orange Rumble. Colorverse Horsehead Nebula, Rising Reflections, and Stellaris.
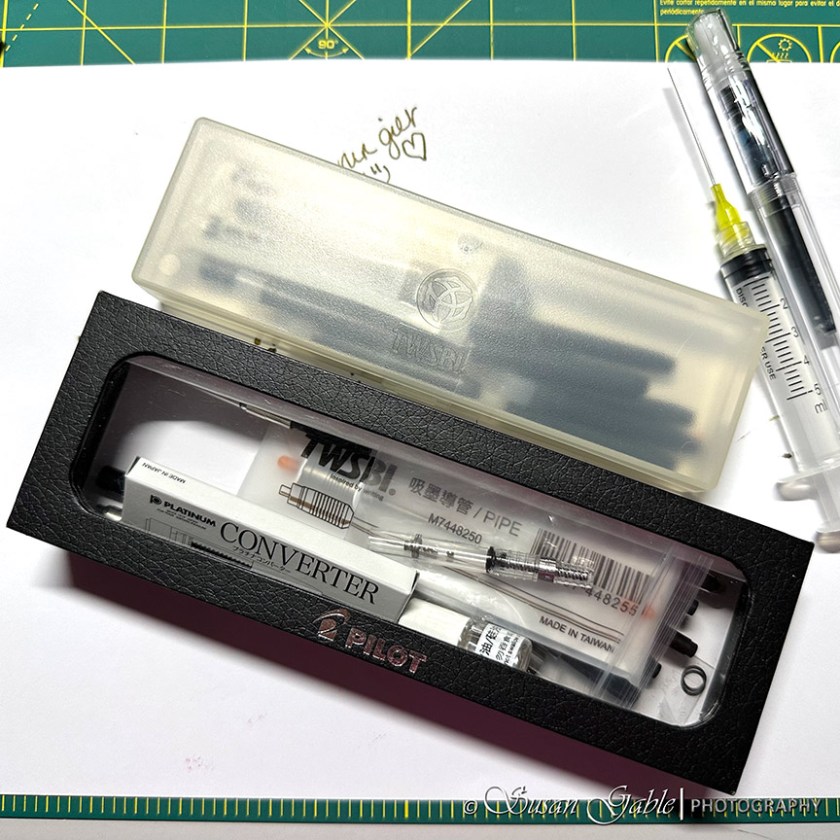
Tools: Blunt tip syringe. Bonne Maman preserve jars. Shot glass. Col-o-ring Ink Testing Book.


Leave a comment