Skip to content
SusieG Studio
Search
Category:
Cleaning/Maintenance
My Singer 201-2: Part 6-Needle Bar Motion While Winding a Bobbin Issue
My Singer 201-2: Part 5-Taking a Look Behind the Decorative Plates and Under My Machine
My Singer 201-2: Part 4-Cleaning the Nooks & Crannies with Chrome Polish
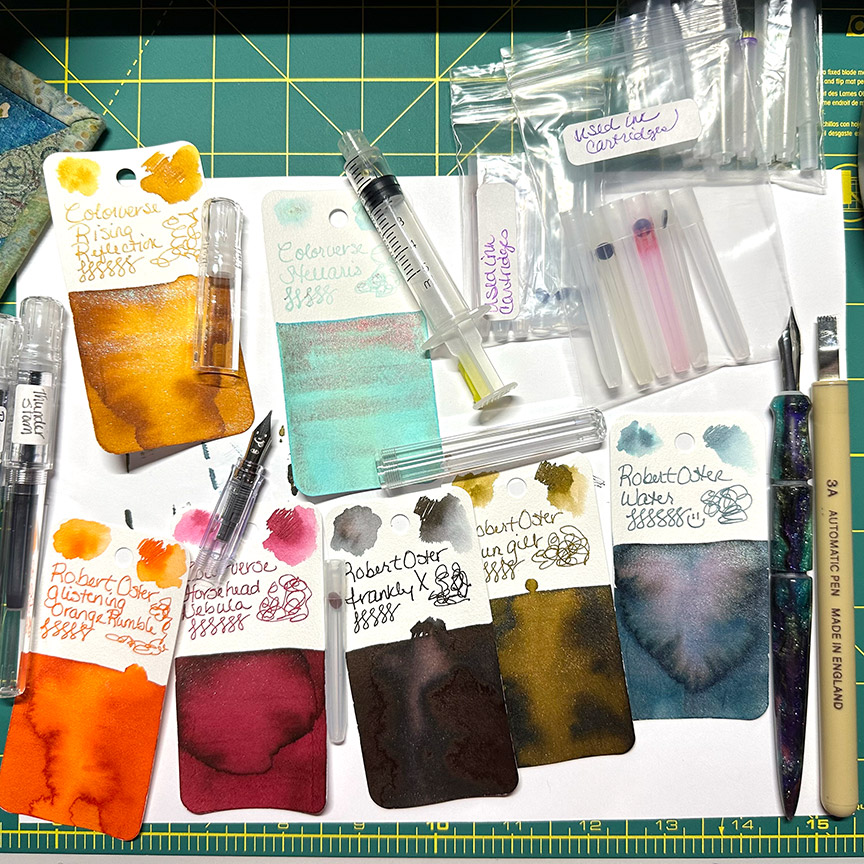
Cleaning My Fountain Pens
How to Fill an Ink Cartridge
My Singer Featherweight 221 Sewing Machine – Part One
A Restoration Project in the Works
Next Page
Subscribe
Subscribed
SusieG Studio
Join 88 other subscribers
Sign me up
Already have a WordPress.com account?
Log in now.
SusieG Studio
Subscribe
Subscribed
Sign up
Log in
Report this content
View site in Reader
Manage subscriptions
Collapse this bar