There’s another hobby I’ve been experimenting with that involves a bit of designing. When I’m not playing with my fountain pens and inks or watercolor paints, I’m spending time with my Cricut machine.
Last year I started out with the cute little Cricut Joy. I used mine mainly for cutting small pieces of vinyls, but many folks used it for cutting fancy cards. I initially purchased about four rolls of the Cricut Joy Smart Vinyl to get familiar with their removable and permanent vinyls. Their Joy Smart Vinyls can be used without a mat and loads nicely into the Joy.
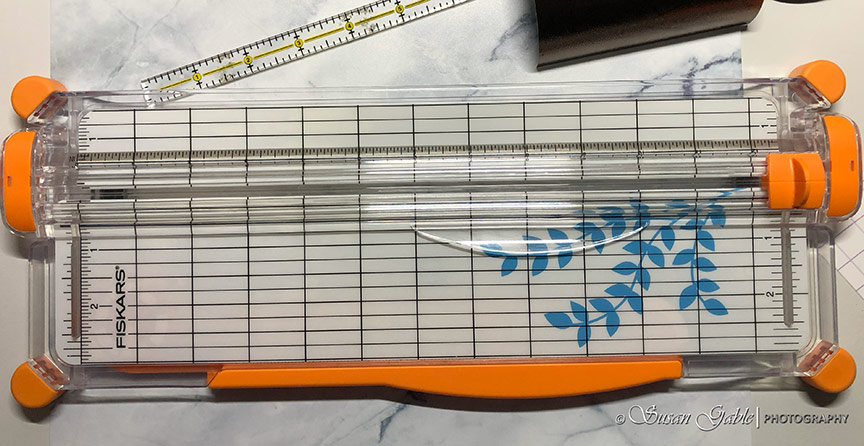
I immediately graduated to the larger and wider rolls of vinyl (save $) and learned to cut and trim my own vinyl pieces to avoid waste. I used my compact Fiskars trimmer to cut my vinyl pieces. This was a valuable tool to have especially when I needed to trim pieces accurately and trimmed the edges straight. The straight edges allowed me to line up and place the vinyl onto my mat.
I never had the need to purchase the Cricut subscription. I already have experience with using Photoshop and Illustrator. It was easier for me to create, edit, or clean up designs and uploaded them into Cricut’s software called Design Space.
I definitely fell into the vinyl cutting rabbit hole.
A few months ago, I bought a Cricut Maker on sale. Basically I graduated to a bigger machine that could do so much more. Compared to my Joy, the Maker is a huge machine. It’s wider and heavier. It took me awhile to get used to my Maker as the mat (12″x12″) is much larger than the one used with my Cricut Joy (4.5″x6.5″).
With my new Maker, I wanted to create my own stickers. I tried out different printable vinyl papers and created stickers of my artwork.

I’ve been busy cutting vinyl for Christmas gifts. I’m not able to post pictures of them right now, but I will share some other projects I’ve been working on.
Recent Projects:
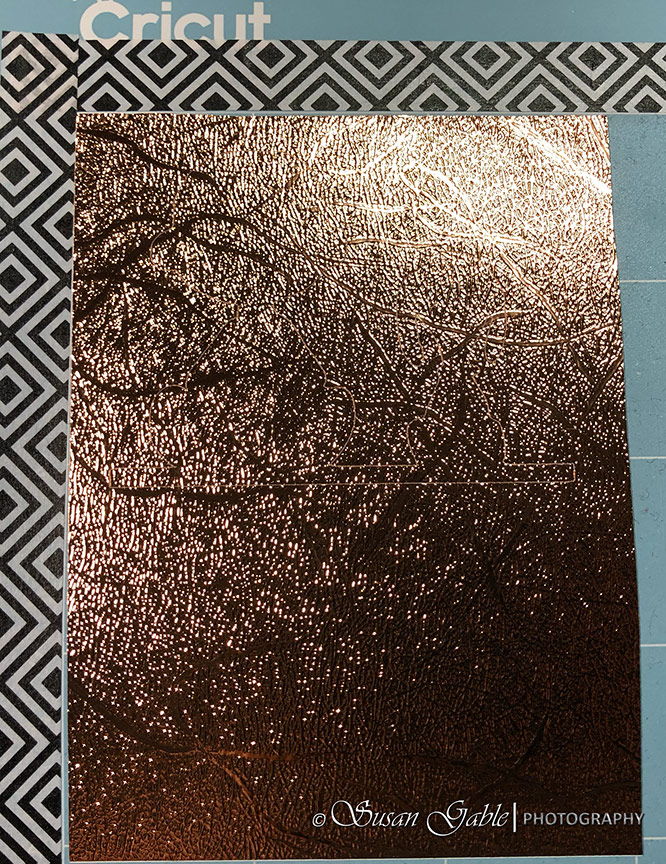
Here’s my Cricut Maker cutting out a design on one of my favorite textured vinyl.

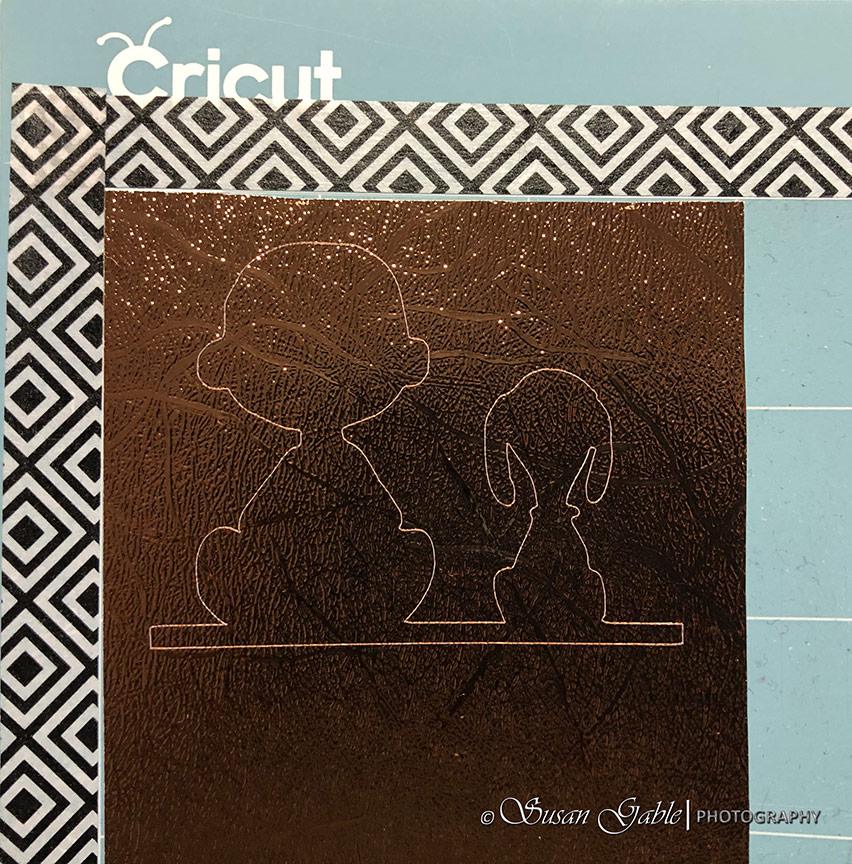
After this fancy vinyl is cut, you can barely see the design.
Once I adjusted the angle of my desk light, you can now see the image that was cut.
I prefer not to waste my favorite vinyl. You can see from the pieces (below) there’s more than an inch of vinyl that can be reused for smaller projects.

I trimmed my cut vinyl pieces down with my Fiskar trimmer and make sure I do not cut into the design.


Here are the leftover pieces that can be reused for future projects.

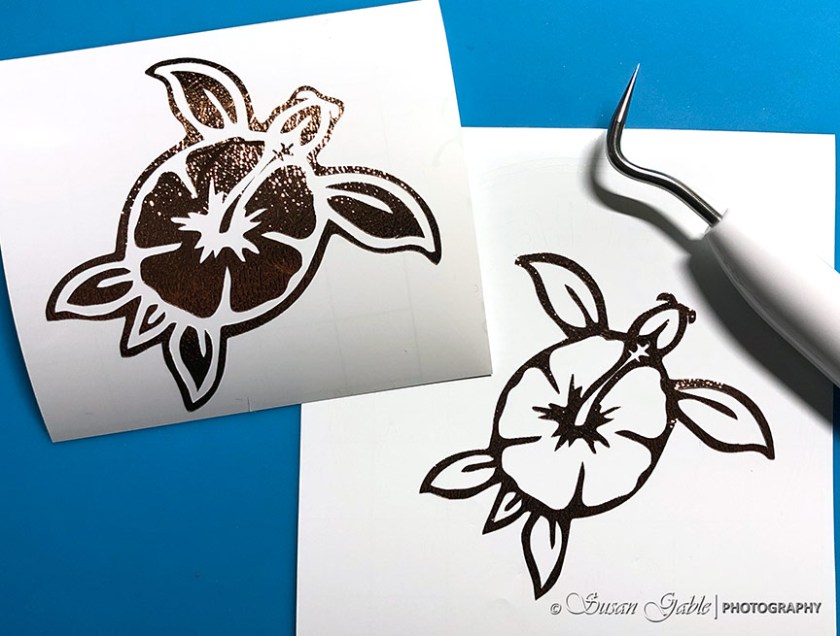
Now I’m ready to weed my vinyl. For my initial weeding process I removed what I call the main background.


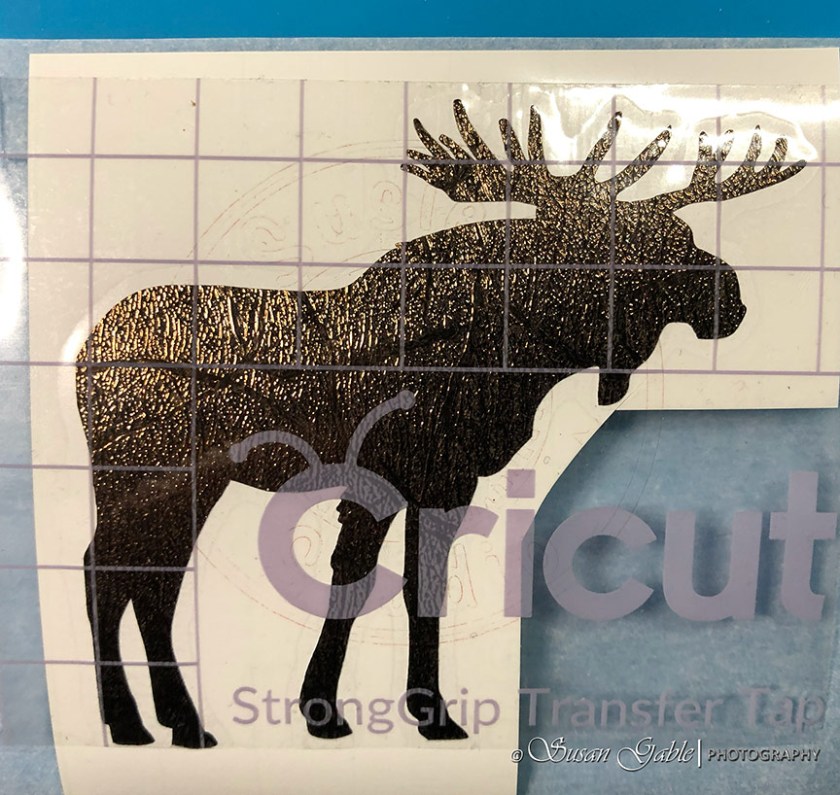
Some intricate designs required additional weeding. Here I removed the vinyl from inside of the turtle design.

There might be an opportunity to reuse the weeded out vinyl. I grabbed an old backing sheet and placed the discarded portion of the vinyl for future reuse. You can see the hibiscus flower on the turtle’s body (right) was just too pretty to throw away.
Here’s a picture of my discarded vinyl pieces from my weeding process. This went into the trash.

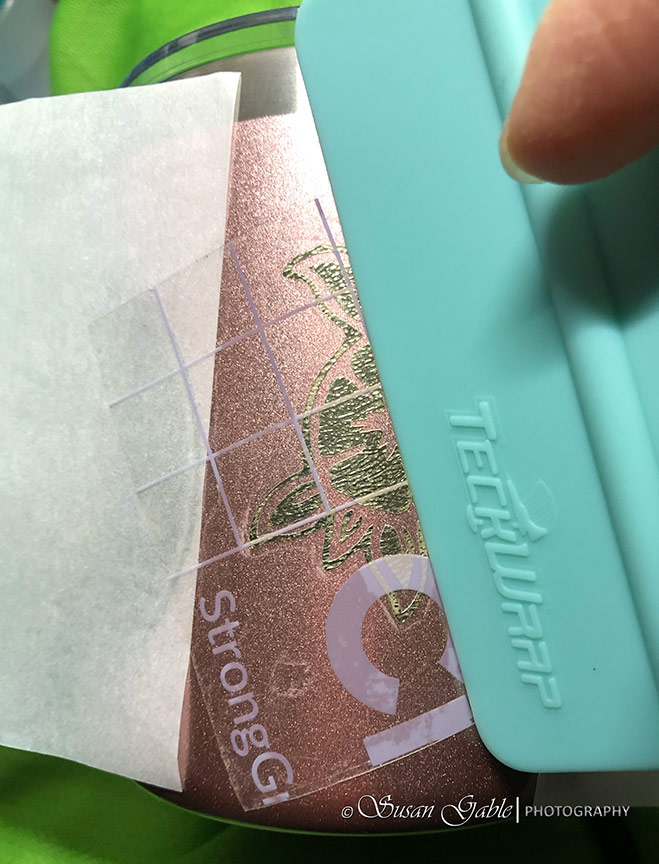
The next step was to apply the transfer sheet over my vinyl designs. I used my squeegee scraper and scraped the transfer sheet down over my vinyl design. The white sheet of paper shown below is my parchment paper. It’s amazing that my transfer sheet and vinyl does not stick to this paper at all.
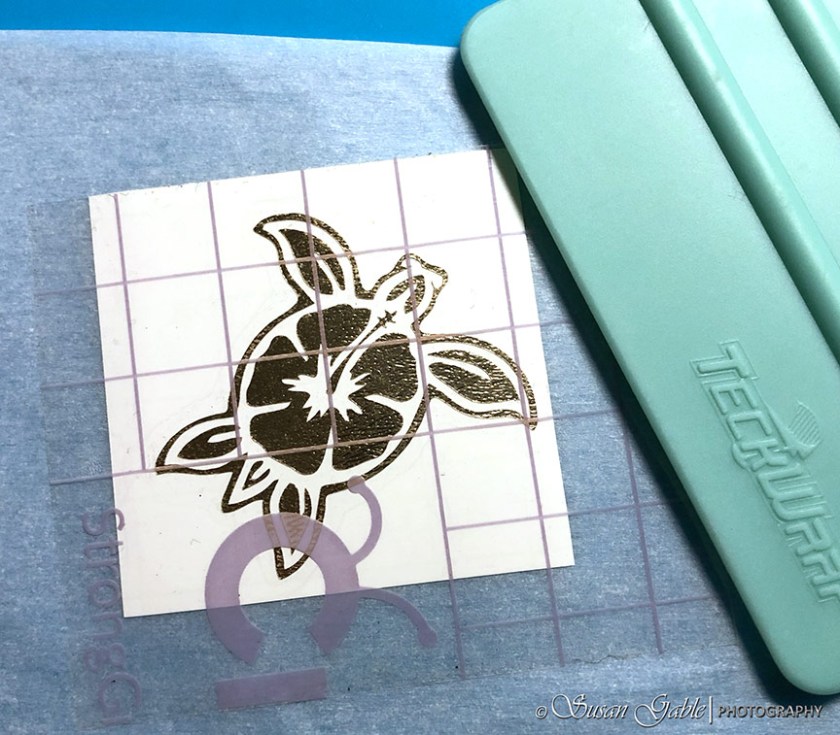
I also used my squeegee to scrape the backside of my vinyl or backing paper. I then carefully and slowly peeled away the backing paper from the transfer sheet and vinyl. You can see from the following picture that I pulled from a sharp angle versus pulling straight up. This is an important tip I’ve learned and have not had any issues.

For the next step I needed to clean the surface of my metal mug before I applied the vinyl.
I used rubbing alcohol on a cotton pad and cleaned the surface. Here’s my plastic container I picked up from the Dollar Tree. Underneath the lid is a pump-like surface where I place my cotton pad and press down for the alcohol to come up and wet the pad. Yes, I had to add a vinyl label. Isn’t it cute?!

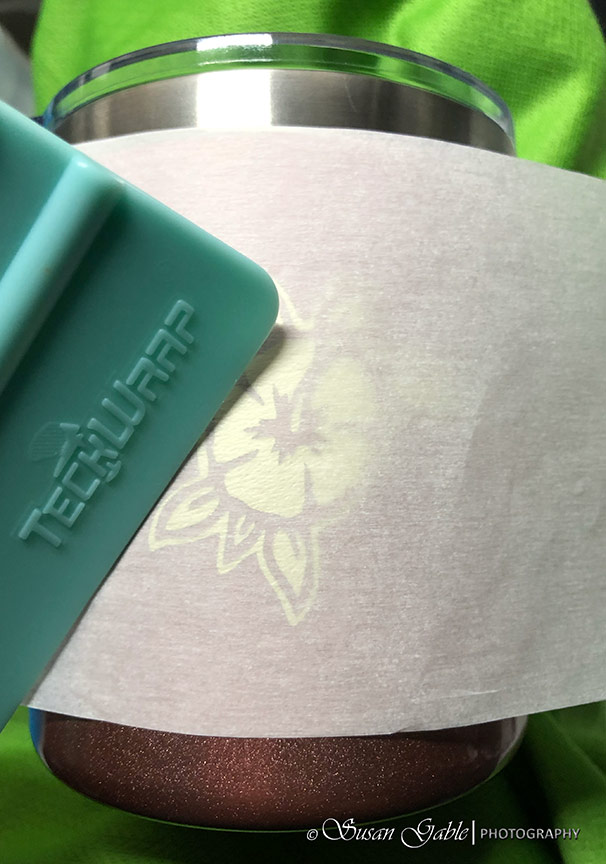
Once my mug had dried, I placed my vinyl and transfer sheet over my mug. I also placed a piece of parchment paper on either side of my vinyl to protect the vinyl designs I already had on either side of my mug.
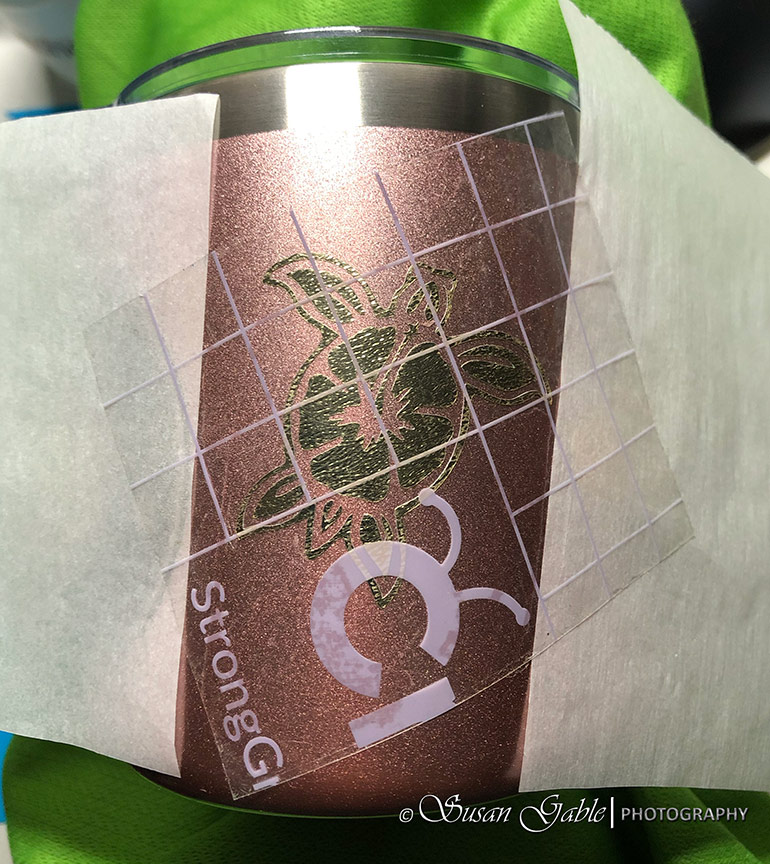
I used my squeegee to scrape down the vinyl onto my mug.
I gently pulled the transfer sheet away.

Another tip I learned was the ability to reuse my transfer sheets. I placed it on the backing paper it came off of.

I used a piece of parchment paper to cover the vinyl and gave my mug a good scrape to make sure the vinyl stayed in place.
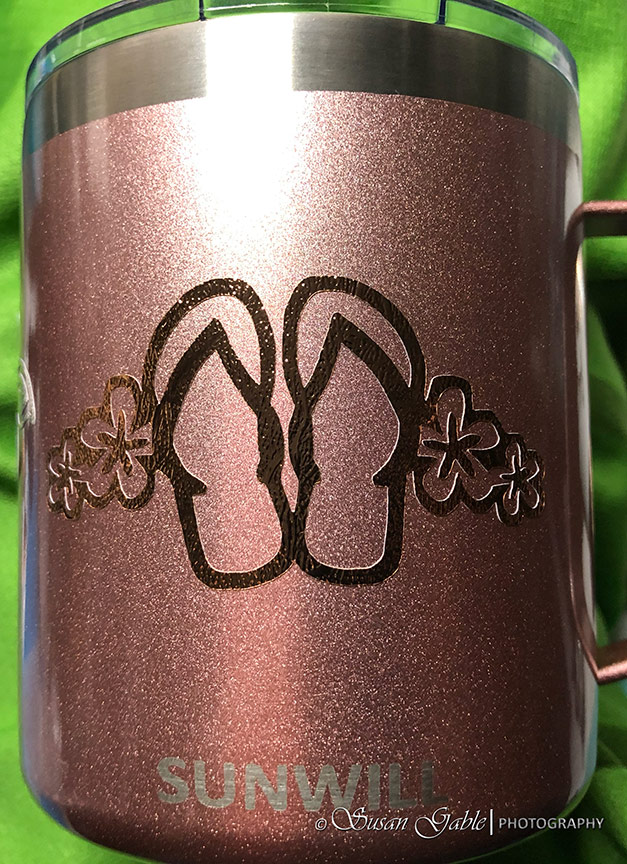
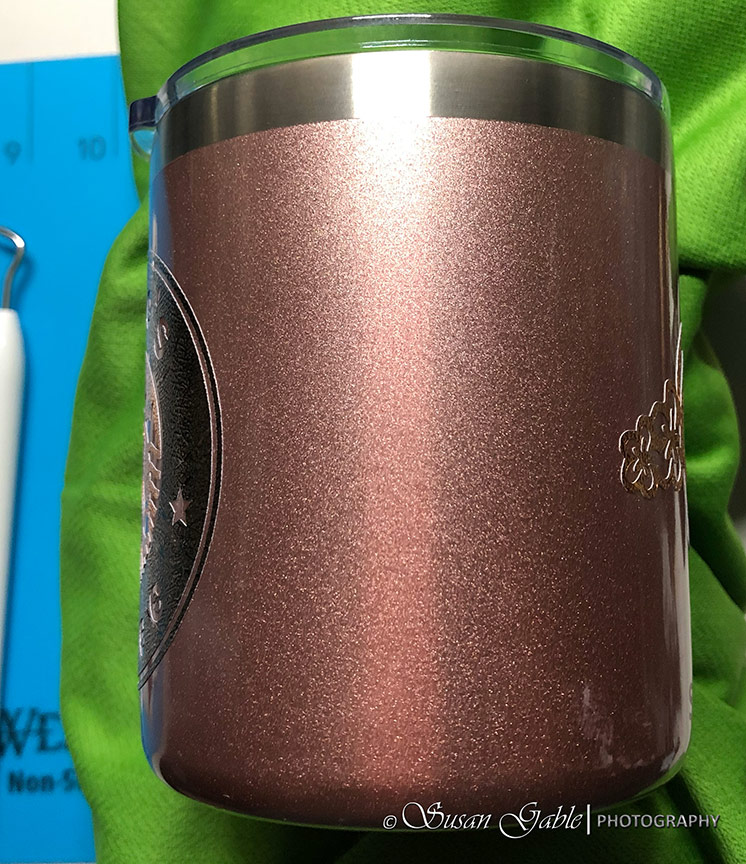
Here’s my hibiscus turtle.

I also added one to my hubby’s mug.

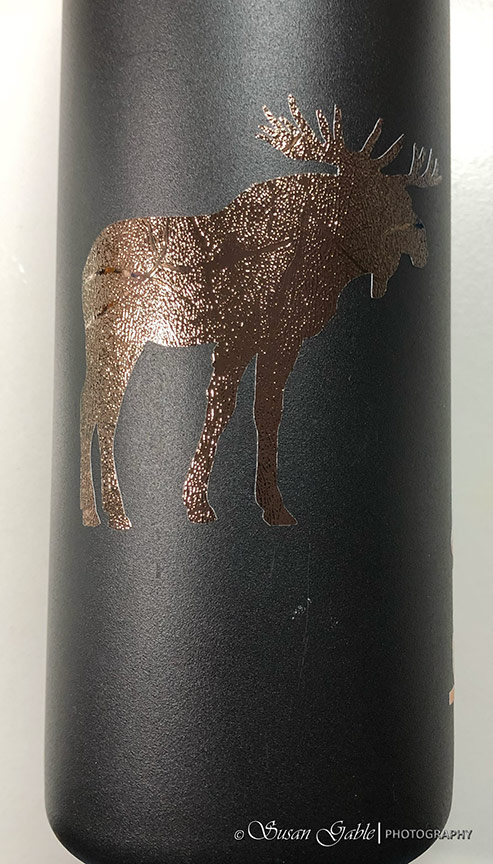
Here’s a design I used on my hubby’s water bottle.
I added another vinyl for a pop of color.

I will typically let the vinyl cure for about 3 days before using my mug/bottle.
Cricut Machine: Cricut Maker using Premium Textured Metallic material setting
Vinyl: Cricut Premium Vinyl Textured Metallic Permanent Glossy
Transfer Sheet: Cricut Strong Grip
Mat: Cricut Light Grip


Leave a comment