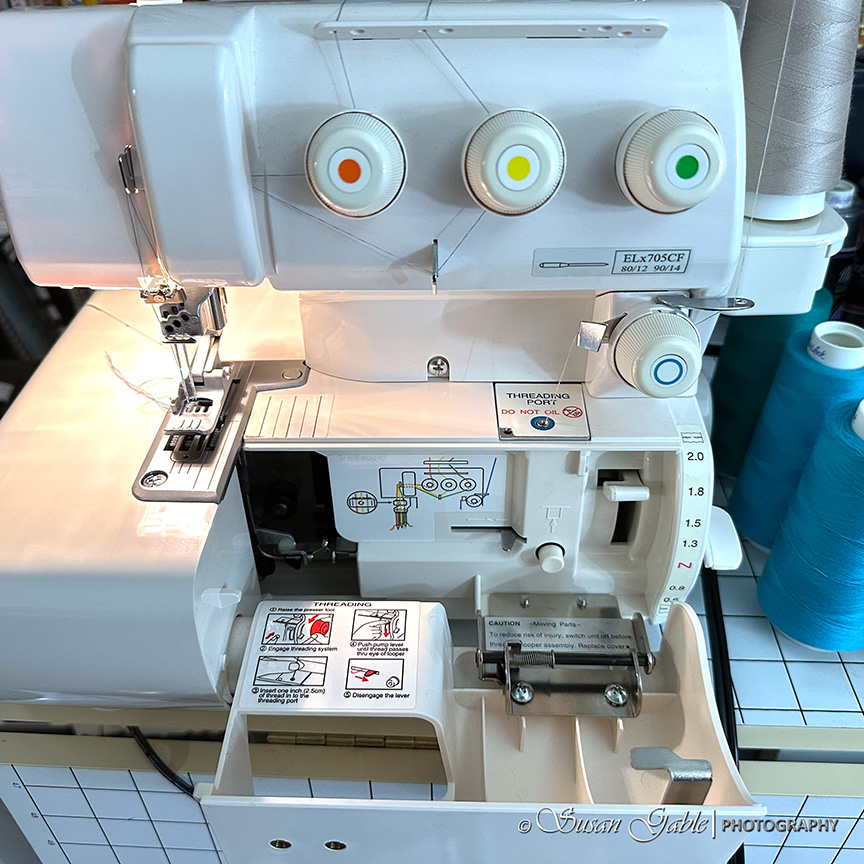
Past Sewing Experience
Many years ago and when I first started sewing with knit fabrics, I had to rely on my Viking sewing machine to sew up the hems of my stretchy garments. My machine had the capability to sew a stretchy zig zag stitch using a single sewing machine needle. The single stretchy stitches allowed my hem to stretch a bit and at the same time it did not come close to the ready-to-wear look I was going for.
Next came my twin-needle adventure where I could sew a double row of stitches around my hem. I swapped out my single sewing machine needle and replaced it with a twin-needle. I could then use two threads and thread my twin-needles to create the double rows of topstitching. Sometimes my hems would look great. A few times, they came out wonky/rippled or a bit stretched out. Again, I wasn’t too happy with the final look.
I ended up purchasing a cover stitch machine to sew the beautiful hems that you see on ready-to-wear t-shirts. The stitching process was quick and easy. So was threading this specialty machine. I was happy how my finished garments looked.
My Babylock Cover Stitch Machine
My Babylock cover stitch machine is a chunky looking beast. It’s also compact and at the same time quite heavy to carry around.
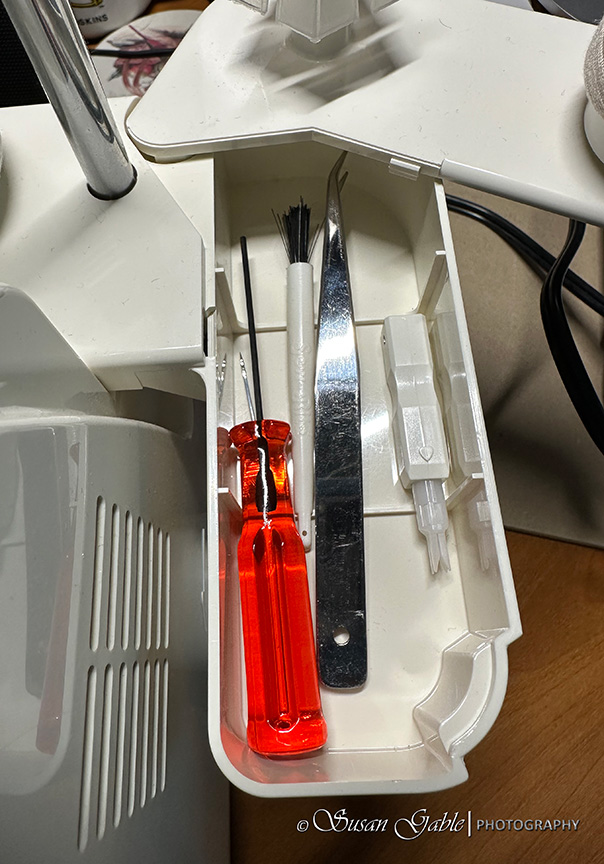
On the right side underneath where the spools of thread sits is a hidden compartment or tray. Slide the top cover (with the spools) to the right and a treasure trove of tools is available to use.
My machine came with an opaque zippered bag that included more pieces than what’s shown here in my tray.
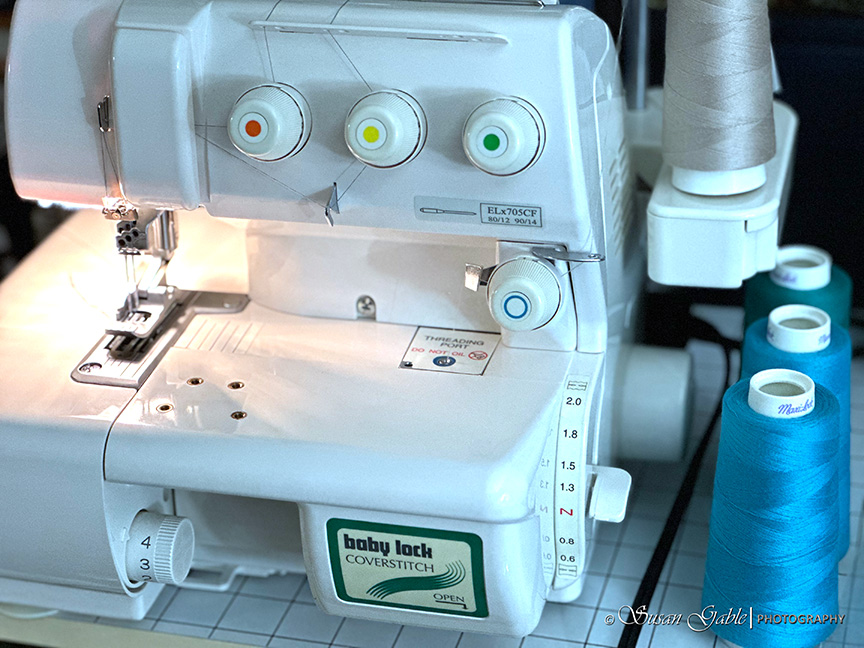
On the front of the machine there are four tension dials. The top three dials are for the top stitches. Here I have the option of sewing a double row of stitches or a triple row of stitches. There’s also a tension dial for the bottom or for the looper thread and it’s located to the right below the green dot tension dial.
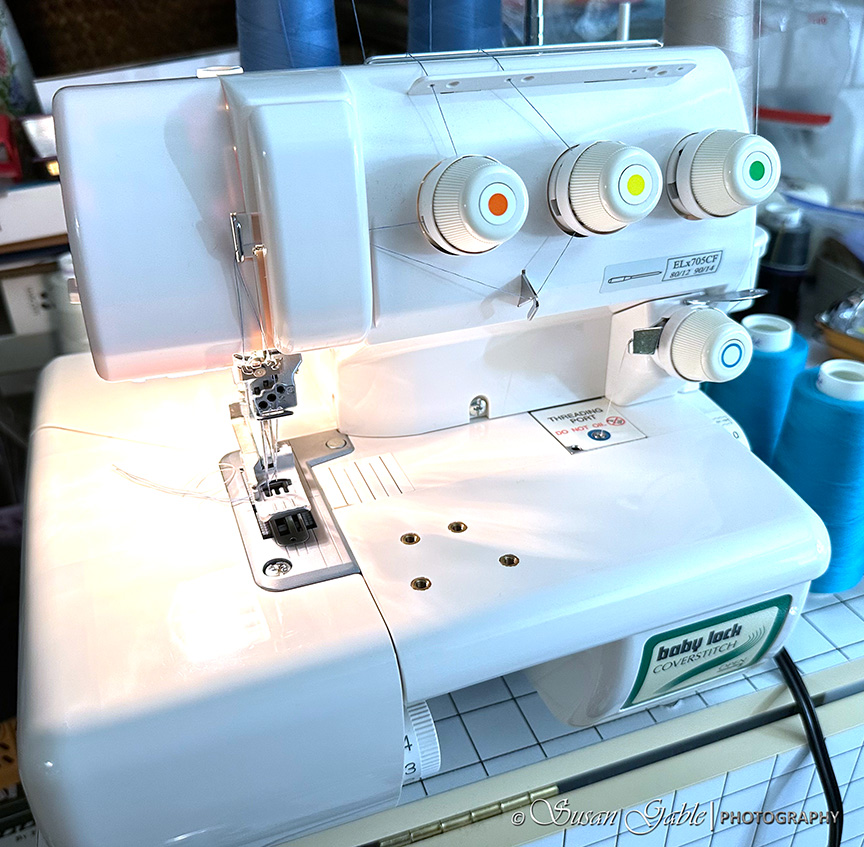
The first step is to thread the looper that creates the bottom stitches. I slide the front bottom cover over to the right and it drops down to reveal the looper area.
I had a problem threading my looper. The button that engages the threading would not work. It was stuck. I also tried to move the metal lever around. Nothing.
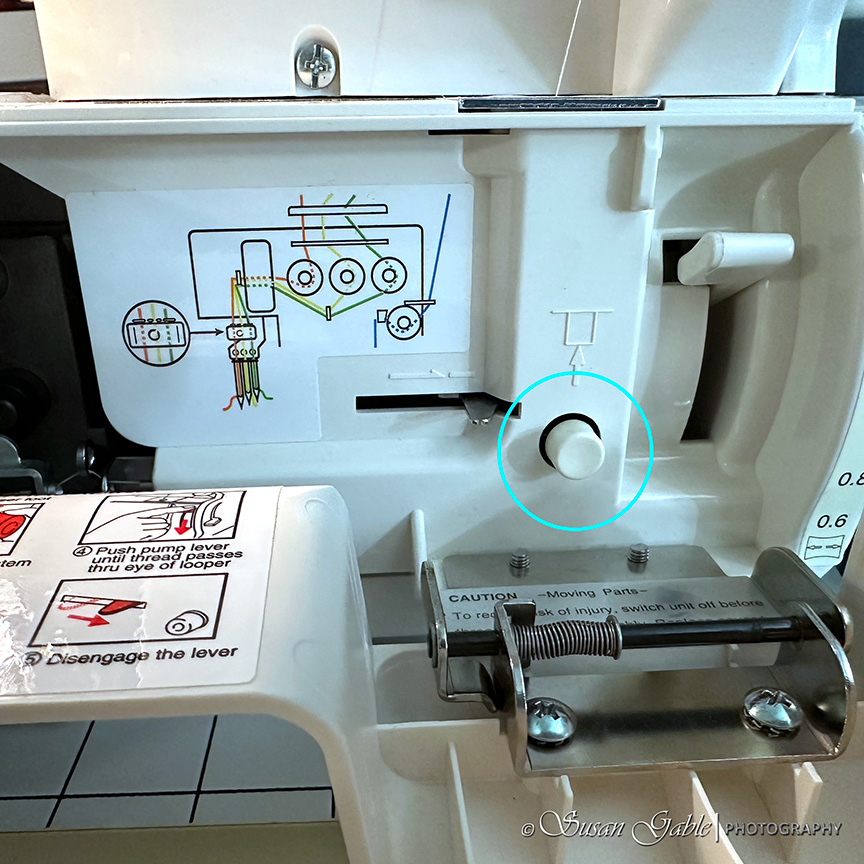
I tried the pump lever (to the right of the button) and pressed it down and it was pumping air into the open looper. I knew that wasn’t the problem as the Jet Air was working fine.
I paid a visit to my online sewing forum and asked a question to see if anyone else had this issue.
The response I received was to make sure the “pieces” or metal loopers are lined up by moving the hand wheel back and forth to get the loopers to line up before the lock engages. Nothing.
Another response was if my machine had not been used for years, the button might be locked or frozen. Hmmmm.
Jiggle the button and rotate the hand wheel. Nothing.
Off I went to my local Babylock dealer. The shop owner had seen this before. He took my machine back to his work area/bench. He was back within a few minutes with a working button. Oh and he added some lubricant to the area. The button was indeed frozen. Lack of use. My bad.
I brought my machine home with me and I could not wait to run a few test fabrics through the machine.
Sewing over home decor fabric was the first test.
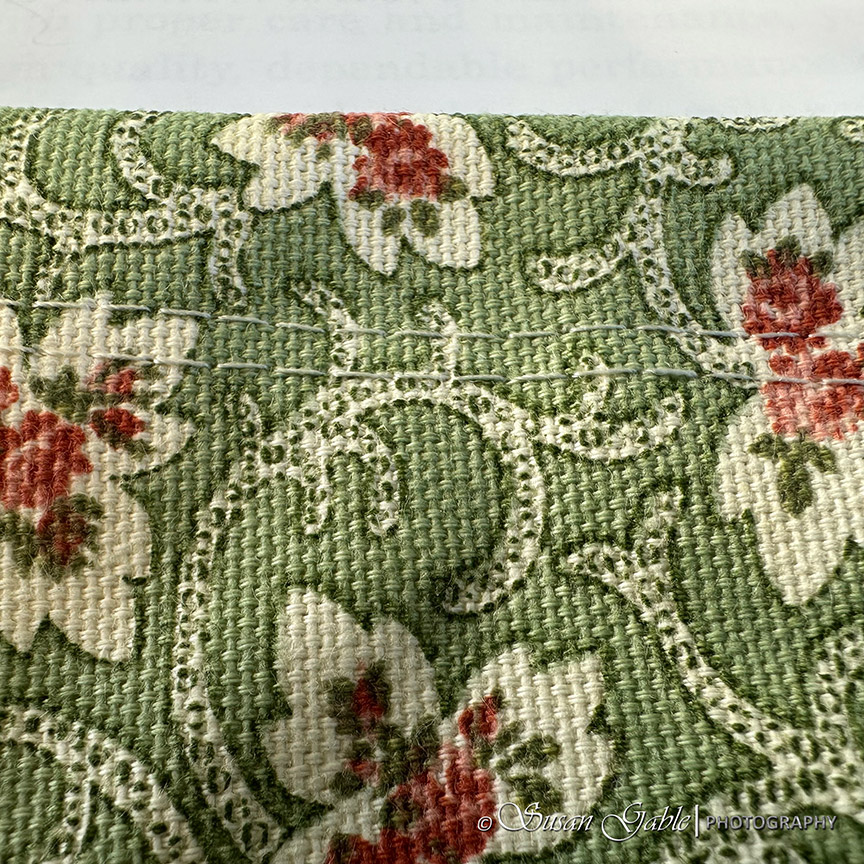
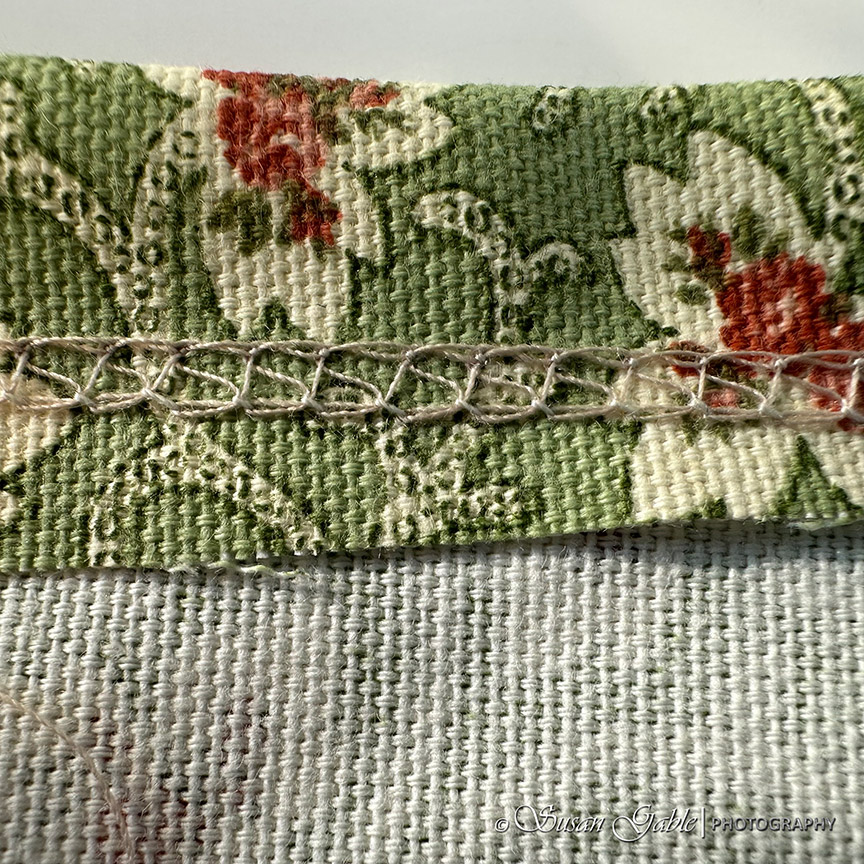
I had already cut a few inches off the bottom of my t-shirt to be hemmed and used the scrap to sew some practice stitches.
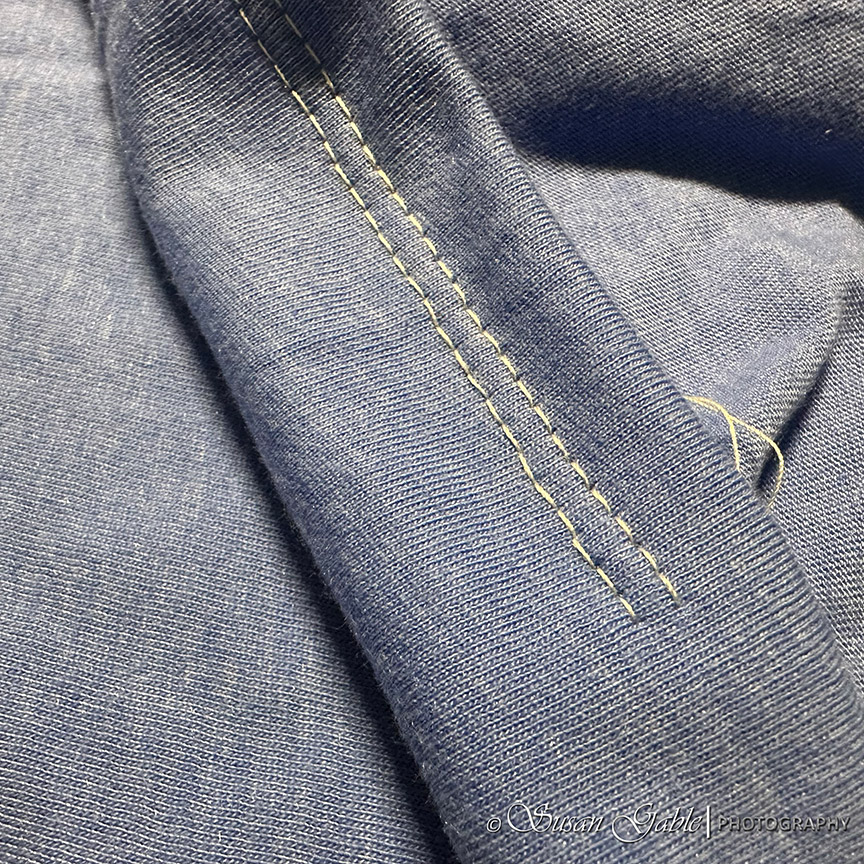
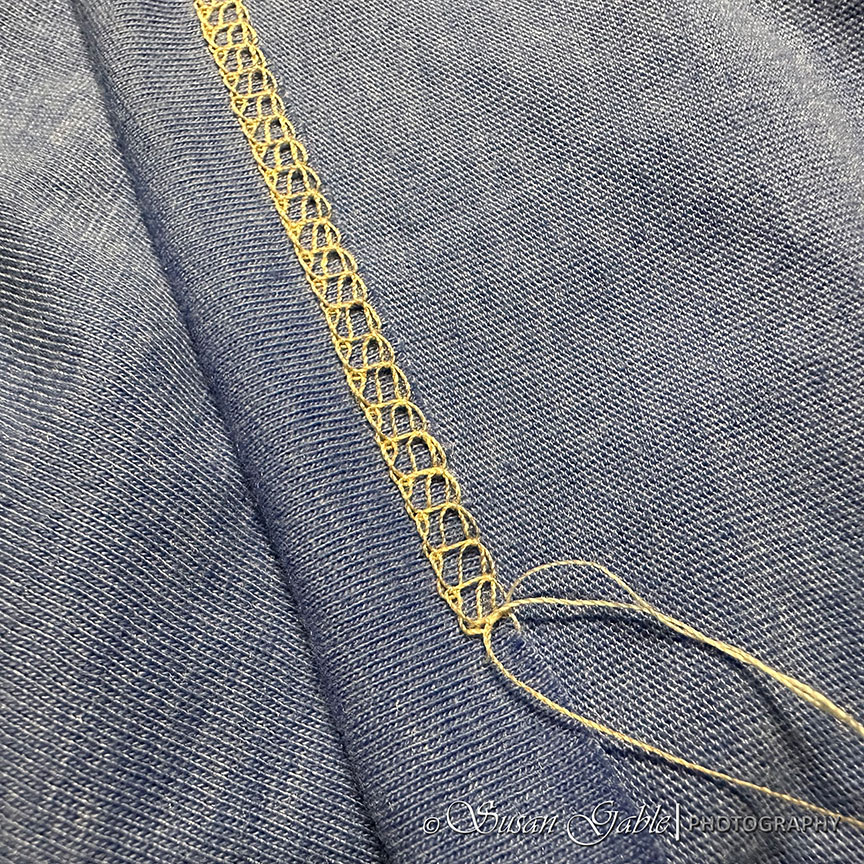
My studio is humming again. Well, loudly with my cover stitch machine now sewing brilliantly. I just have to practice using my foot pedal to control the speed.
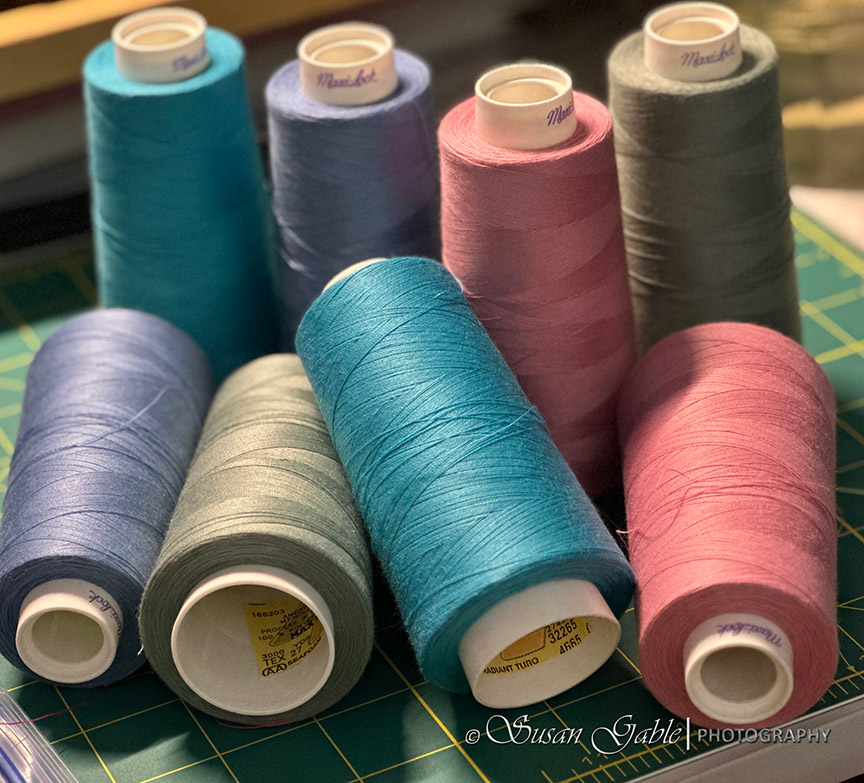
Of course I have to show off a few cones of colorful threads from my stash.
Conclusion
Over the years, I’ve mostly used this machine to finish hems on stretchy fabric like t-shirts. Earlier this year, I wanted to tackle a pile of store bought t-shirts that needed to be hemmed. They sat in a basket waiting for me to do something with them. That’s when I came across the problem with my cover stitch machine.
This is a good reminder to run your machines every now and then. Especially, if they’ve been sitting around for years and not seeing any action. I have a Babylock serger that I need to turn on and have it sew and cut through some fabrics. Oh and I might as well plug in my vintage sewing machines and give them some quality time.
Machine: Babylock Cover Stitch. Double and triple top stitching capability
Thread: Maxilock Serger thread. For the top stitches I match the thread color to the fabric as the stitches will be visible on the outside of the fabric. For the bottom or looper stitch I use a neutral thread color.






Leave a Reply