During my watercolor journey, I had tried so many different types of palettes to use with my tubes of paints. I started with the popular metal butcher pans which gave me huge mixing spaces, but hardly a good way to separate and organize my colors.
I expanded into plastic clam shell type palettes where my colors were arranged into organized slots around one side and the middle and opposite side contained mixing areas.
I then looked at empty plastic pans where I could fill the pans with my own color and fit the pans into a plastic case. The only issue I uncovered is that not all pans fit into the different plastic palette cases. There were no standards to the pan sizes. Also the pans would not stay secured. Most of the time, my paints would pop out of their pans.
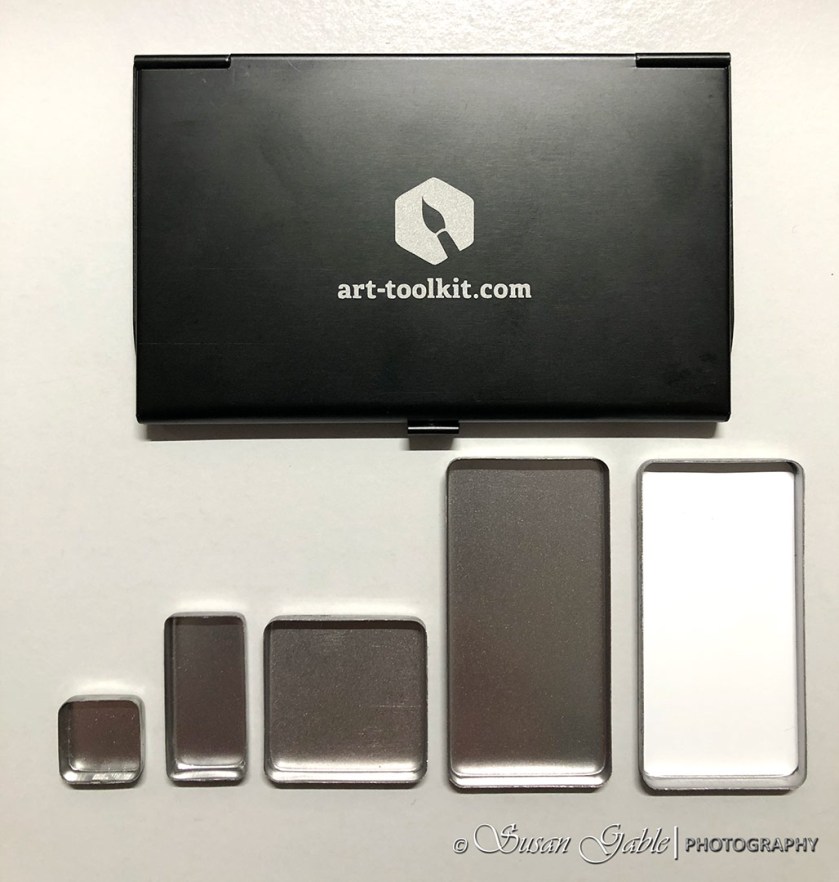
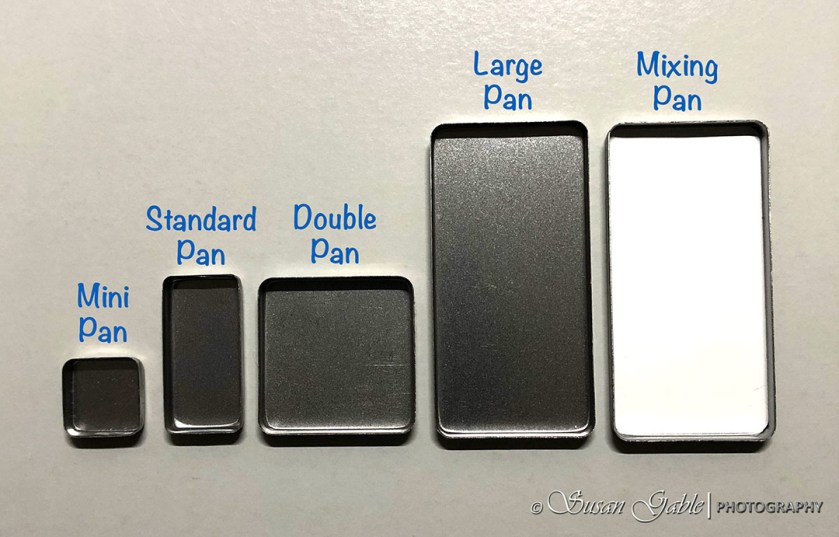
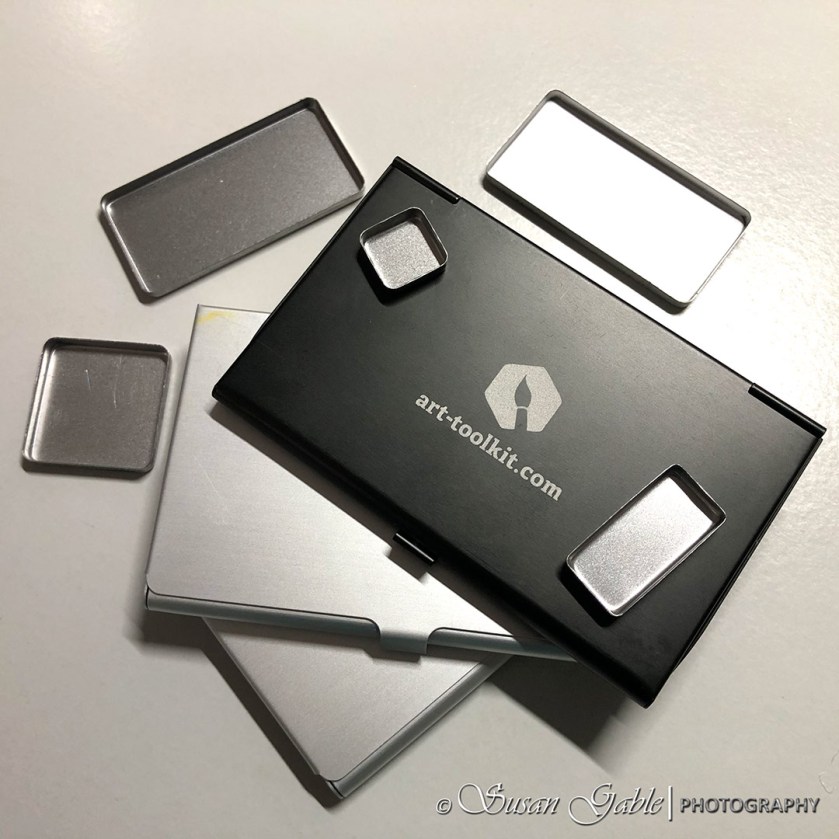
A year ago, I came across an interesting palette that a few artists were using for their urban and nature sketches. A rust-proof aluminum palette case that uses a magnet base to hold the stainless steel pans in place. Clever idea! The pans could be switched around and configured into a functional palette. The silver pans came in four different sizes along with a large mixing pan with a white base. This palette was called the Art Toolkit Pocket Palette by Expeditionary Art.
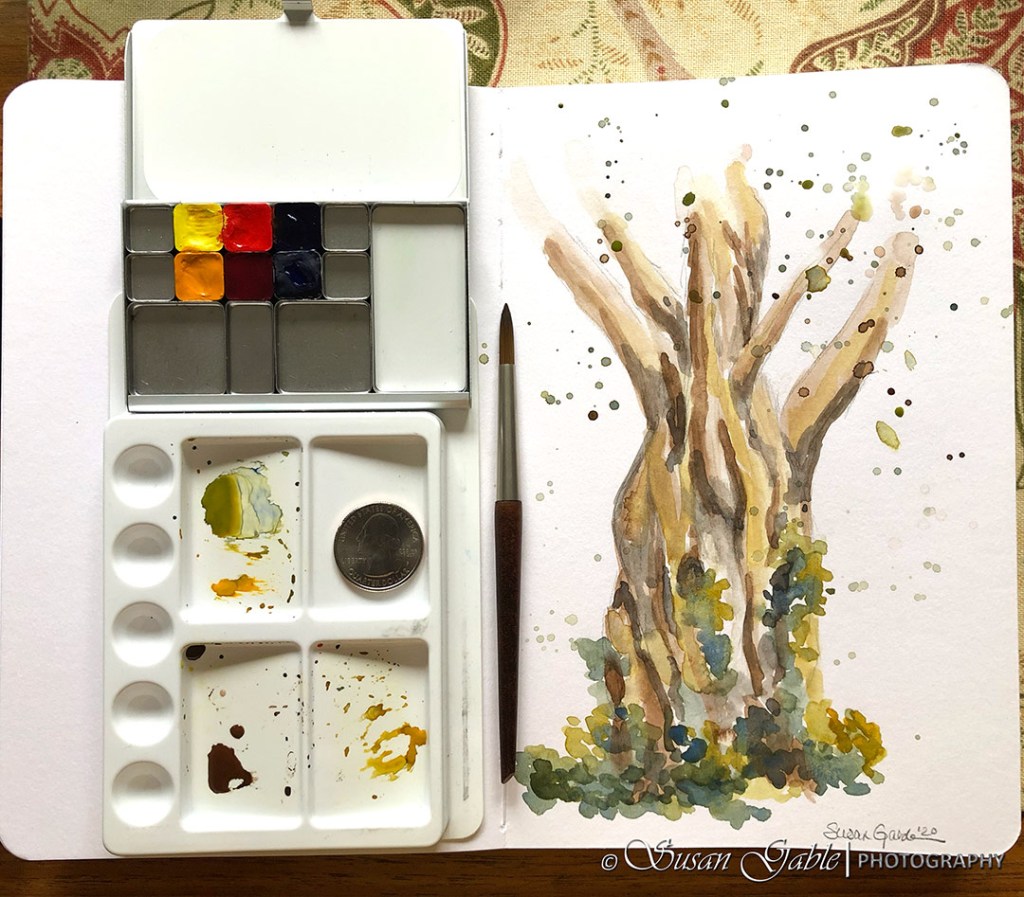
At the time I purchased my first Pocket Palette last year, one of their offerings (Essential Colors Edition) included the tiny square pans or “mini” pans with six Daniel Smith Extra Fine watercolors: Hansa Yellow, New Gamboge, Pyrrole Scarlet, Quinacridone Rose, Phthalo Blue (GS), and French Ultramarine. The case also included two large mixing pans.
Here’s a better view of the palette and pans:
Once I got the hang of using this palette, I was anxious to fill the empty pans with my own paint colors. It took awhile to fill all those tiny pans. I read somewhere that it was recommended to fill the pans in two stages. The first stage is to do the initial fill half way. Tap the pan to get the paint to settle. Let it dry for a day or two. During this time the paint settles a bit into the pan as it dries. The next stage is to fill the pan up to the edge. Let the pan dry for another day or two and then close the case.
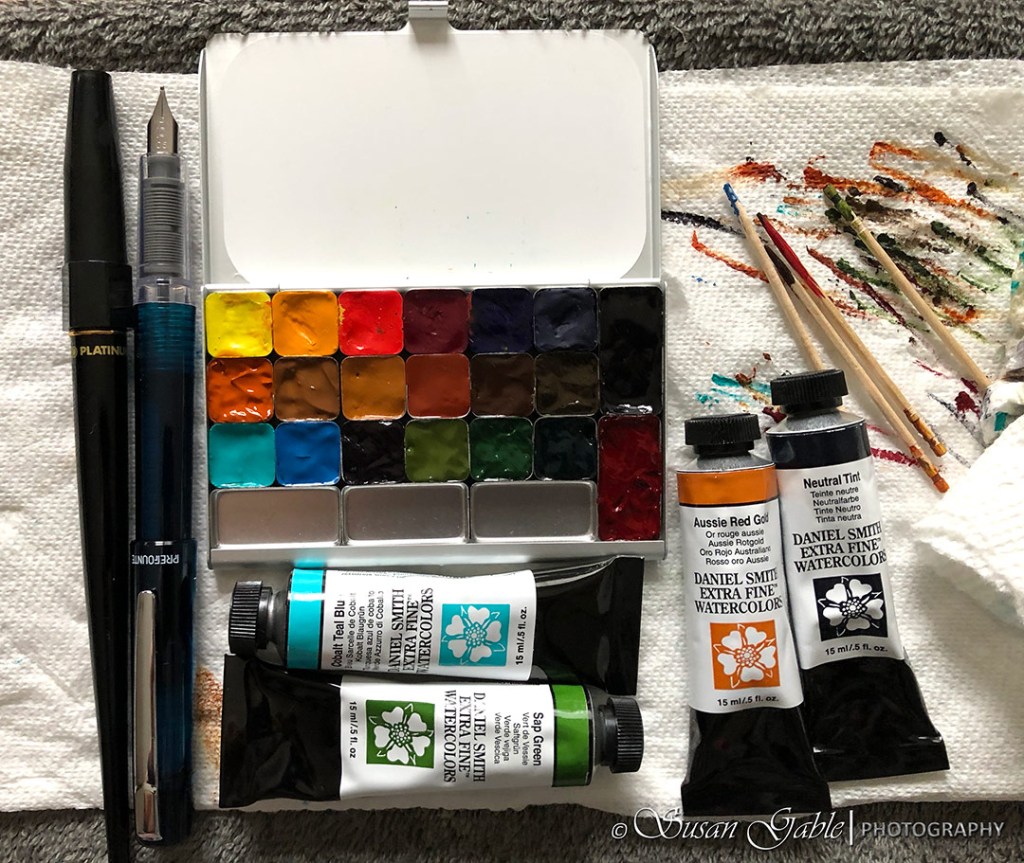
Here is what my current and full palette looks like. It contains the main colors I use most often.
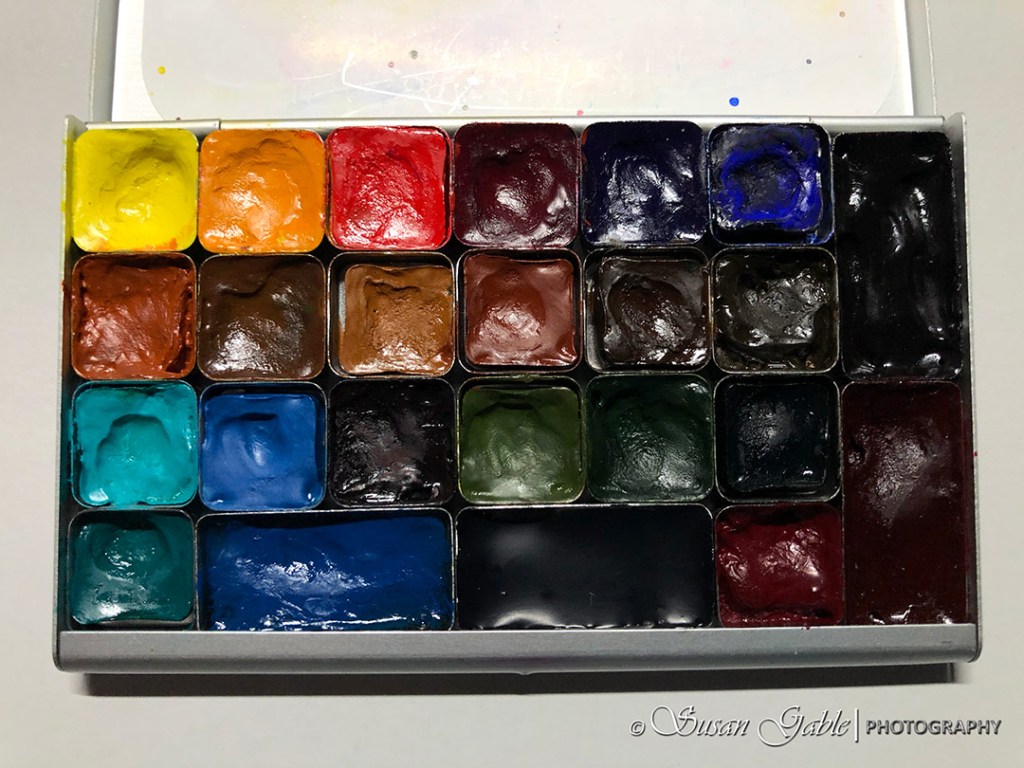
After using this portable palette for a few months, I knew this was going to work well in my small studio space setup and also when I paint outdoors. I found the mini pans were a bit small to use with my larger brushes.
At this point, I was not sure which pan size would work well with my painting style. I decided to purchase another silver case, but with the slender rectangle pans or what they call their “standard” pans.
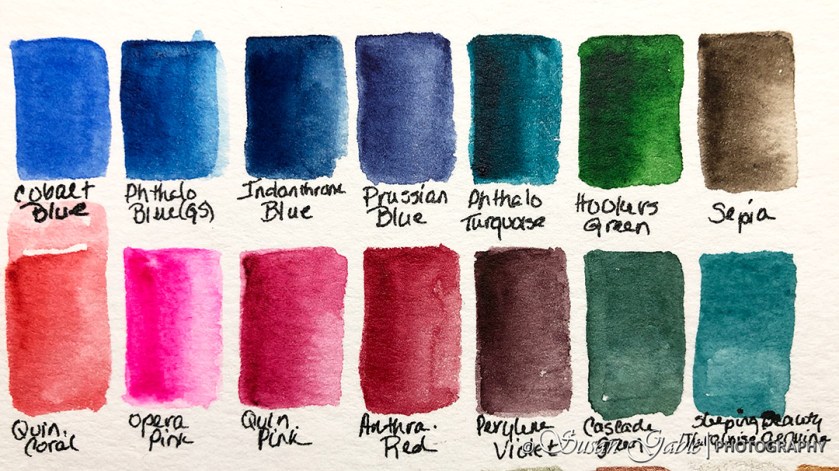
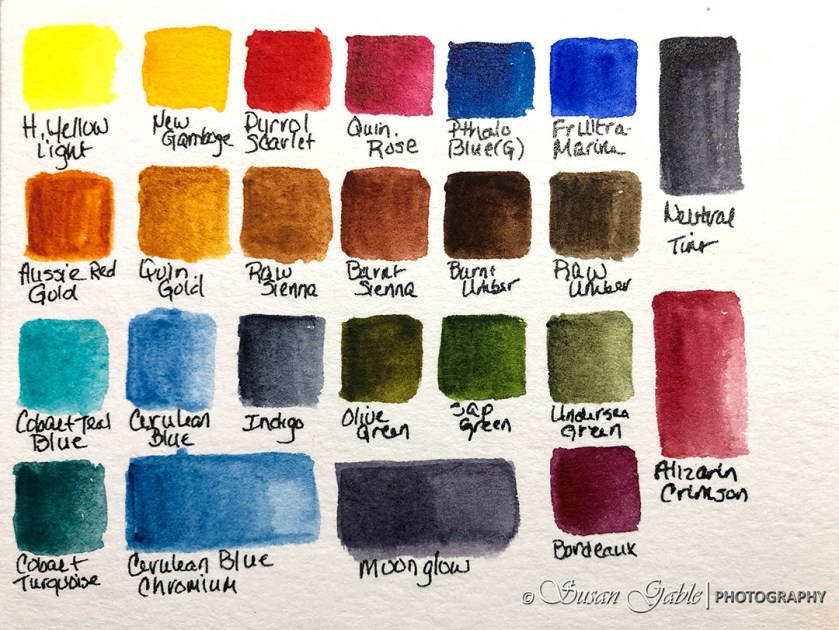
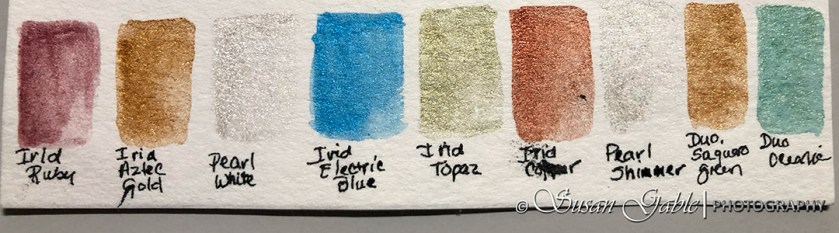
As you can see I had to create swatches for each of the Pocket Palettes I own. In the pan, the dark colors are undistinguishable between the dark blues and dark greens.
Now that I’ve had some time to use both palettes, I do have a preference for the “standard” pans. First, it is easier to fill as there is more room to get the tube opening into the pan. Second, I can get larger brushes into the pans. Third, it holds double the amount of paint versus using the “mini” pans.
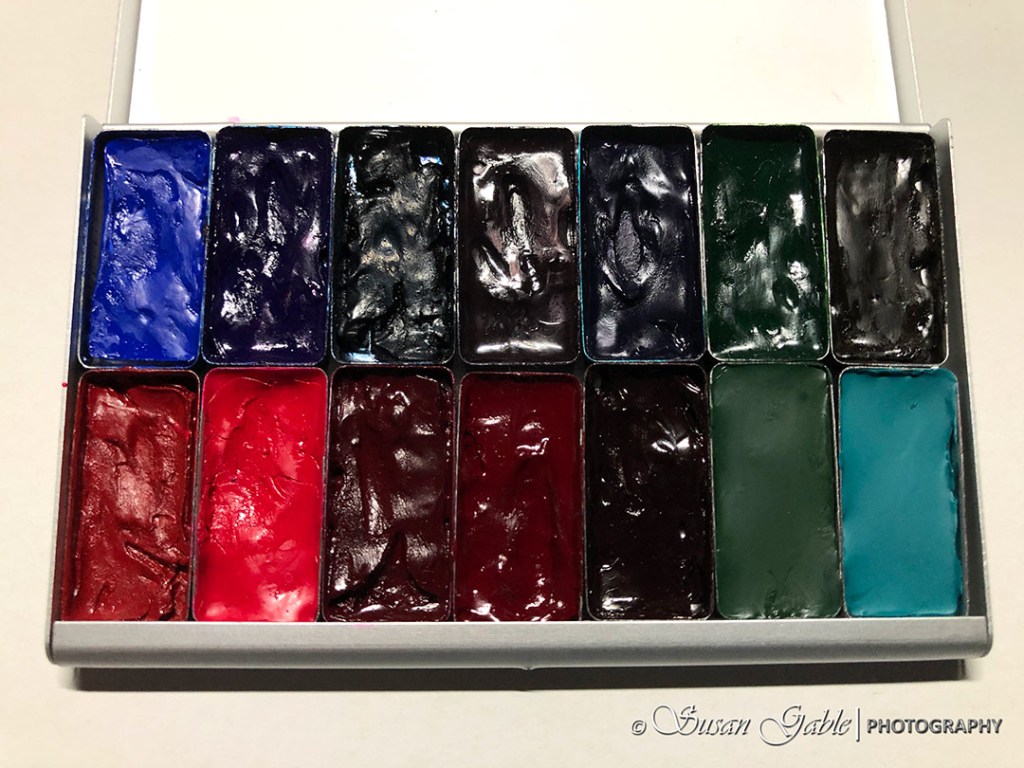
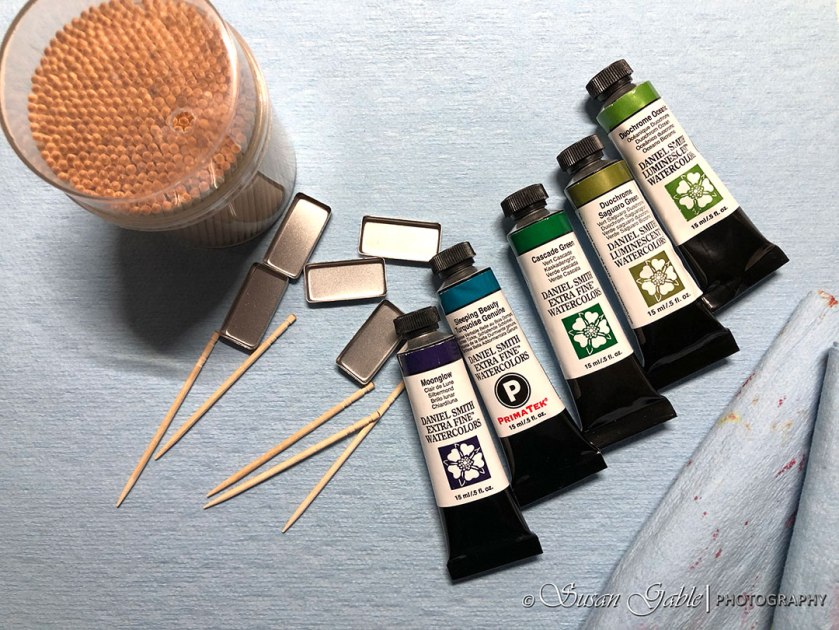
As my tubes of watercolors multiplied, I decided to add a third palette to my collection. My next order included a black palette case with standard pans. I knew this black case would hold special or unusual colors in my collection. It now holds my Duochrome and Iridescent paints. The sparkling paints.
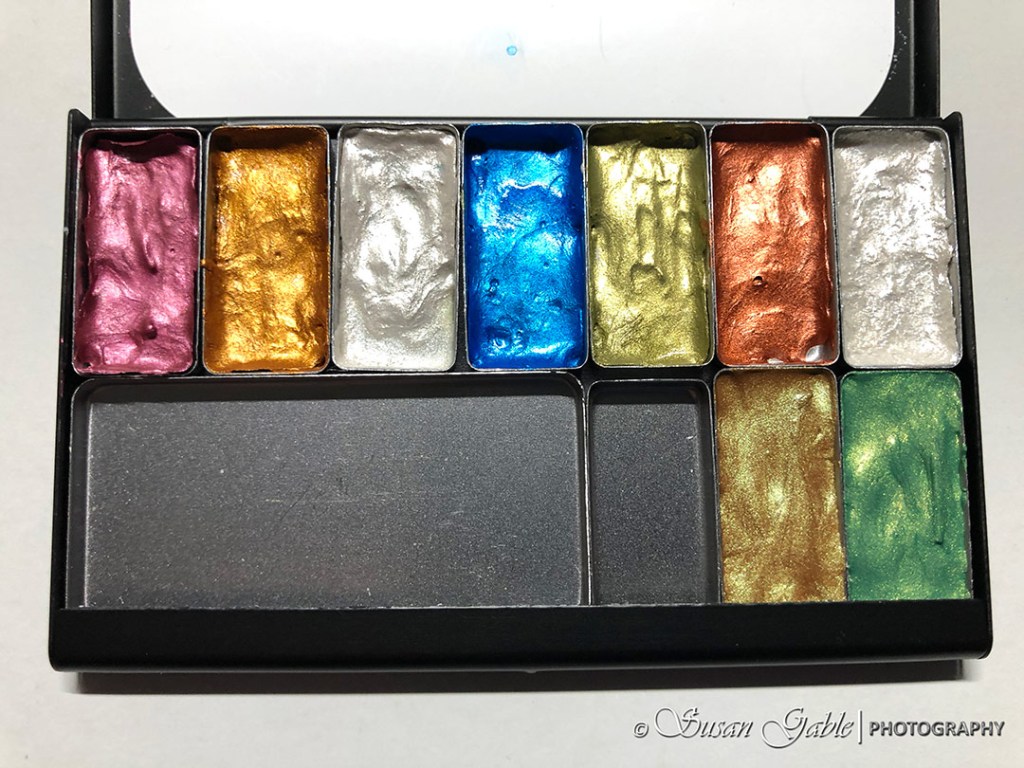
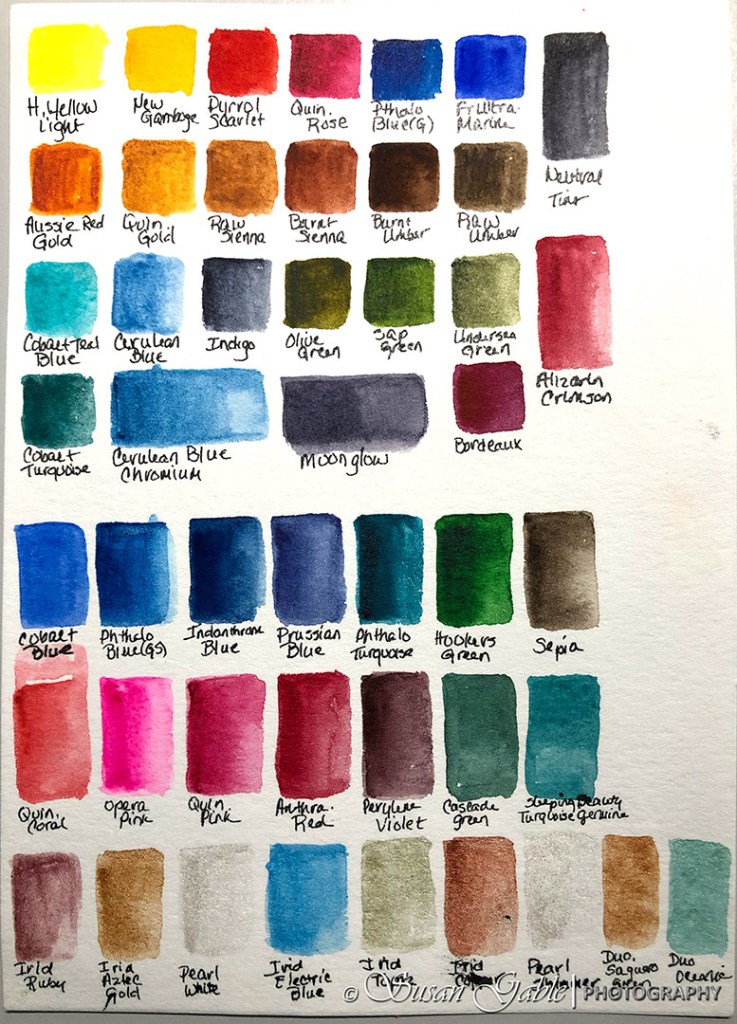
I have to share this. I was able to get all my swatches from the three Pocket Palettes into one 5″x7″ watercolor sheet of paper. It’s easier for me to see all the colors at one time.
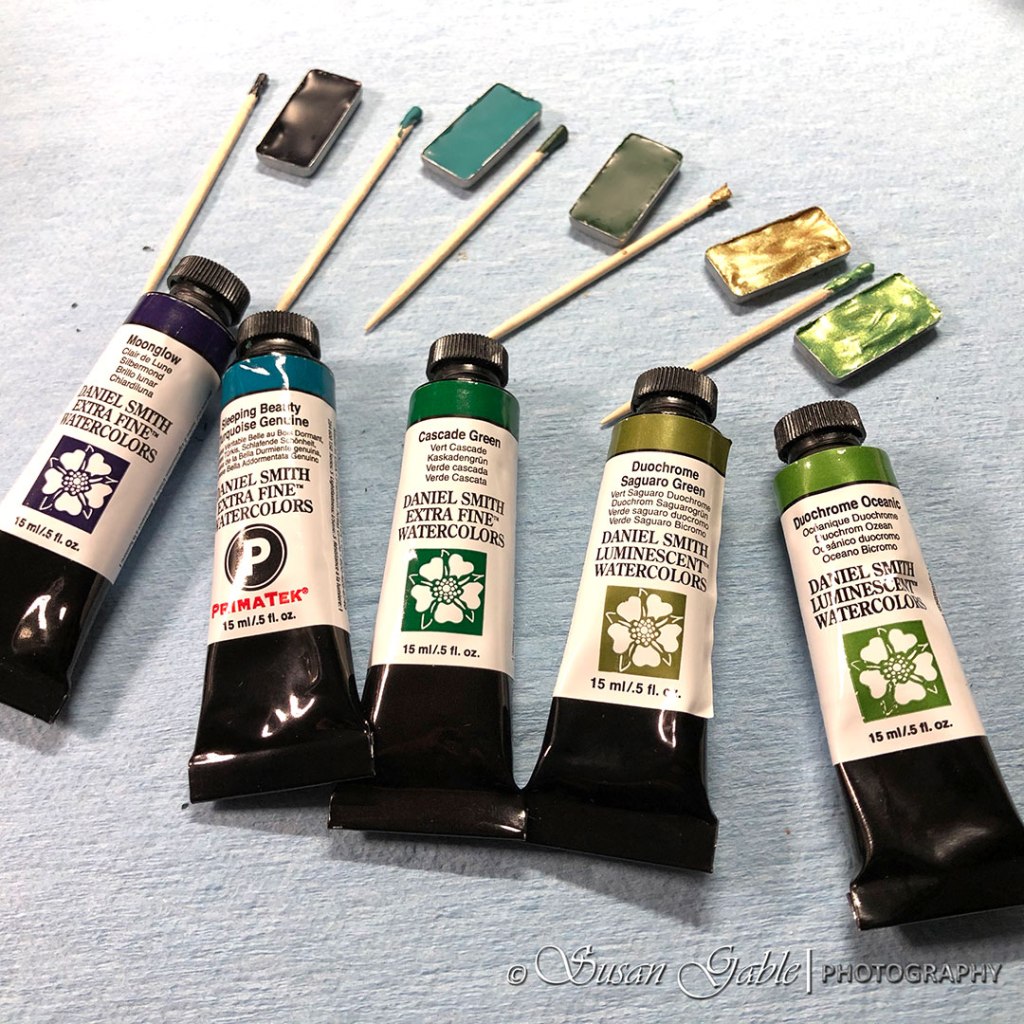
Now that I’ve spent some time talking about these beautiful Pocket Palettes, I wanted to spend a bit to time showing how I fill the pans with paint. I had planned to fill the pans in two stages, but it turned out I was able to fill the pans full on the first pass.
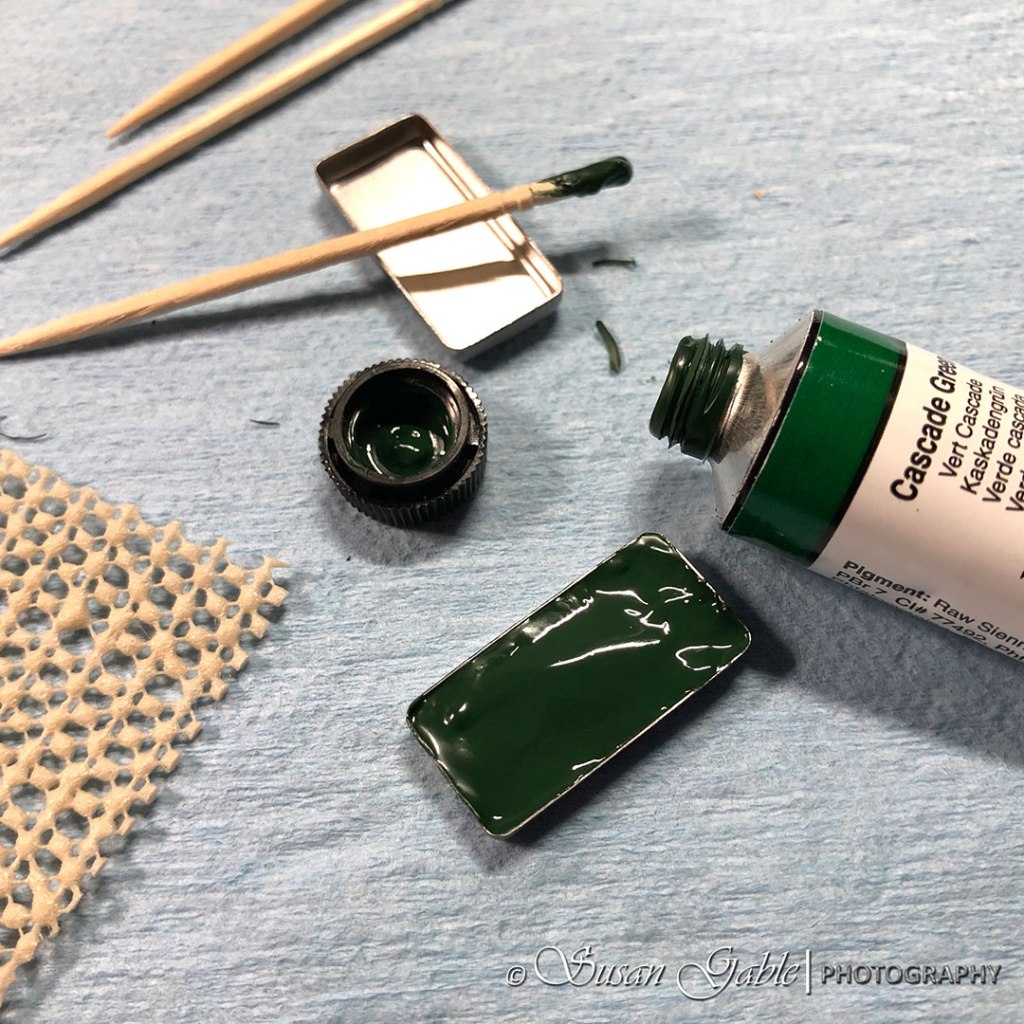
I fill my pan with enough paint to reach the top edge of the pan and down the middle of the pan. I don’t worry about the paint reaching the sides. My main goal is to get the paint into the pan without making a mess.
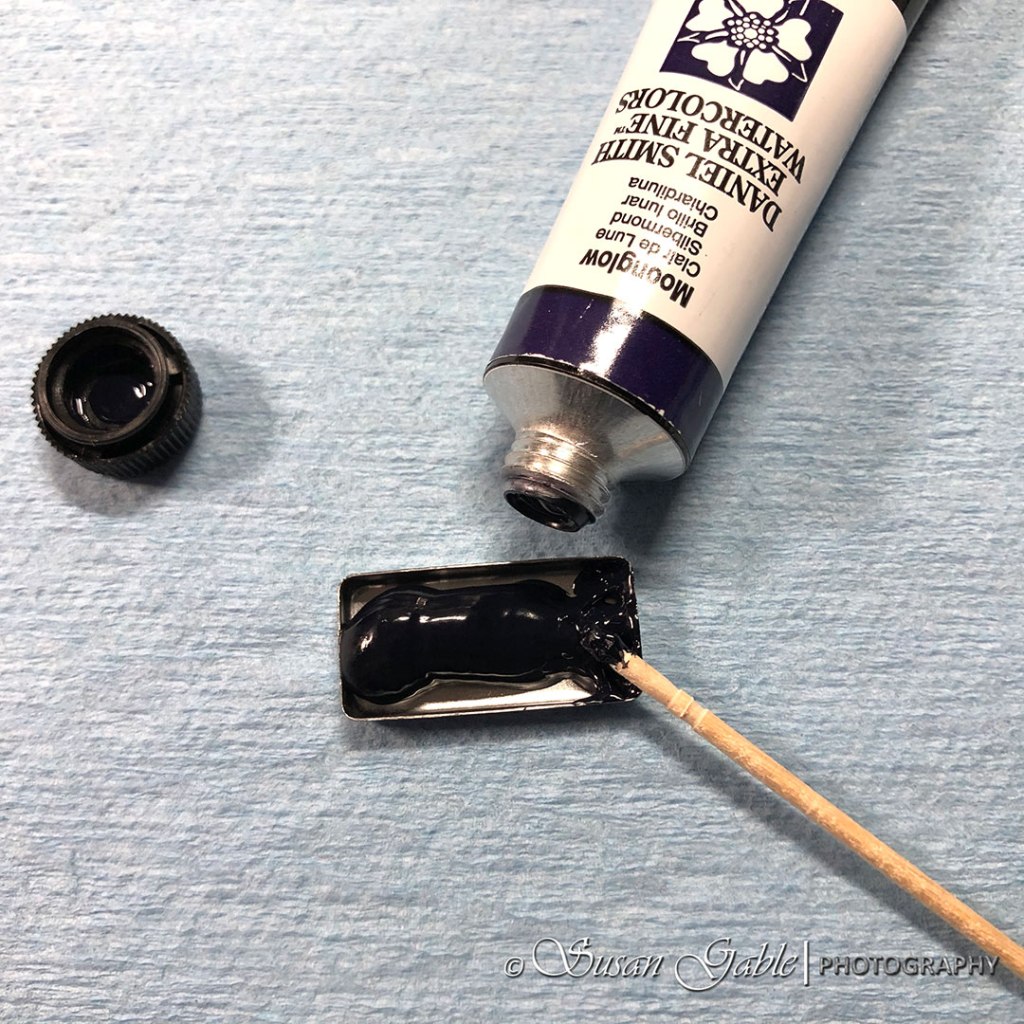
I took a my fancy toothpick and tamped down the paint into the four corners of the pan. Then I ran the toothpick through the edges of the pan and then towards the middle of the pan. This helps to eliminate any air bubbles between the paint and the bottom of the pan. I also take the pan and tap it on my desk to help the paint settle into the pan.
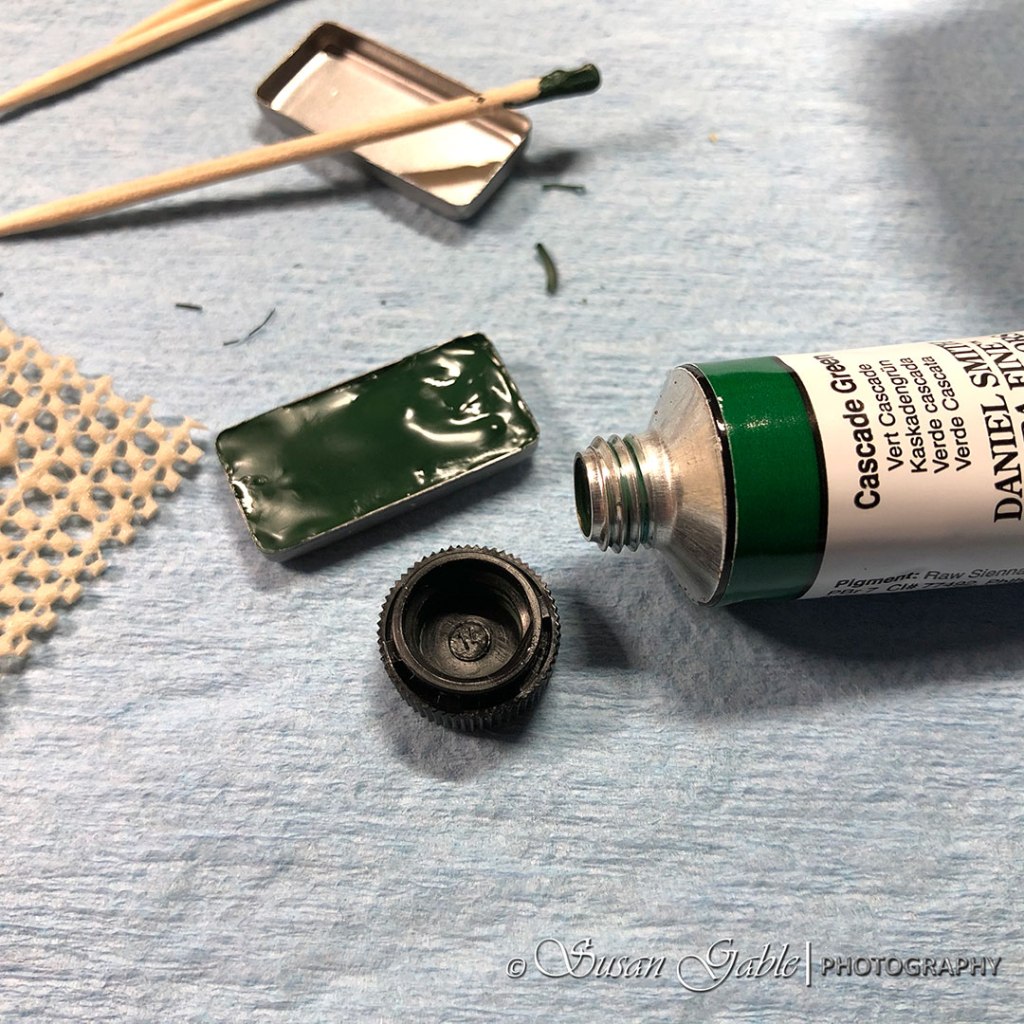
I did come across a tube of paint that showed some extra handling. Like the tube has been slightly squeezed or handled a bit more aggressive before arriving at my studio. I had a hard time opening the tube and had to use a piece of rubber grip to open the cap. This is what the cap and tube looked like after opening:
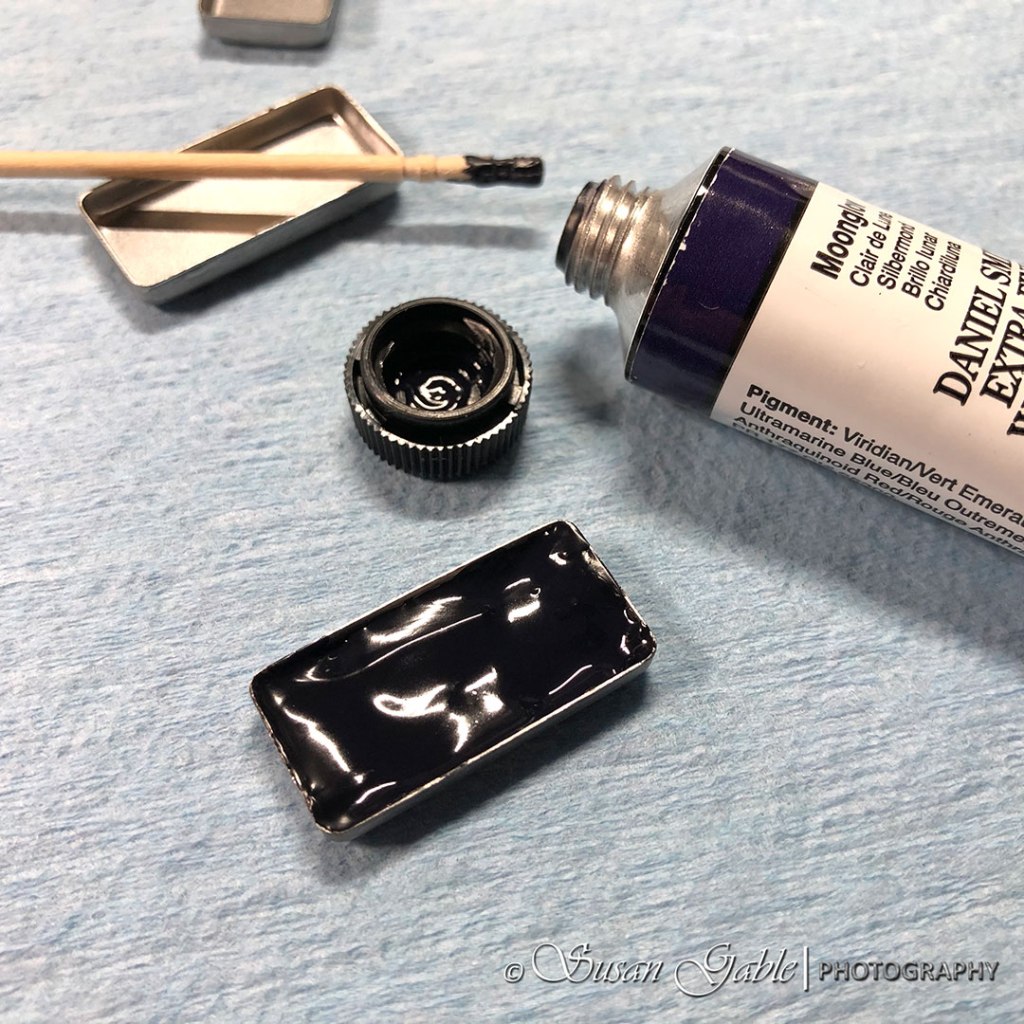
After filling each pan, I make a point of cleaning out the cap and tube opening with a damp paper towel. When I use the tube at a later date, it will be easier for me to open. I will also squeeze the sides of the tube to suck the paint back into the tube. Yes, I have a thing about opening a tube and have paint gushing out.
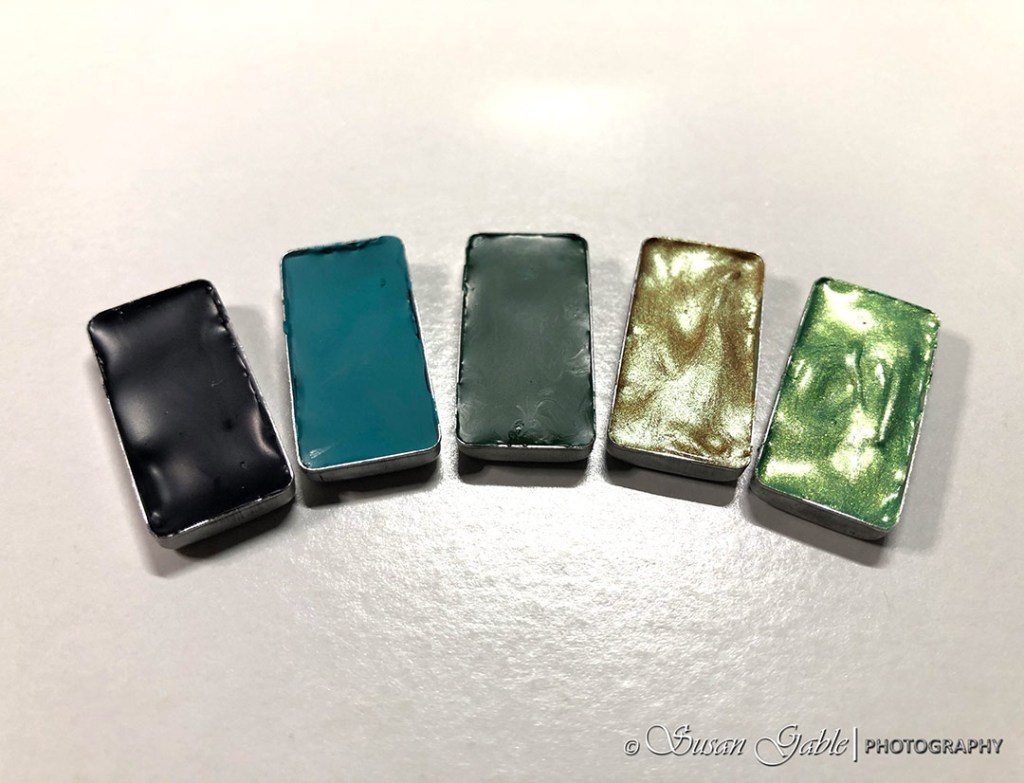
You can see how quickly my pans started to dry. The wet glossy sheen on the paint has started to turn matte-like as it dries (except for the sparkling paints). That’s what I call the initial “top skin” and it will take a few days for the whole pan to dry.

Summary
I love using my Pocket Palettes. For me it’s all about function and use. The palettes are small that I can stack them on my desk when not in use or lay them side by side in my portfolio or tote bag. They are extremely durable and a joy to use for outdoor painting sessions.
- Thin and small and very portable
- Size: 3-5/8″ x 2-1/4″ x 1/4″. A bit larger than a standard size business card
- Aluminum case is durable: silver or black
- Built in mixing area on the inside cover
- Magnetic base inside the case to hold the pans
- Current Pocket Palettes offerings are available with 14 standard pans, 28 mini pans, or a combination of assorted pans. They also have a mixing palette version.
- There is also a much smaller Demi Palette that comes with 12 mini pans (future blog post)
- Extra stainless steel pans can be purchased: mini, double, standard, large, & mixing
- A case can hold different combinations of pans sizes to suit individual painting needs
Supplies Used
Miscellaneous: Flat top toothpicks in a plastic canister (Dollar Store). Rubber grip roll (Dollar Store). Blue shop towels.
Paints: Daniel Smith Extra Fine Watercolors
Palette & Pans: Art Toolkit Pocket Palette by Expeditionary Art
Mixing Palette: Round porcelain dish
Paper (140lb/300gsm 100% cotton): Strathmore Series 500 Premium 5″x7″ sheet


Leave a comment