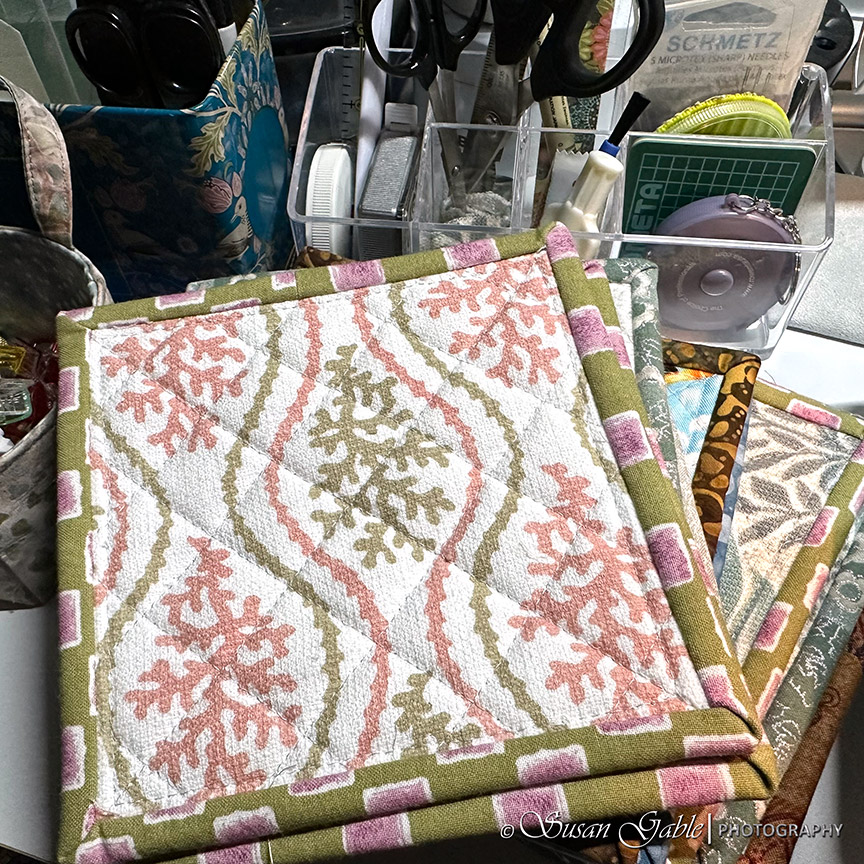
It’s that time of year for me to take a break from sketching and move on to another creative adventure. I’ve been busy sewing mug mats and one or two prototype sewing projects. I found a bin of fabrics that I forgot I had stored for future use. I’m always thankful for having a fabric stash. Now I can use them for sewing gifts.
I had already pre-washed and dried the fabrics before placing them into storage. I decided to throw them in the wash again and get them ready.
I spent some time one morning cutting out the pieces for my mug mats. I cut the squares first and then cut strips of cotton fabric for the binding. The binding strips are cut from the width of the fabric so they tend to be about 40″-44″ in length. Perfect for my projects.
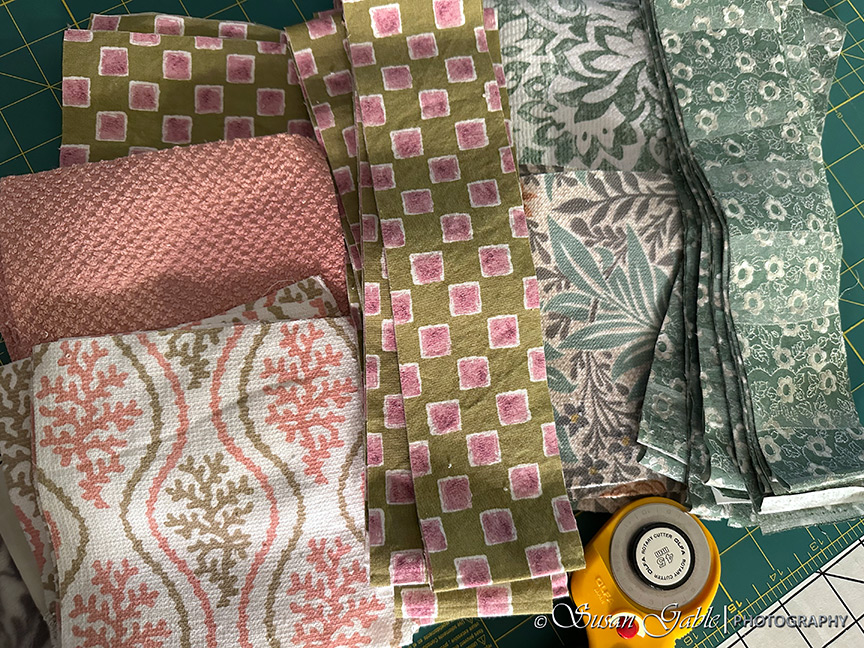
Tip #1: I’m using a combination of cotton fabrics from my stash and kitchen towels I’ve purchased from my local Marshalls and TJ Maxx. I pick out the towels that have an all over design and cut them into squares.

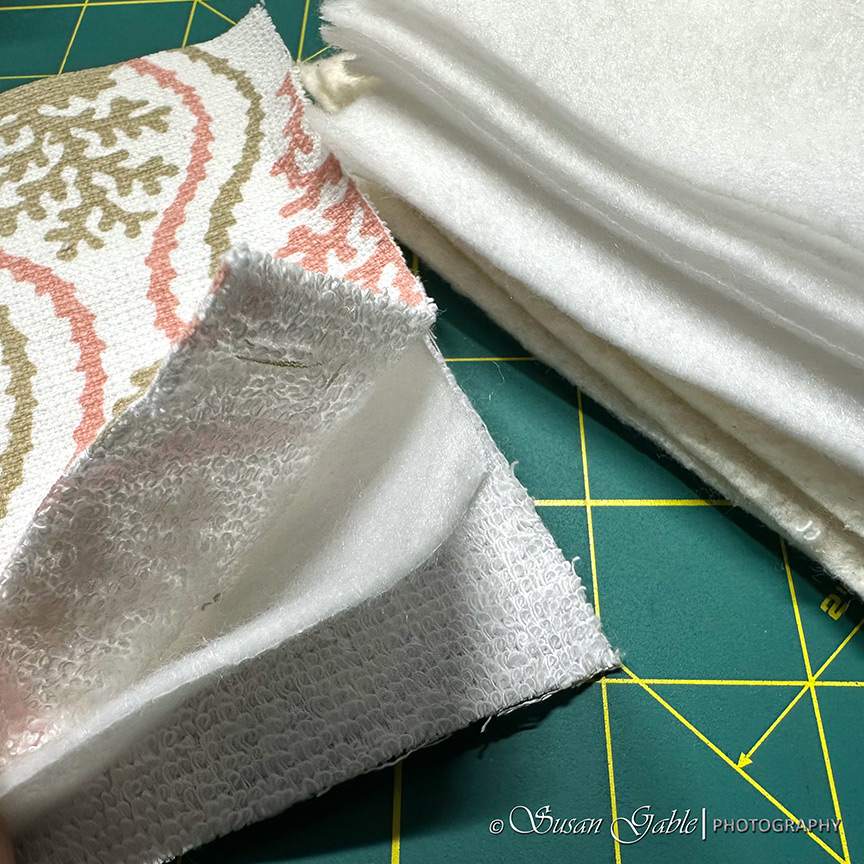
One of the coolest things I do when creating my mug mats is to sew “cotton and towel” where I use a cotton square on one side and use a towel square on the backside. That way the person I’m gifting to can use either side of the mat. Sometimes I sew “cotton and cotton” or “towel and towel.”


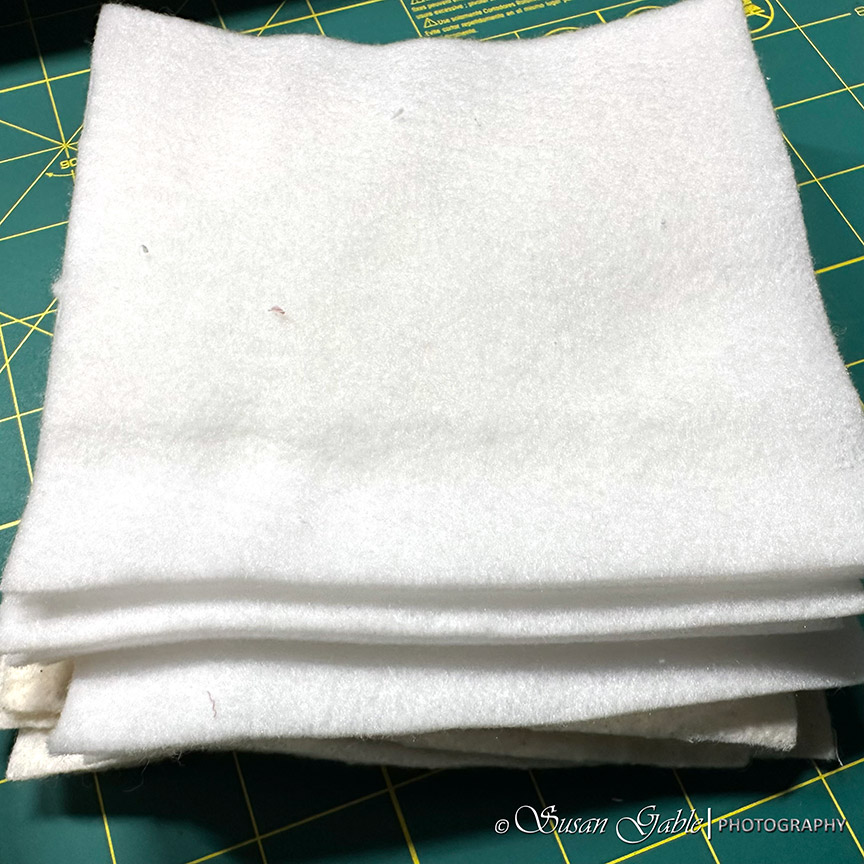
I also cut out the batting/fleece into squares.
When I finish cutting all the pieces I can start prepping my sewing projects. I stack my squares to create a fabric sandwich.
I pick out my binding fabric (always cotton fabric) and make sure both sides of the fabric sandwich is in agreement with the binding fabric pattern. Sometimes it’s a few colors that go together.
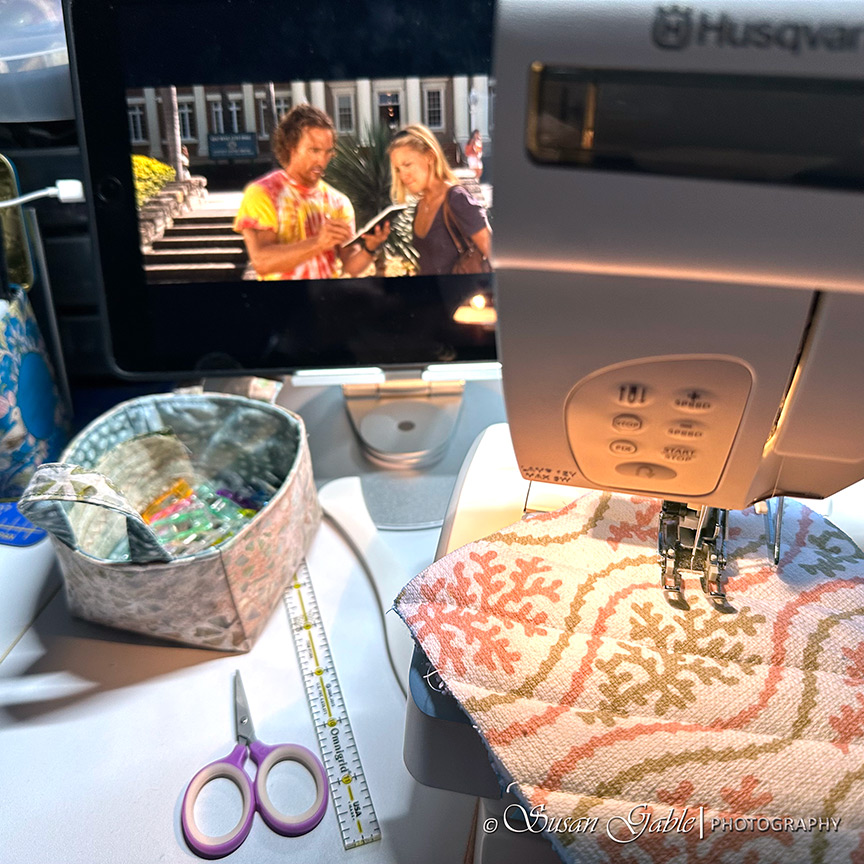
During my sewing sessions, I enjoy watching my “chick flicks” and catch up on some Hallmark movies. Can you guess which movie I’m watching?

I was a bit out of practice as the first mug mat took me over an hour to sew. I used my walking foot for all the sewing processes. I had to figure out my needle positions for the various sewing tasks. For the actual quilting, I kept my needle in the center for the foot. To sew the initial binding I moved my needle to the right to keep the 1/4″ seam and keep the fabric under both edges of my walking foot. To finish the binding, I ended up moving my needle position to the left and again kept my walking foot over the binding fabric.
I know this moving the needle right and left is a bit confusing. Here’s a picture where my sewing machine needle position is at the far rightmost position. The edge of my fabric sits underneath my walking foot at far right edge of the foot. Almost touching the inside of my walking foot, but not really. This combination will produce my 1/4″ seam allowance. Also notice, my fabric is underneath both sides of my feet. This helps keep my fabric consistently flat and even while sewing.

Once I got into my sewing rhythm, I was able to complete a mat within 20 minutes.
I use a light gray thread for all the sewing including the topstitching. When I’m working in production mode, I only use one thread color and it’s gray. I have about four different shades of gray threads (light to dark) in my thread stash and I find that covers most of the fabric colors I have.

Additional Tips
Tip #2: I breakdown my sewing project into steps. For the quilting, I will quilt several fabric sandwiches in one sitting. Usually 4-6 at a time. I then move onto the binding step which requires me to make an adjustment to my sewing machine setting. I will add the bindings to the quilted mats and then finish the bindings. This process allows me to finish a few mats quickly versus finishing each one individually.
Tip #3a: Thread colors. Personally I don’t need a rainbow of thread colors for my quilting projects. When I used to sew my own clothes I did have a need to match the thread with my fabric especially if I was sewing button holes or topstitching. I have found for my quilting projects that four different gray colors (light to dark) work beautifully. Plus at this stage in my life, less is better.
Tip #3b: Since I’m sewing with four different gray colors I can afford to purchase the larger spools of thread for my sewing machine.
Tip #4: Before I start my sewing projects, I use my scrap fabrics to create test stitches with my sewing machine. I will test out the different stitch lengths. I will also check the underside of my stitched test fabric to see how the stitches look. If they are too loose or too tight, I will adjust my thread tension. I don’t want to be in the middle of sewing my project only to find my tension is off or my stitch length doesn’t look right.
I will also sew test stitches after I’ve replaced my bobbin with new thread. The same goes for the top thread. I prefer to have a thread jam on my test fabric versus my actual sewing project.
Tip #5: Zip lock bags. These bags have been a lifesaver for me. I use them to store projects to be sewn with sewing instructions/patterns, hold pre-cut fabrics for future projects (e.g. mug mat fabrics in one bag and bindings in another bag), hold fabric scraps/pieces that are large enough to be used for another project, hold pre-cut batting/fleece, and whatever stuff I have to help me stay organized. I prefer to use the “freezer” type bags as they are thicker and durable.
Cutting tool: Olfa Rotary Cutter 45mm
Cutting mat: Olfa Rotary Mat Self Healing 18″x24″
Polyester batting: Pellon TP970 Thermolan Plus 45″x60″ from Walmart
Thread: Aurifil 100% cotton 50wt large spool 1422 yds
Zip lock bags: Walmart Freezer bags in half gallon, 1 gallon, and 2 gallon. The half gallon and 1 gallon bags have the nice flat bottoms called “stand ‘n freeze” and gives a tiny bit more room in the bottom of the bag.


Leave a comment