
When the sewing bug hits me, it hits me big time. I managed to sew up a total of three Everest Belt Bags within two weeks. I had plans to sew one and then move onto another sewing project. During my sewing adventure, I found this project to be fun and kind of fulfilling. It was a challenging project with quilting a large fabric sandwich, installing zippers, sewing over thick seams with many layers of fabric, and using webbing. After I finished sewing this bag, I felt a tiny bit of emptiness. Almost as if my brain switched off and I was resuming my regular daily low brain power.
I looked at my sewing queue and wasn’t too motivated to move on. What do I do?
I started to go through my fabric stash and piece together fabrics that might go well together. For another Everest bag.
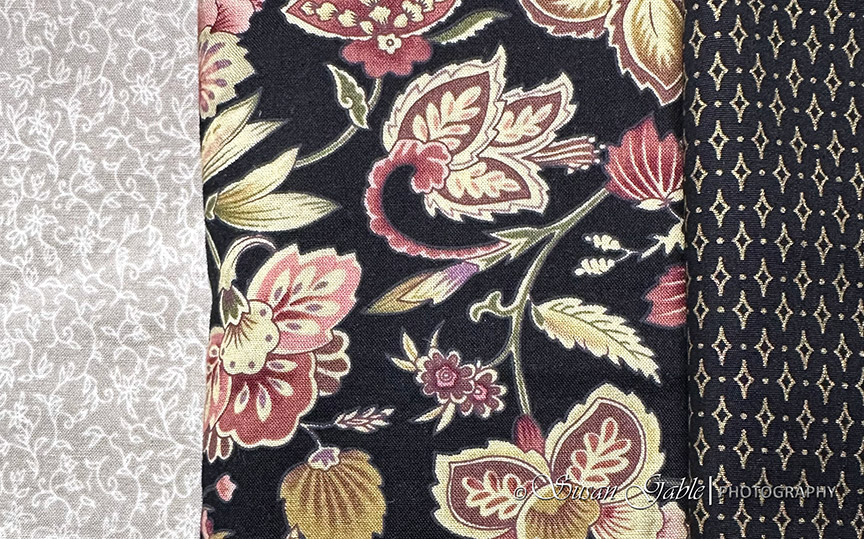

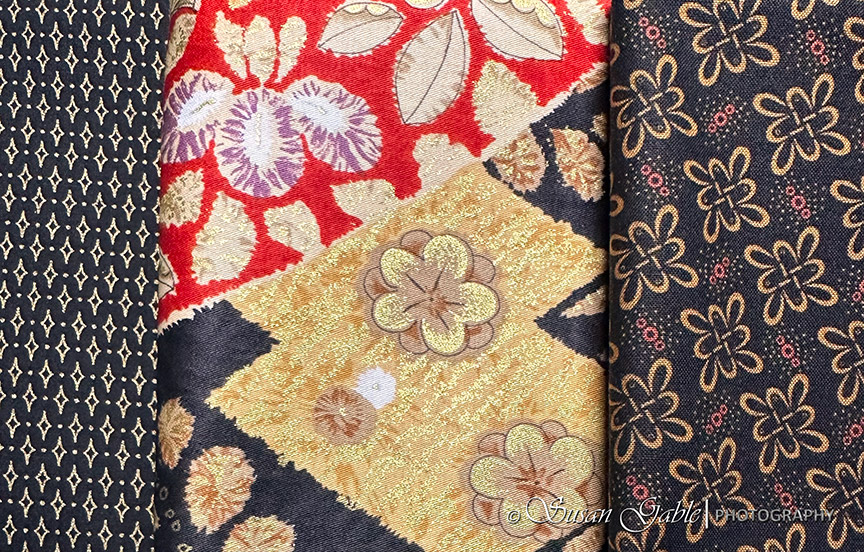
This was a combination of fabrics I wanted to try out next.

Everest #2
The diagonal quilting lines work well with this fabric pattern.

My top pocket and main bag pieces are cut out. I wasn’t about to match the fabric pattern. I just wanted to sew the bag and see what happens with the fabric design.

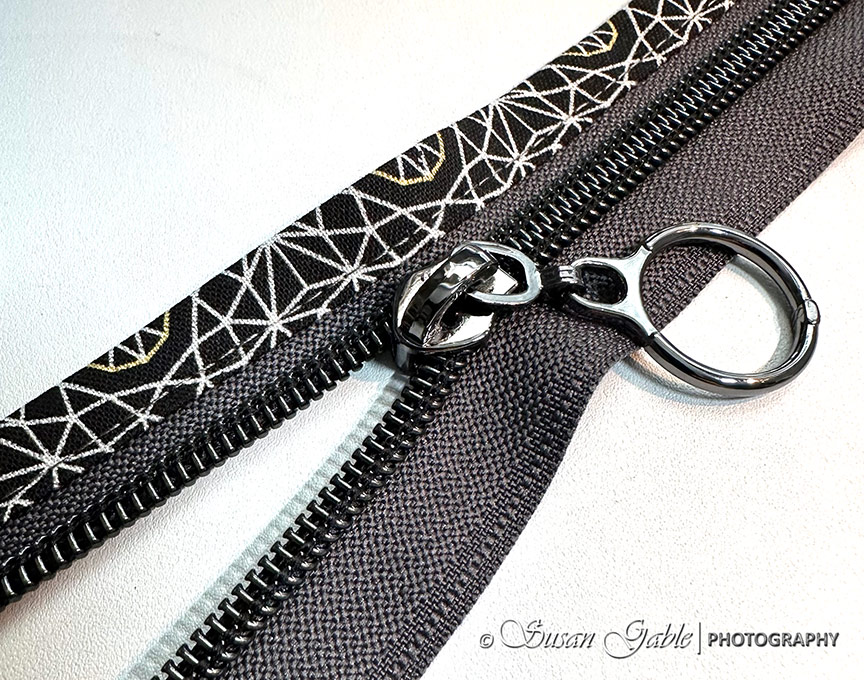
The fun part of sewing this bag was figuring out which zipper color to use and the zipper pulls.
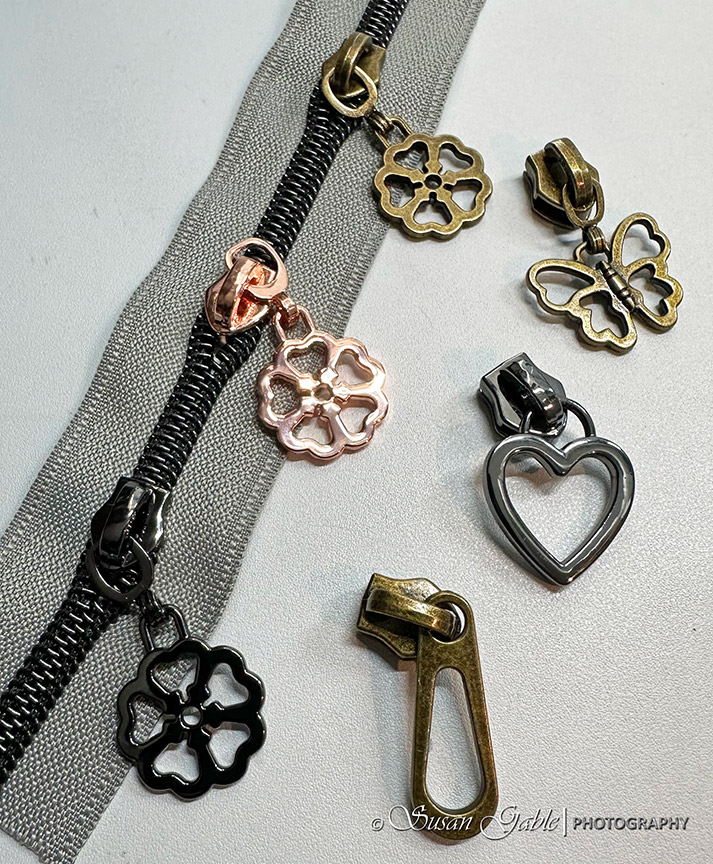
I went with the darker zipper and I thought the round zipper pull would work well with the main fabric pattern.

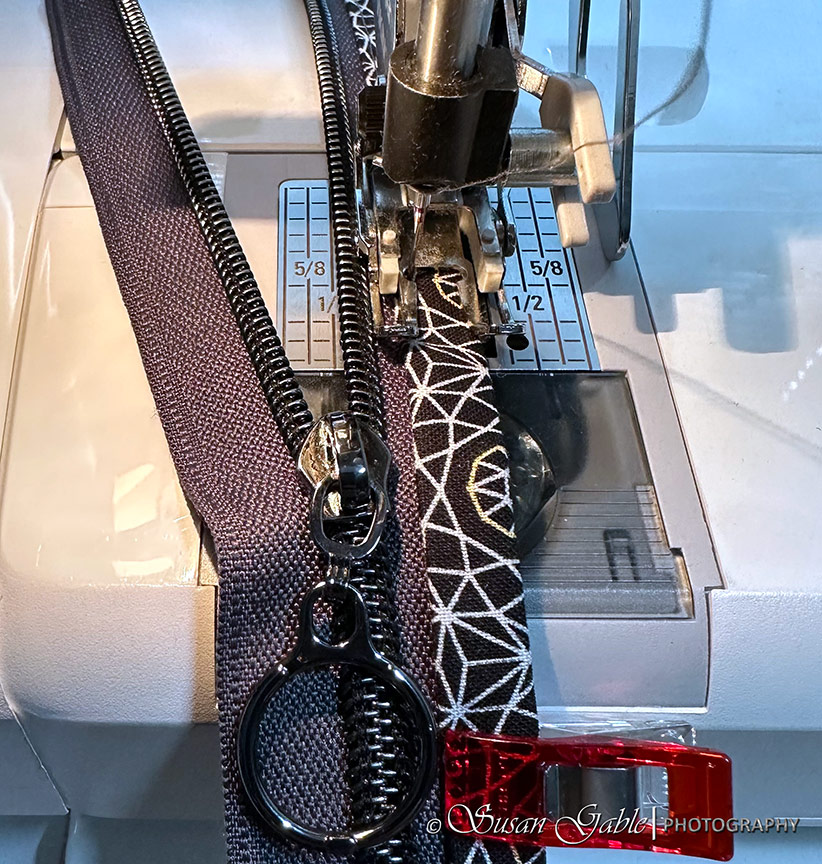
I was quite proud of myself for jumping into the zipper installation and trusting my gut instincts. I felt comfortable using my walking foot throughout the zipper installation. This definitely helped keep my fabric even while sewing.
I moved my needle position all the way over to the left and inside the edge of the foot. I used the left edge of my walking foot as a guide along the zipper the teeth.
Here’s the end results.
The backside of my zipper and binding looks nice and even.

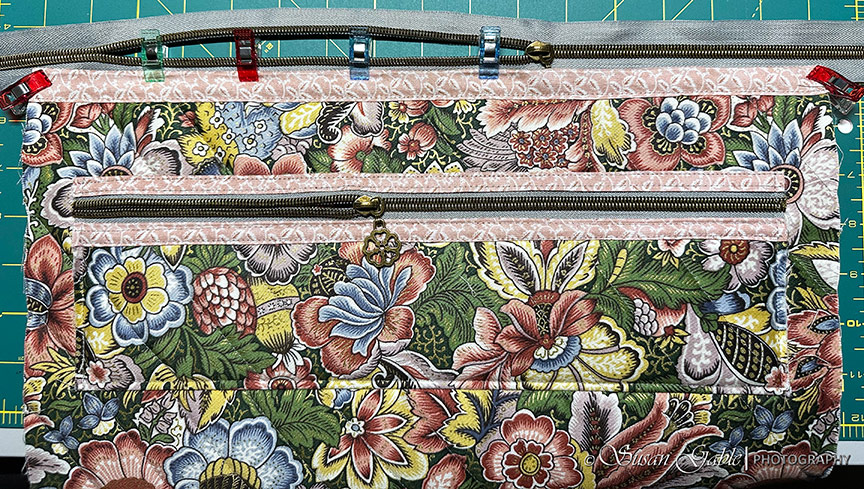
I’ve placed my main zipper onto the main body of the bag. I moved my zipper pull out of the way and I used my sewing clips to hold one side of the zipper and binding together. The zipper is ready to be sewn into place.

I moved my needle position to the right side and inside the edge of my foot. I placed the right side of my walking foot edge right up against the zipper teeth and used this as a guide.

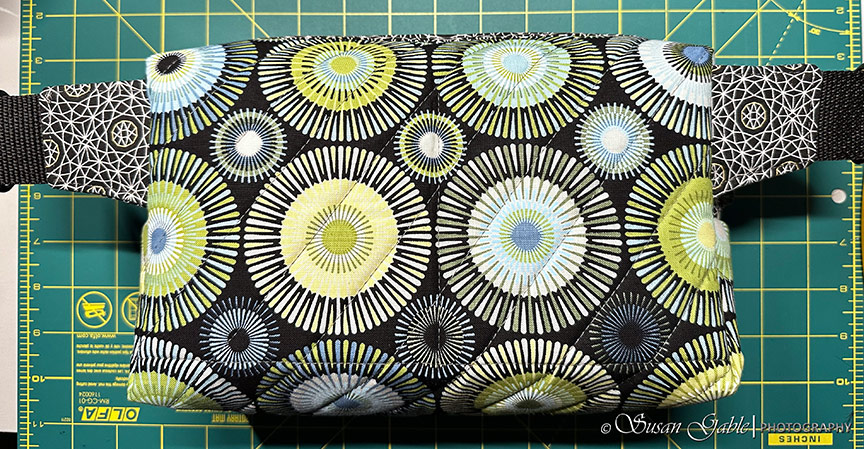
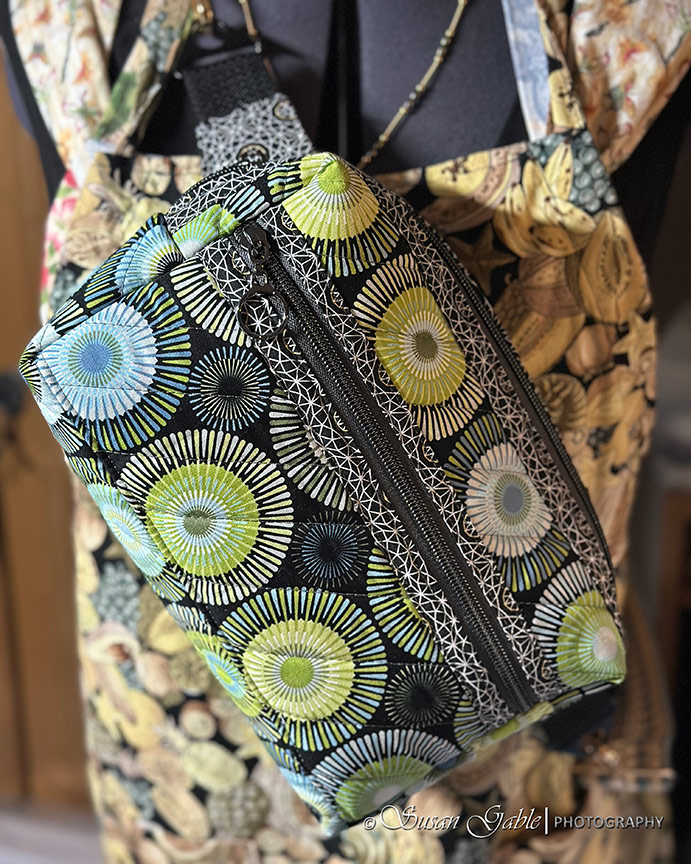
Here’s my finished bag. The circle pattern in the fabric came out fine.
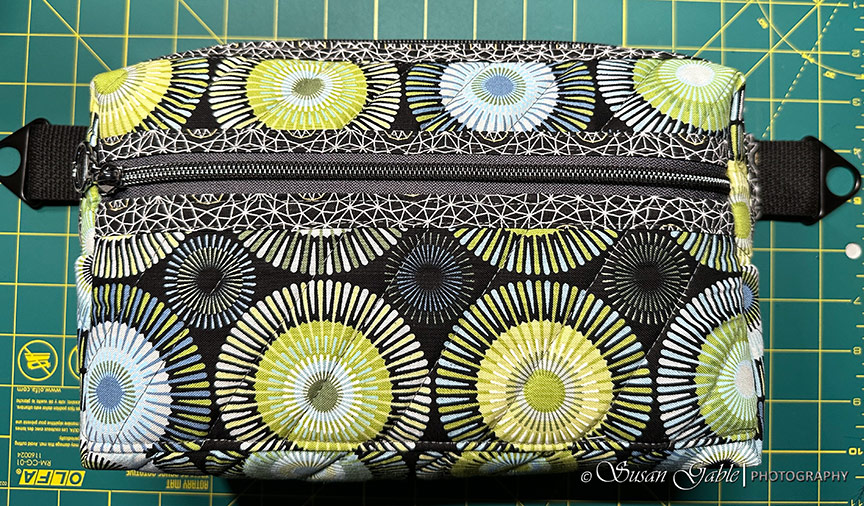
Here’s the backside of my bag.
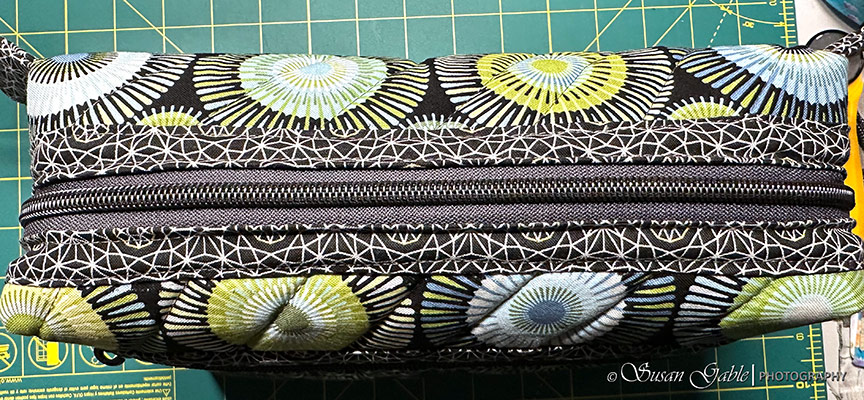
A topside view of my bag and zipper.
Another photo op with my dressform Susie-Q.
Everest #3
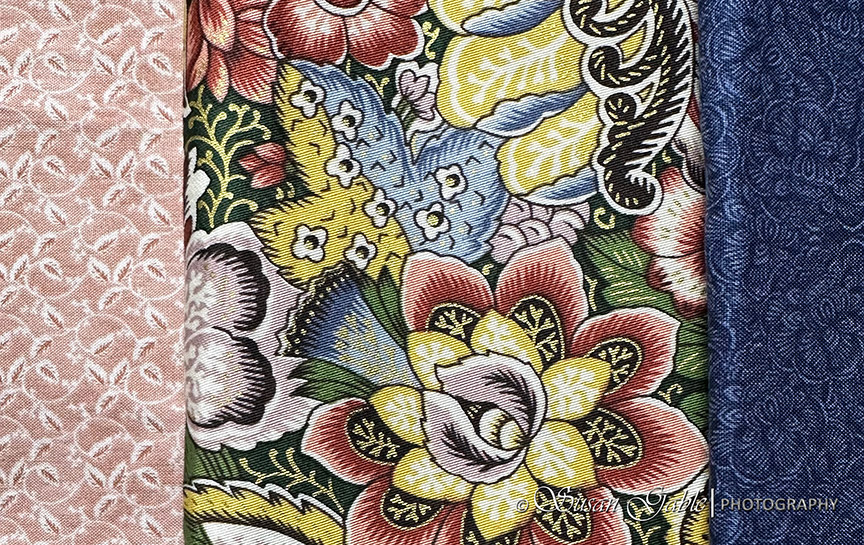
For my third Everest bag, I wanted to use a home decor fabric. I’ve had this colorful fabric in my stash for 20 years. This home decor fabric is treated for soil and stain protection. Basically, this fabric would be great for pillows and cushions for outside patio seating. Instead, I’m using this for a bag that I will use outdoors to carry my sketching tools and journal.
I originally had these three fabrics ready to go. I decided at the last minute, that the lovely pinky fabric should be used as accent pieces for my bag. I immediately dismissed the dark blue fabric and went with a beige fabric for the lining. I prefer to use a light color fabric inside my bag.
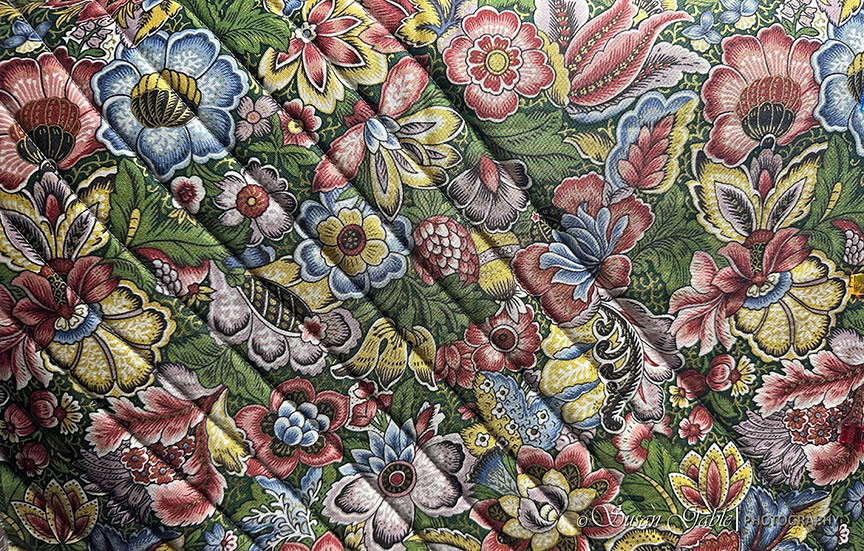
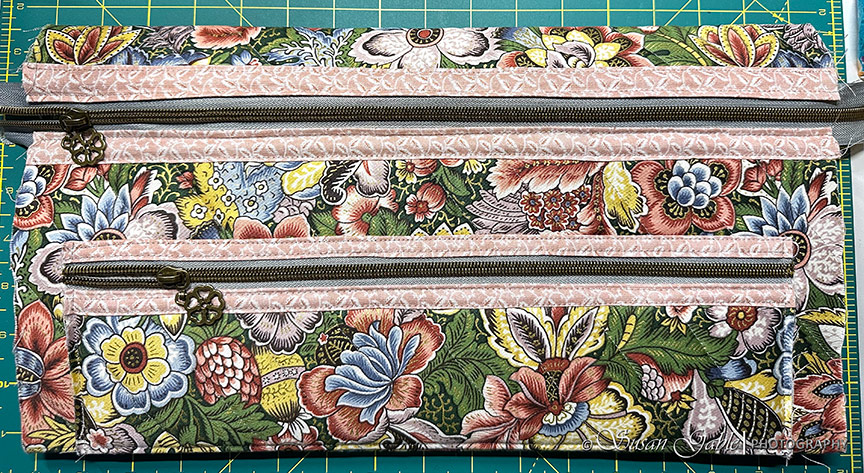
I love how the quilting lines give my home decor fabric more character.
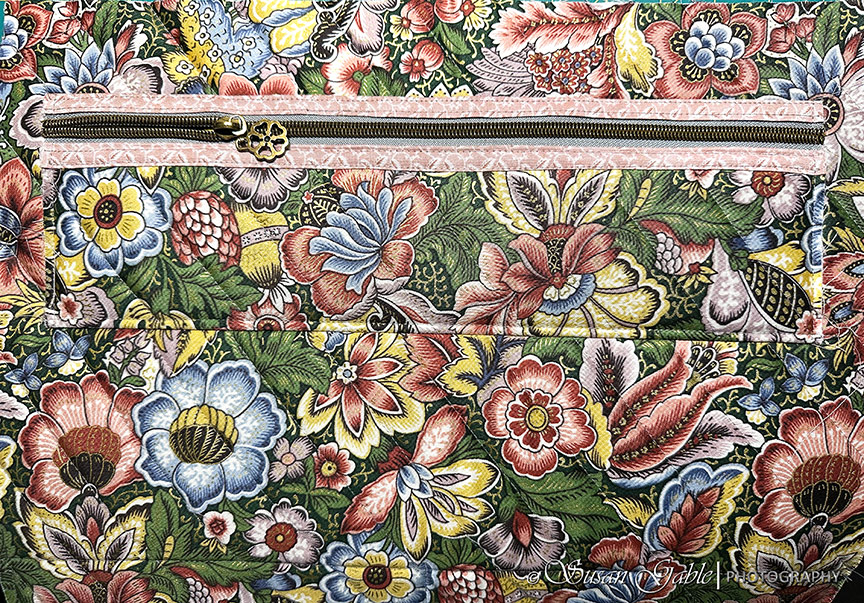
I made a good decision to use the pink fabric for the bindings. Look how bright and cheery it looks so far.
I found some enjoyment in separating the zipper and installing the zipper pull. I’ve had a lot of practice time and can quickly add the zipper pull without any tools.
There is a trick. Each side of the zipper teeth/tape has to go into the zipper pull at an angle. Once the teeth are angled into the zipper pull, the zipper pull will slide down smoothly across the teeth. If it doesn’t, that means one side or both sides are not angled into the zipper pull.
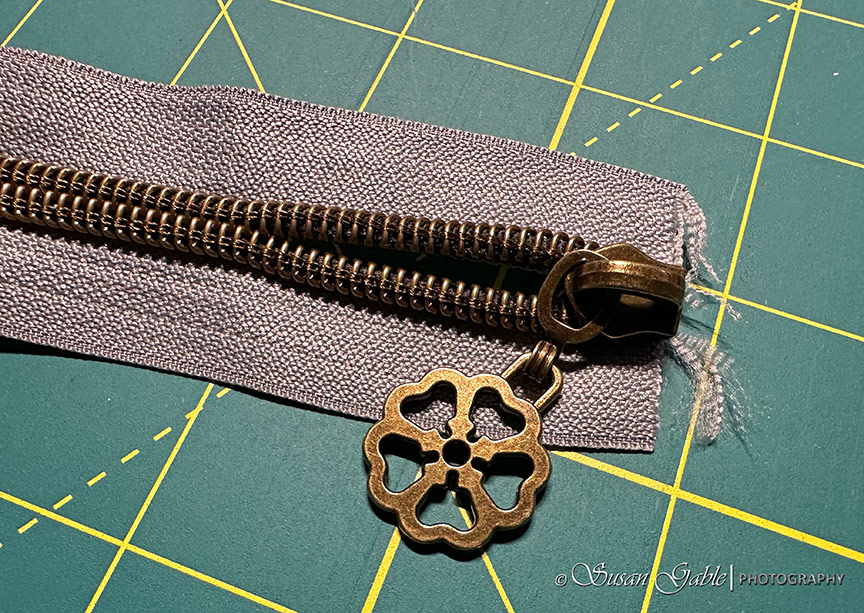
I’ve been challenging myself to get the zipper tape ends even while adding the zipper pull.

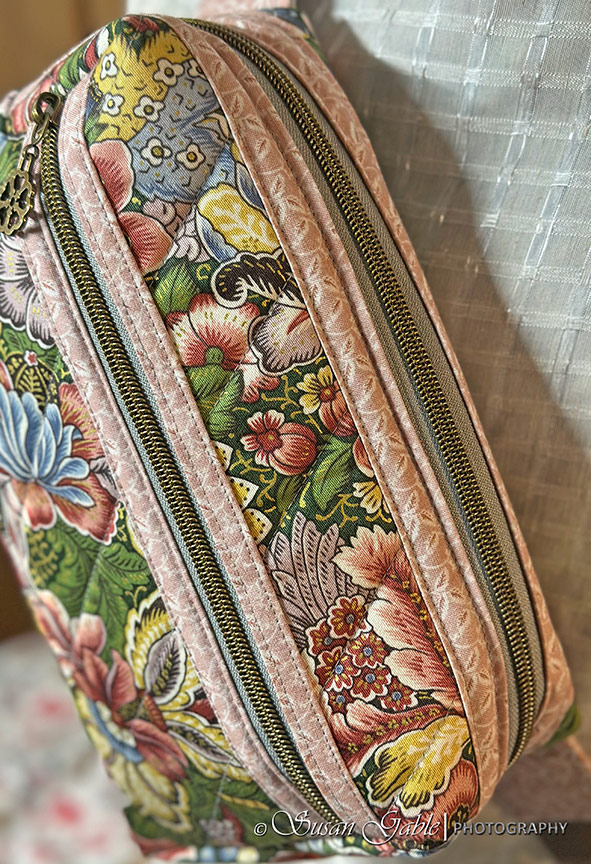
I have to say this bag is absolutely gorgeous. The colors and overall floral design is my fave. I’m so happy that my home decor fabric sewed together nicely and I didn’t have too many issues with sewing over the many layers of fabric and thick seams. Another positive about the fabric, it’s treated for soils and stains and I do not have to worry about getting my bag dirty.

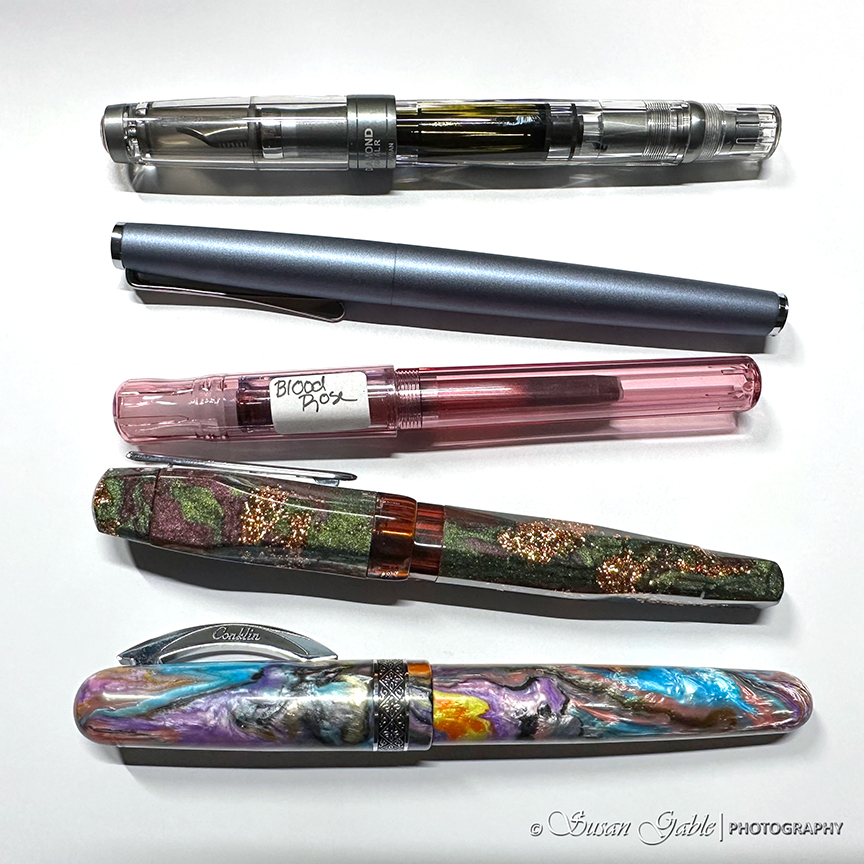
My currently inked fountain pens in the outside pocket.

My trio of belt bags!

I do plan on making my own adjustable shoulder straps. That’s in my sewing queue for 2026.
This Everest pattern is brilliant. The sewing directions are easy to follow along and the diagrams show measurements and right side/wrong side of fabric and where to sew the seams. In my blog post, I share my sewing experiences and bits of what the bag looks like during the sewing process. I also share tips and suggestions. Also, this will help me when I decide to make another bag a year from now and I can read through my posts to see what I did.
Tip #1a: Heavy fabrics/many layers/thick seams – my “vintage” sewing machine has the capability to sew over different types of fabrics like light, medium, and heavyweight. For sewing on the home decor fabric I used the heavyweight setting. I also used a different sewing machine needle in size 90/14. What really helped was sewing slowly over the areas with thick seams. The key for me was to listen to my sewing machine. When I could hear it struggling, I knew I had to slow down.
Tip #1b: Change my sewing machine needle. When I was in the middle of sewing my second bag, the sewing machine thread started pulling up a bit. The thread had actually split. I went ahead and changed my needle. At this point my needle had logged a few days of extensive sewing. Many sewing issues can be fixed by replacing the old needle with a new one.
Tip #2: I have to remember to clean my sewing machine every few hours of sewing. It’s easier for me to remember to do this after I complete each project. Besides cleaning my walking foot, I clean out my bobbin area. That also requires removing the bobbin case and give the area a good cleaning.
Triangle rings, webbing, zipper coil, zipper pulls: Wawak sewing supplies
Colorful webbing for my strap tabs: Amazon – Strapworks Lightweight Polypropylene Webbing 1.5 inches


Leave a comment