I had a vision and a need to sew a drawstring gift bag. I watches a few videos and then set off to create my own. I sewed a test bag (of course) to see if the size would work as I had a few items to put inside the bag.
I was in the midst of sewing my gift bag when I realized I had cut my lining quite a bit larger than the main part of the bag. I tried to modify the lining and decided to stop and basically re-cut my lining. This is why my first attempt is always called a test project. No stress. I just need to remember to measure twice and cut once.

Some of you are probably wondering why I would be using beautiful fabrics for my test projects. Once I figure out my sewing mistakes issues, I will go back and fix my test bag. If my test project comes out beautifully, then I can happily move forward.
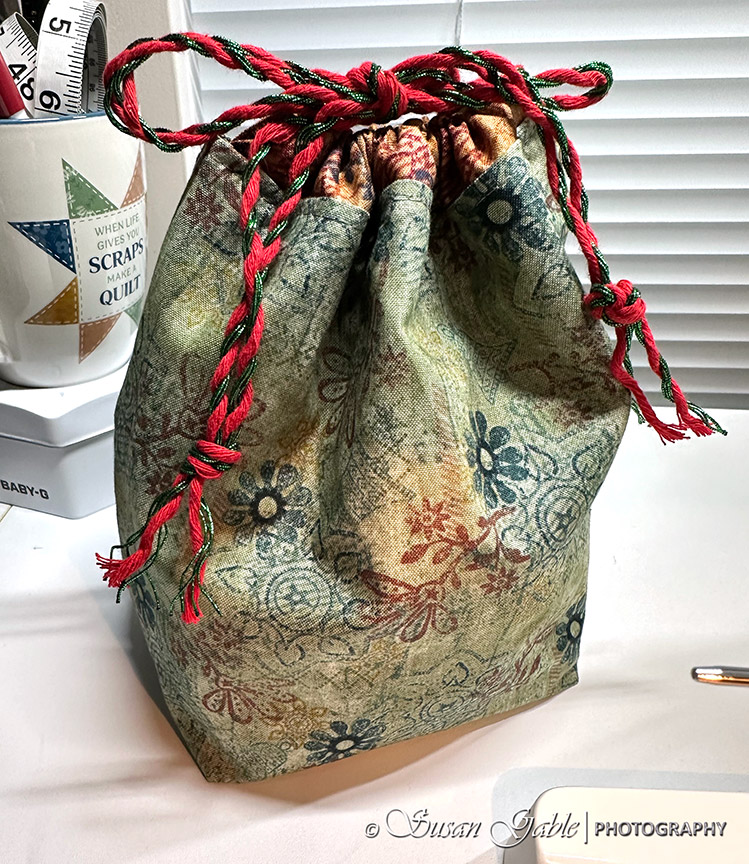
This is my second bag where everything matches up nicely. If you look closely at the fabric there are bells printed on the fabric. This might have been considered a Christmas fabric which I did not notice this when I purchased the fabric. Based on the colors and random print it looks like a year-round fabric.

Tip #1: When I look for fabrics, I look for patterns and colors that don’t scream holiday theme fabrics. From my fabric stash, I can pick out my fabrics that can be used throughout the year. If I started “saving” fabrics for the holidays, they would get stored out of sight and never get used.
Tip #2: I have two primary bins of fabrics that I keep in my studio. The fabrics are folded and stacked neatly in my bins. My primary bin has my “main” fabrics that have bold prints and/or bold colors. My secondary bin has fabrics with small prints, neutral colors, and miscellaneous patterns. Each bin is sorted by color. When I have a pattern in hand, I’m ready to select my fabric(s) from my primary bin. If I need accent or lining fabric(s) I go to my secondary bin. I have limited space in my studio and this system works for me.
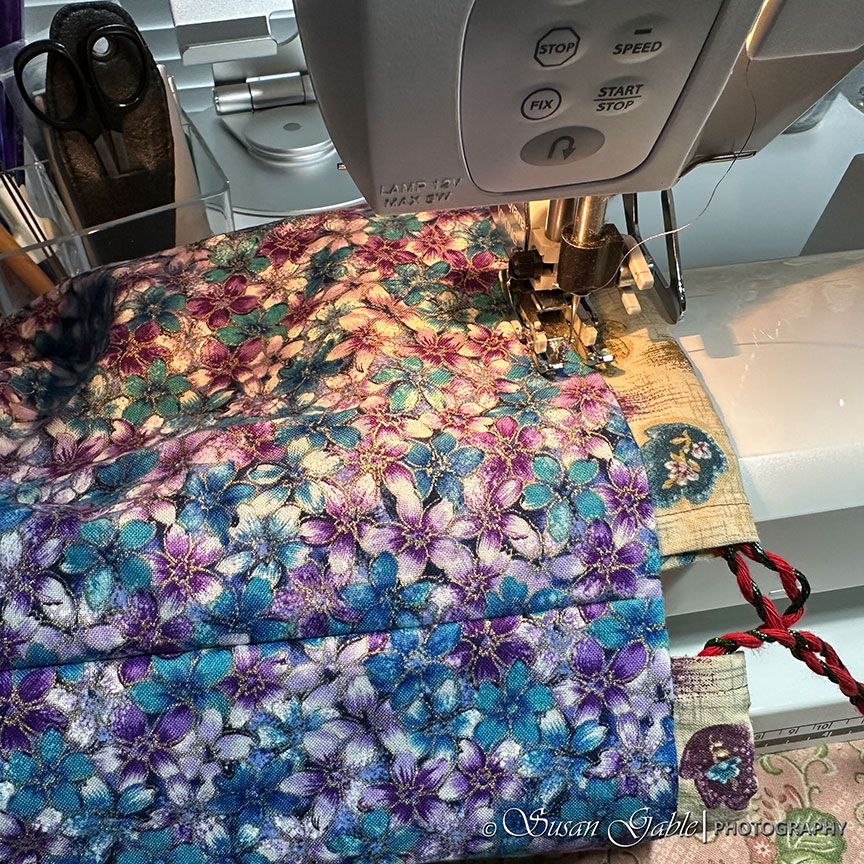
Tip #3: I used a lightweight interfacing and ironed it onto the outside fabric. I decided not to interface the lining fabric as it would have made the bag too stiff.
Since it is the Christmas season, I found a festive cord to use for the drawstrings.

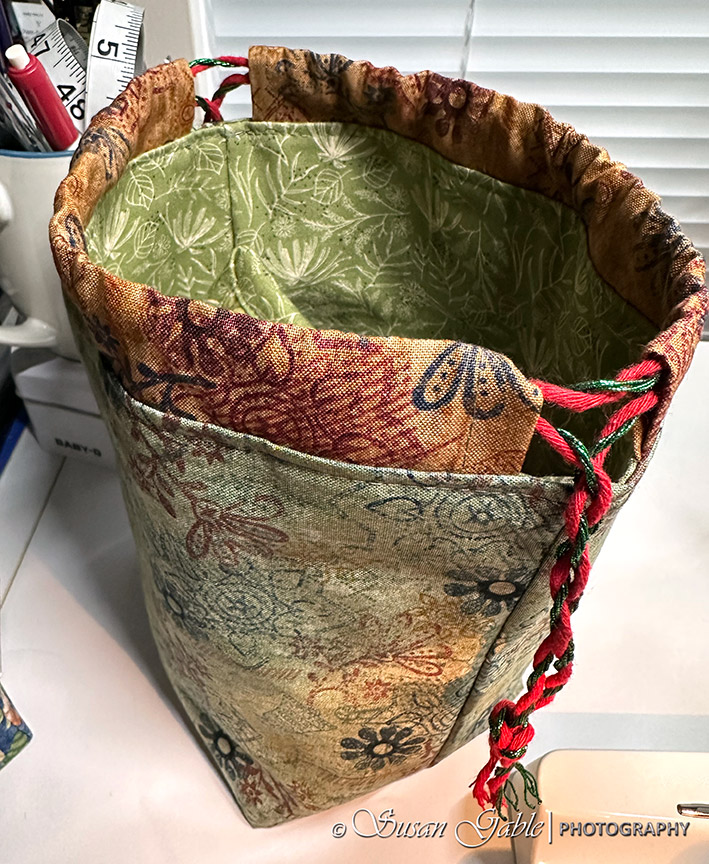
Here’s a peek at the fabric lining I used. I try to select bright and light fabrics for the lining. It’s easier to see what’s inside of the bag.
I’m checking the back side of the bag to make sure it’s not sitting wonky.
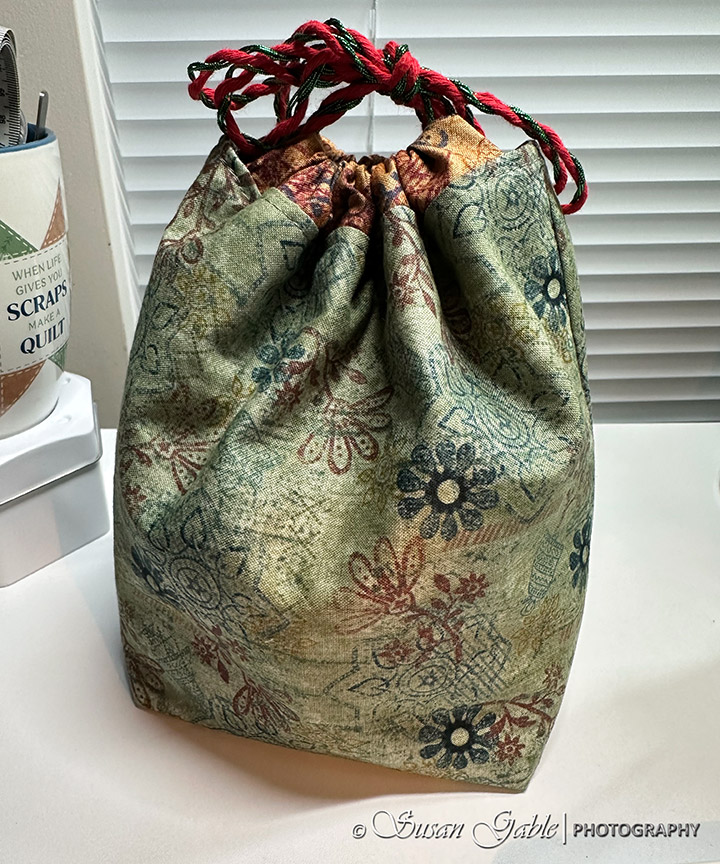
My drawstring gift bag is ready to be gifted.

I did not use a pattern for this bag. I basically used what was available in my fabric stash: 10″ squares and 2-1/2″ binding fabrics.
This was another fun project where my creativity took over and I went with my gut instincts.


Leave a comment